
Your Neighborhood trusted CONTRACTOR
THE COMPLETE GUIDE TO PAVERS IN SAN DIEGO
WHAT ARE PAVERS?
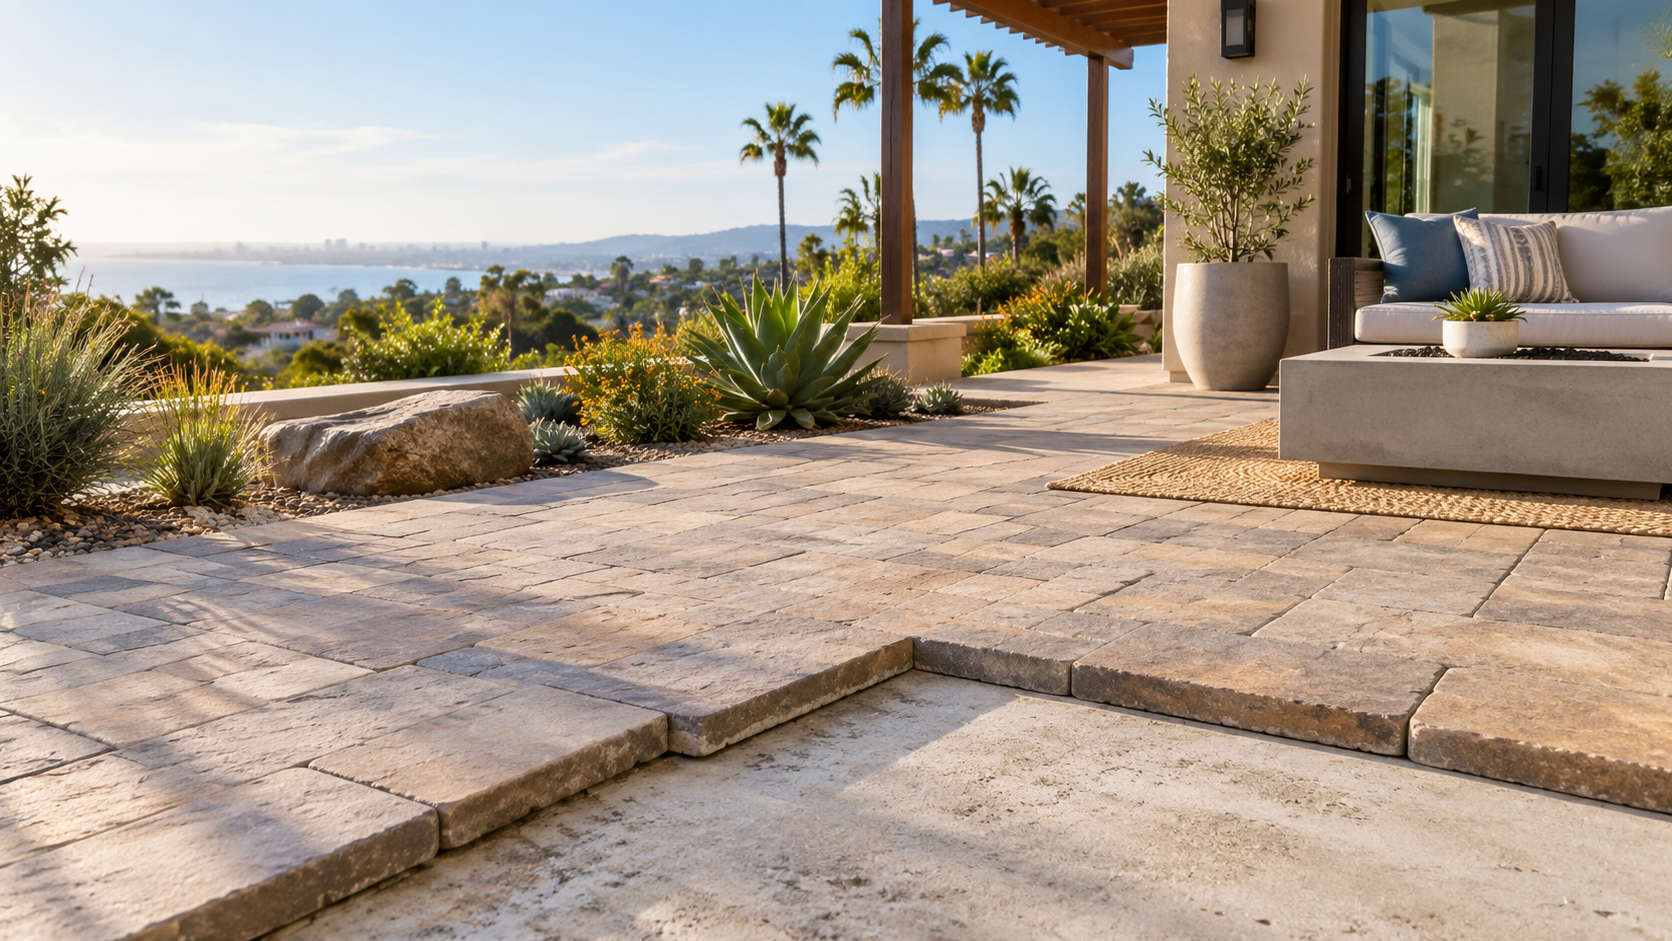
Pavers are individual hardscape units installed together to create durable outdoor surfaces for patios, walkways, driveways, courtyards, pool decks, entry areas, and other landscape applications.
Unlike a continuous poured-concrete surface, a paver installation is constructed from individual pieces arranged in a selected pattern. This gives homeowners greater flexibility in color, texture, shape, pattern, and overall design while allowing the finished hardscape to coordinate with the architecture of the home and surrounding landscape.
At Nature’s Elements Landscaping, pavers may be incorporated into anything from a small walkway or patio renovation to a complete outdoor transformation. The right application depends on the intended use of the area, existing elevations, drainage, soil conditions, surrounding improvements, access requirements, and the overall Landscape Design Process.
Homeowners considering multiple surface options can also explore our Hardscape & Concrete Contractor services or compare the advantages and tradeoffs in our Pavers vs. Concrete in San Diego guide.
The goal is not simply to select a paver that looks good. A successful paver project should be designed around how the space will function, how water will move through the property, how the new surface will connect with existing improvements, and how the finished hardscape will complement the rest of the landscape.
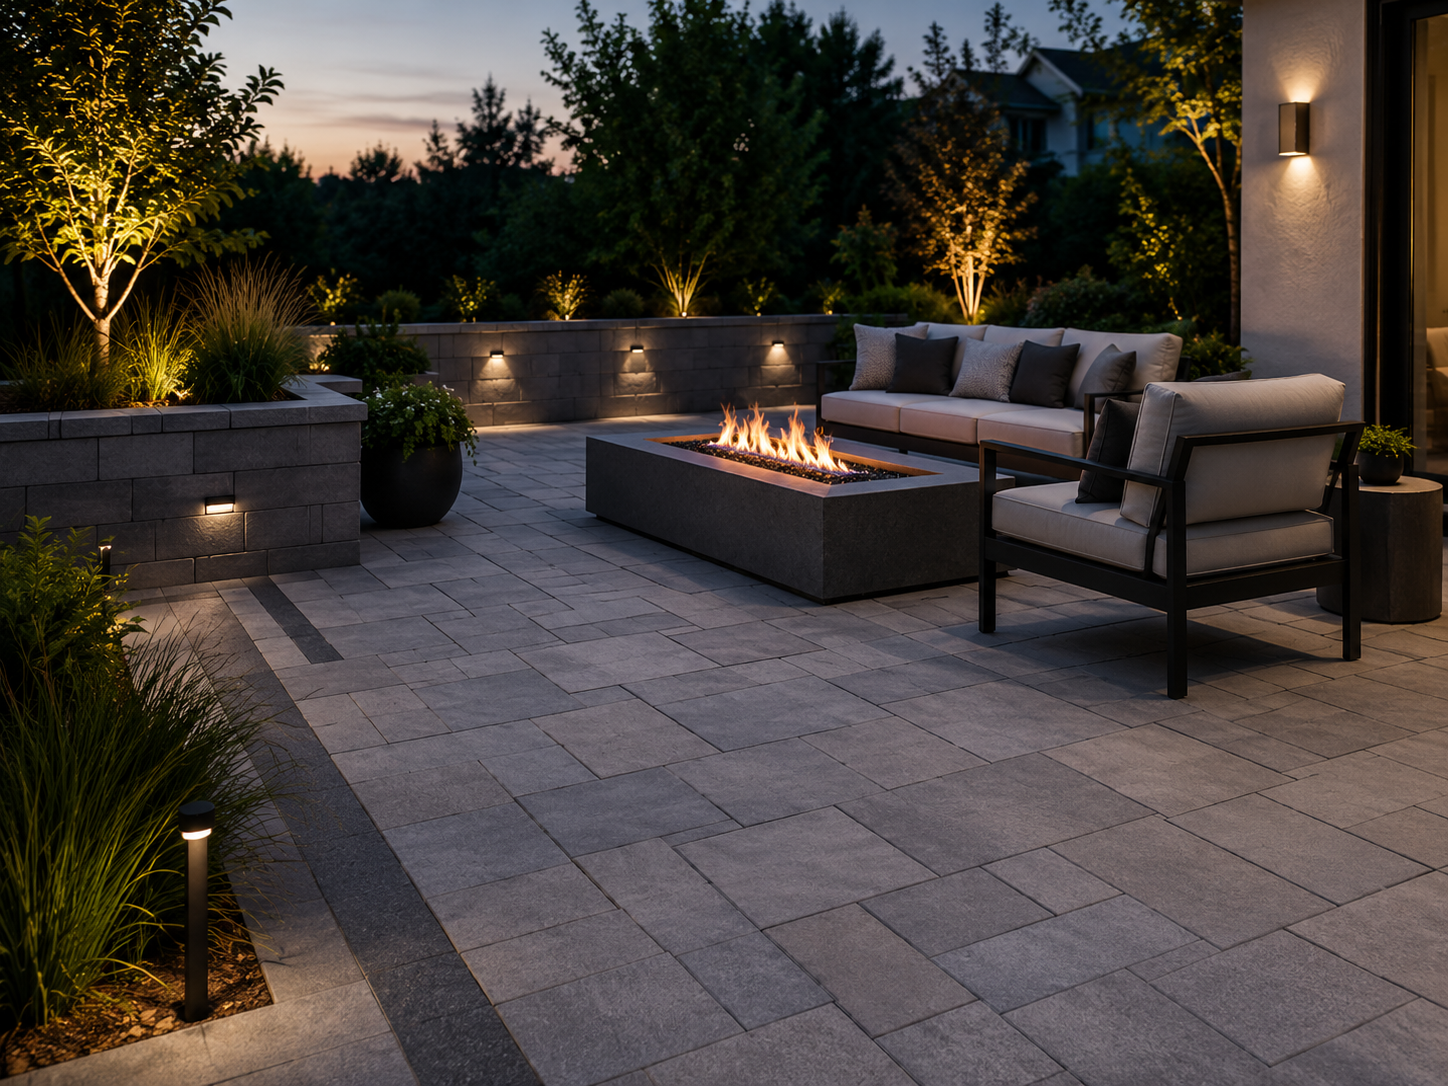
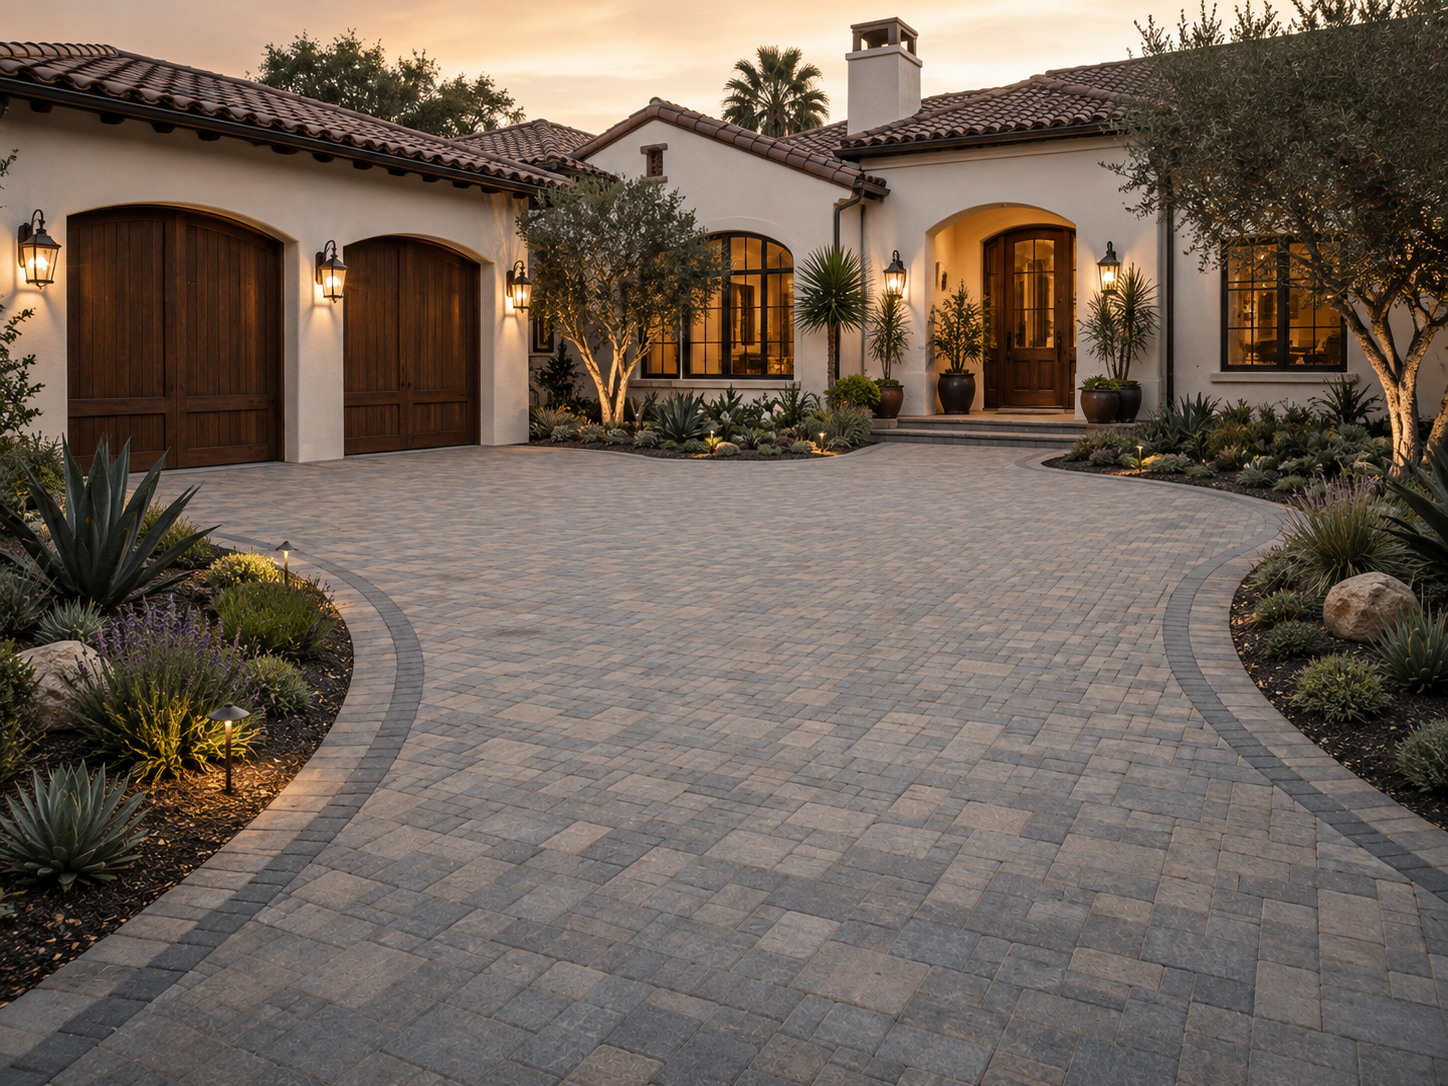
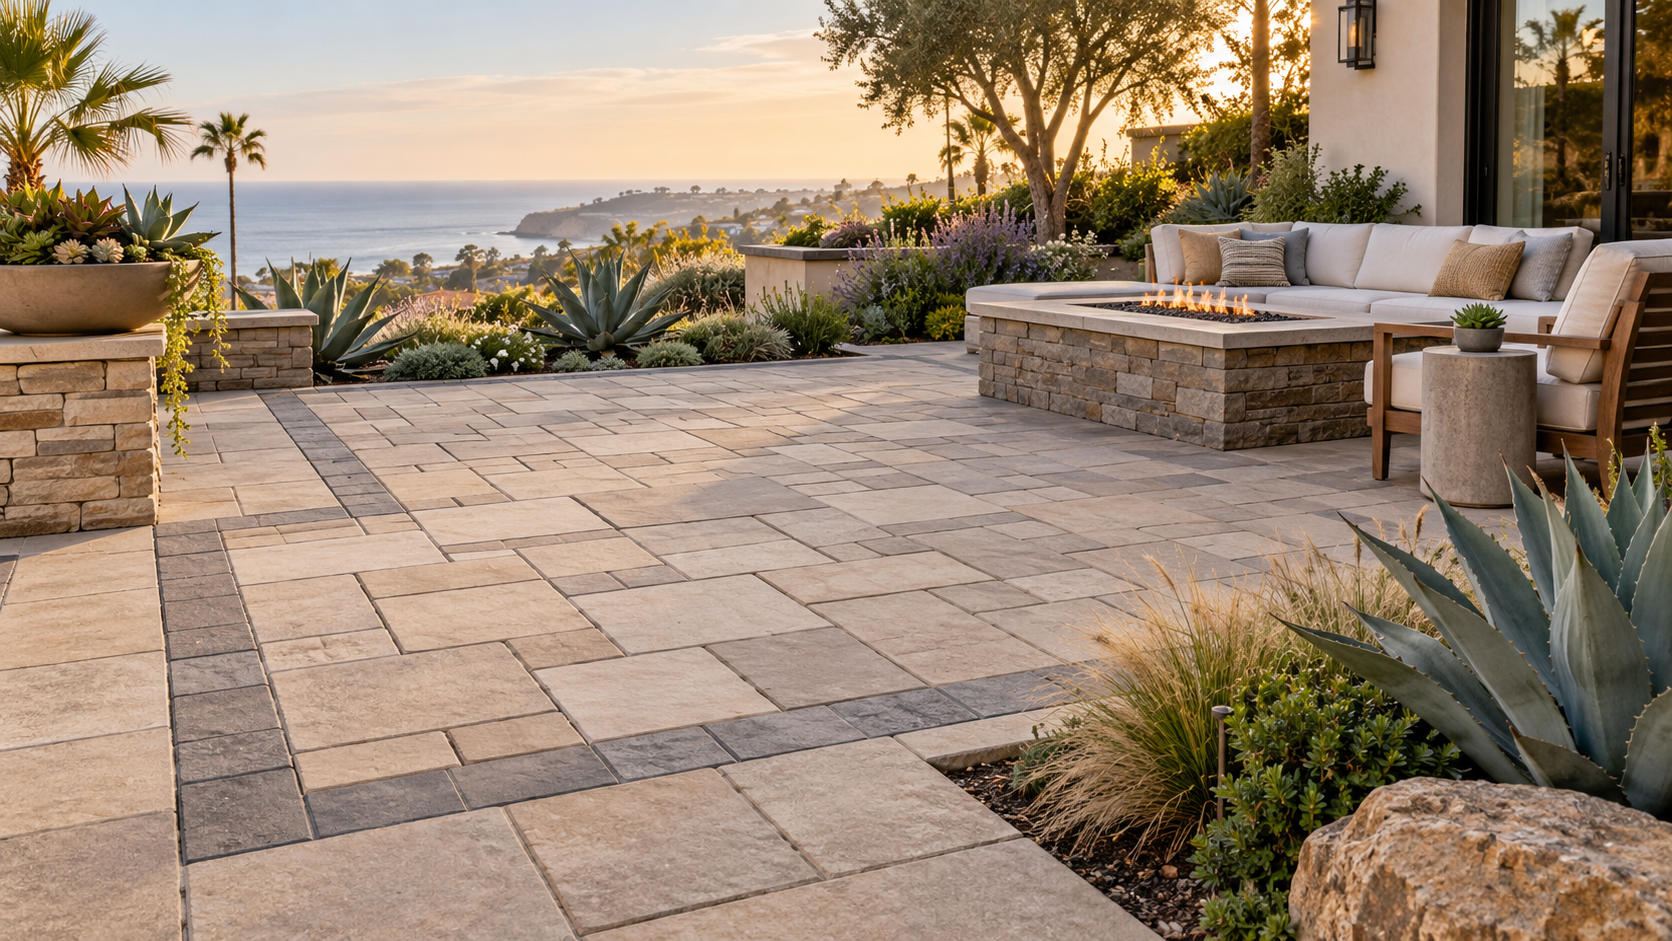
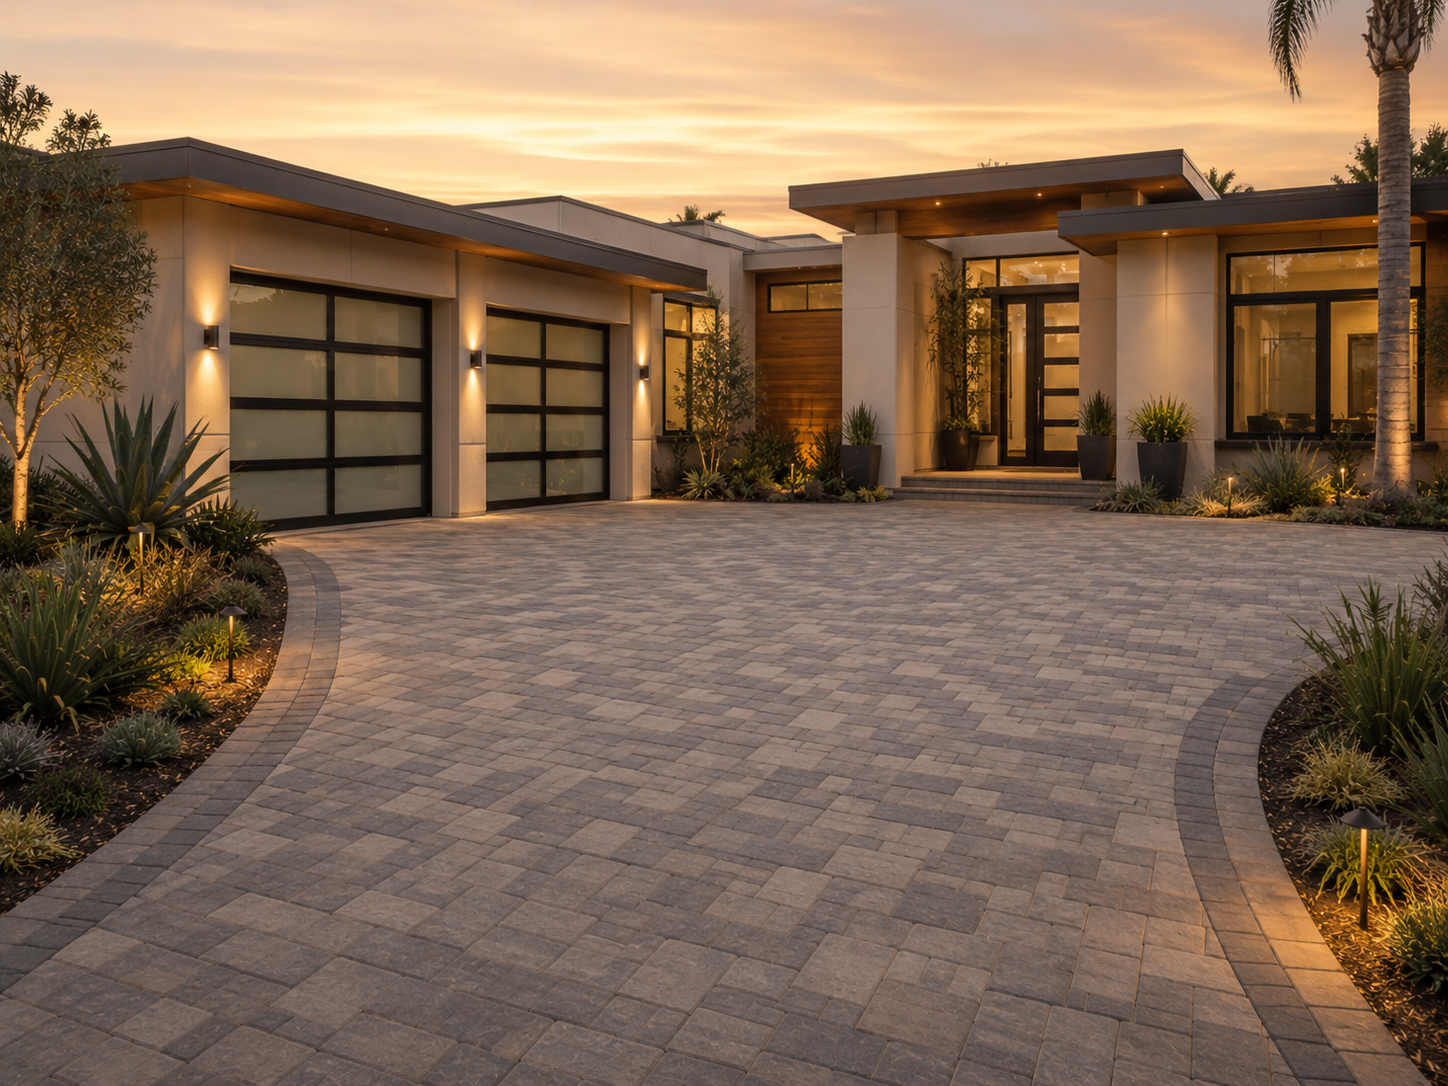
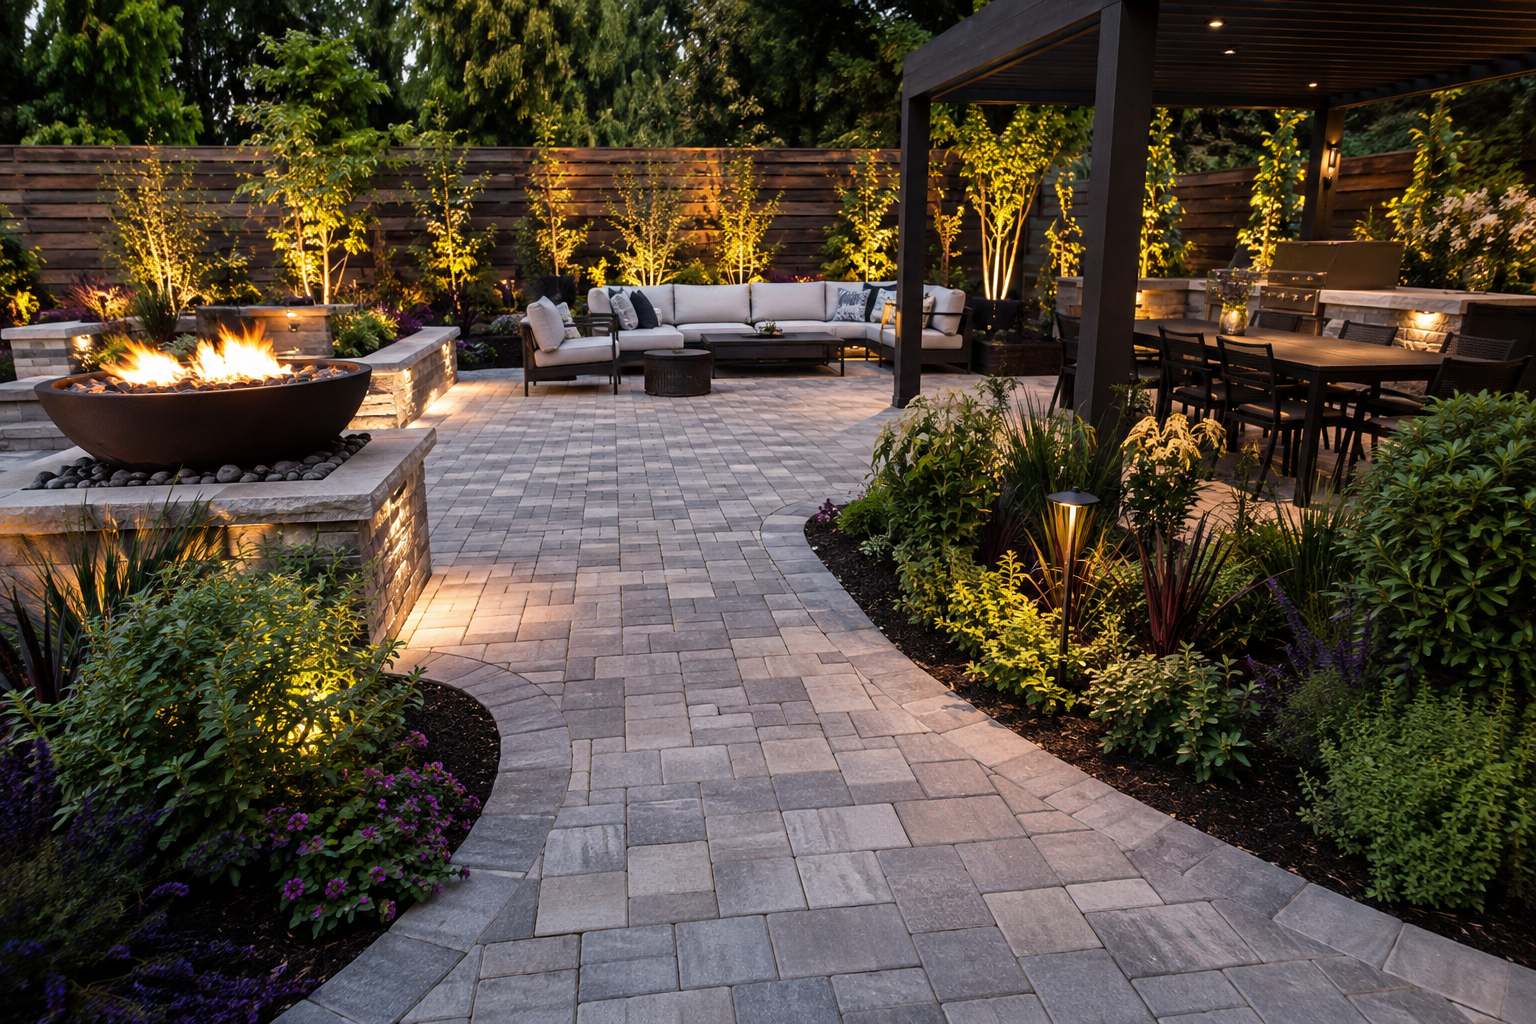
TYPES OF PAVERS USED IN SAN DIEGO LANDSCAPES
Choosing the right paver involves more than selecting a color or pattern. The material should be appropriate for the intended application, surrounding architecture, expected traffic, drainage conditions, maintenance preferences, and overall landscape design.
CONCRETE PAVERS
Concrete pavers are one of the most versatile options for patios, walkways, driveways, courtyards, entryways, and other outdoor surfaces.
They are available in a wide range of sizes, shapes, colors, textures, and patterns, making it possible to create everything from clean contemporary landscapes to more traditional outdoor spaces.
Concrete pavers can also be coordinated with surrounding Hardscape & Concrete, retaining walls, steps, planting areas, and other landscape improvements.
PORCELAIN PAVERS
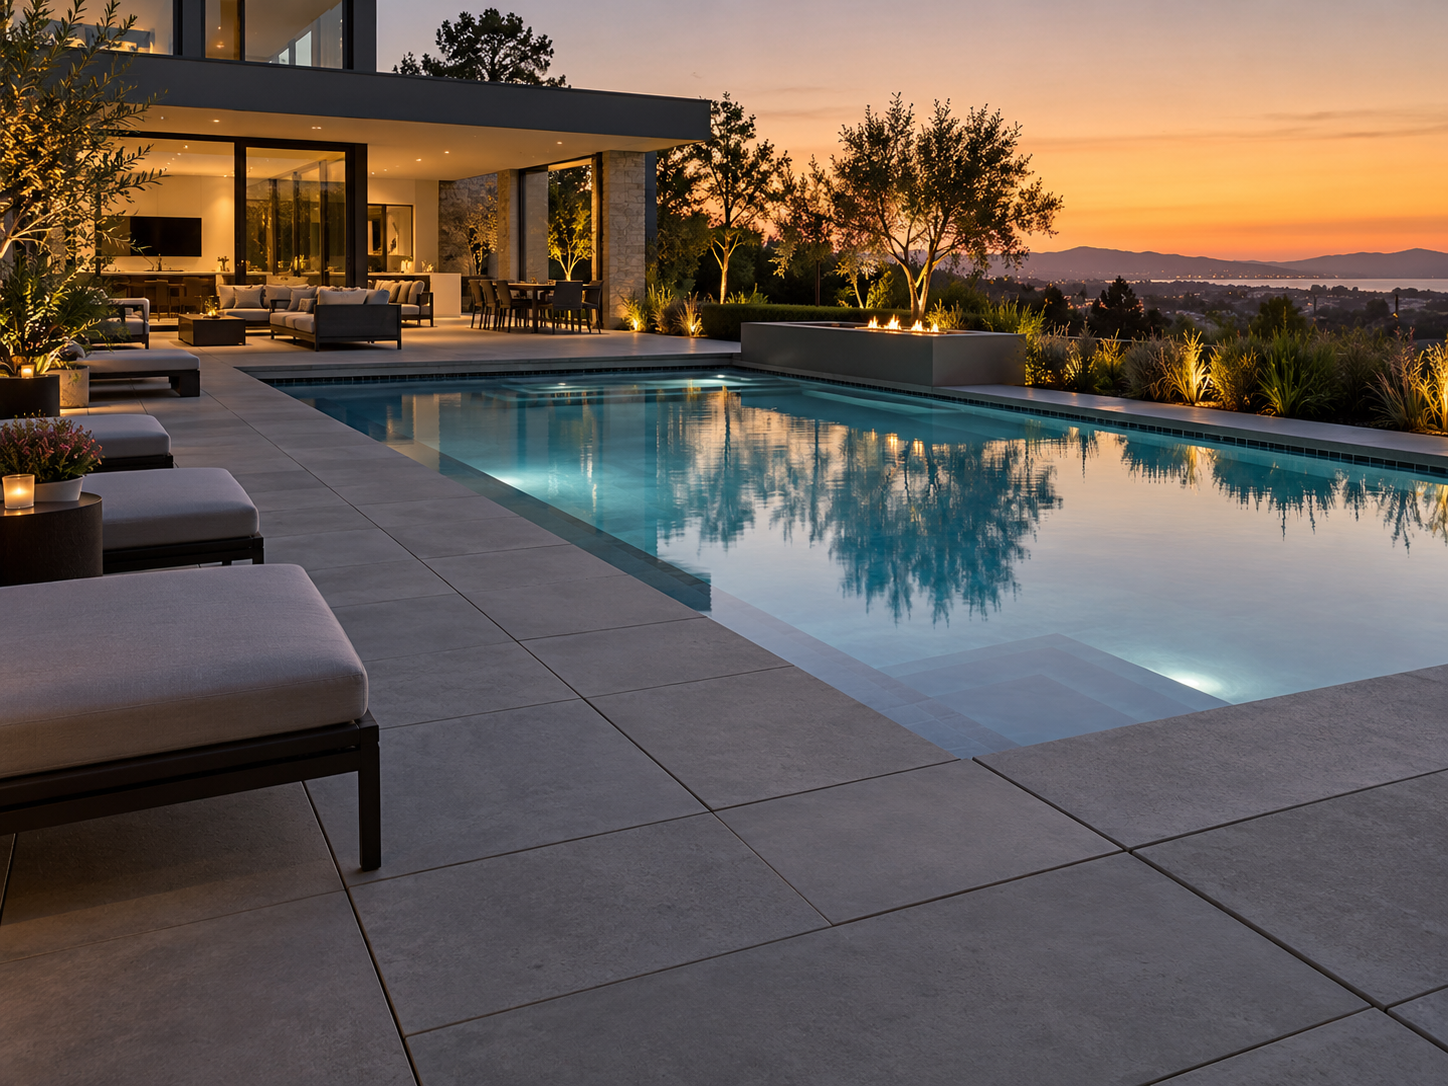
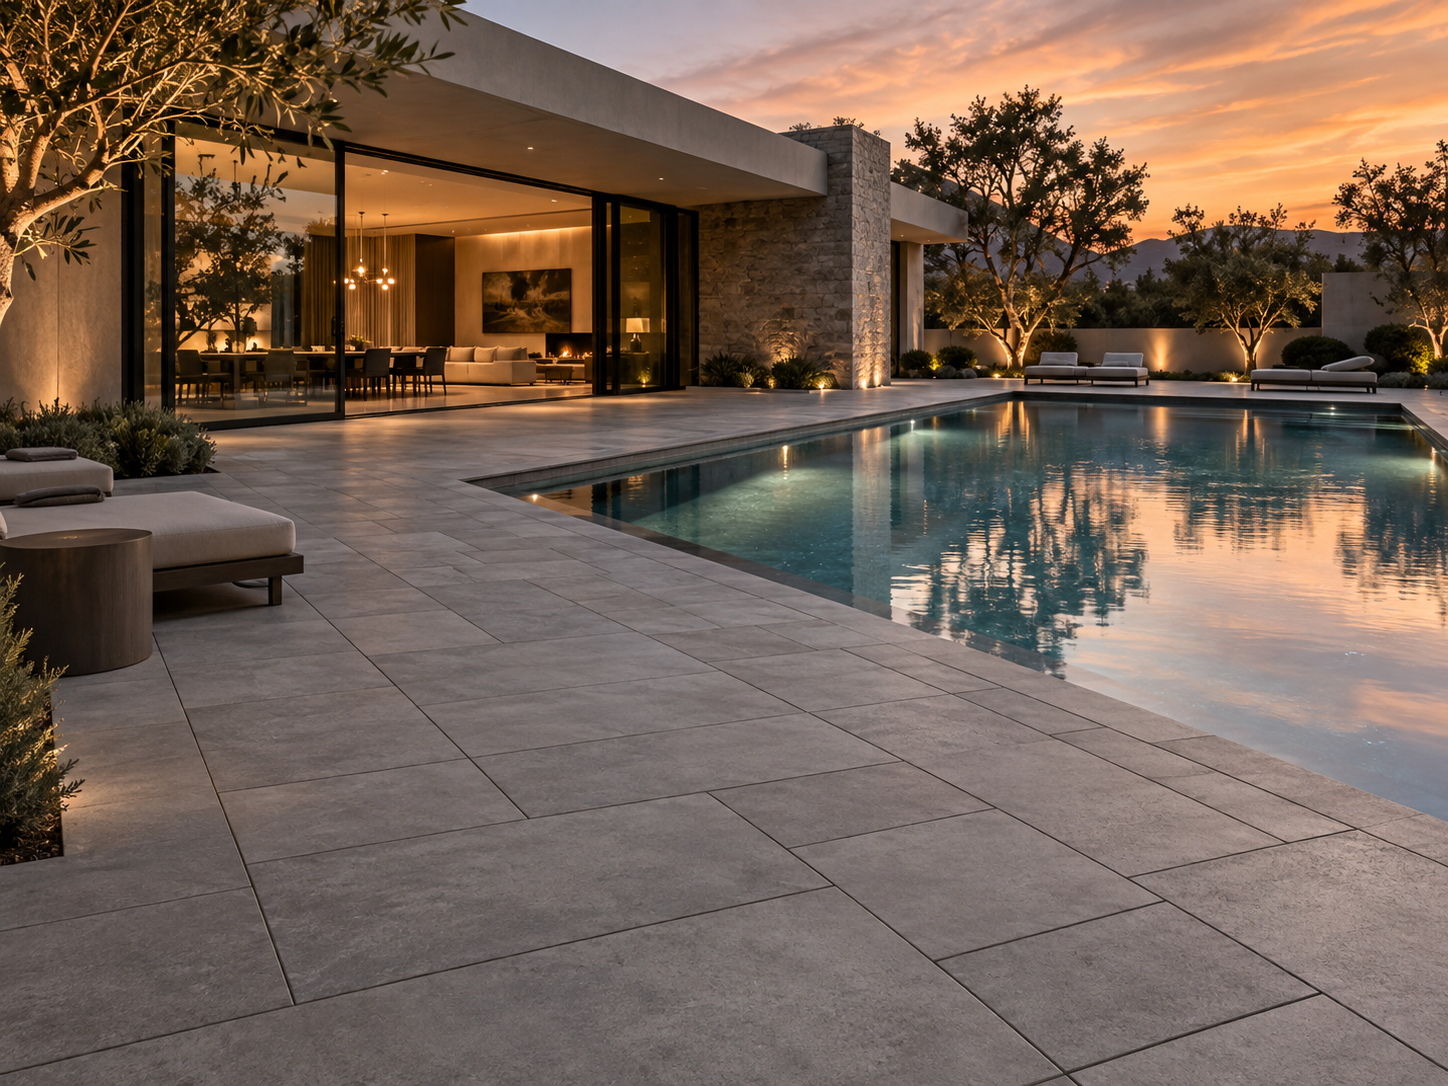
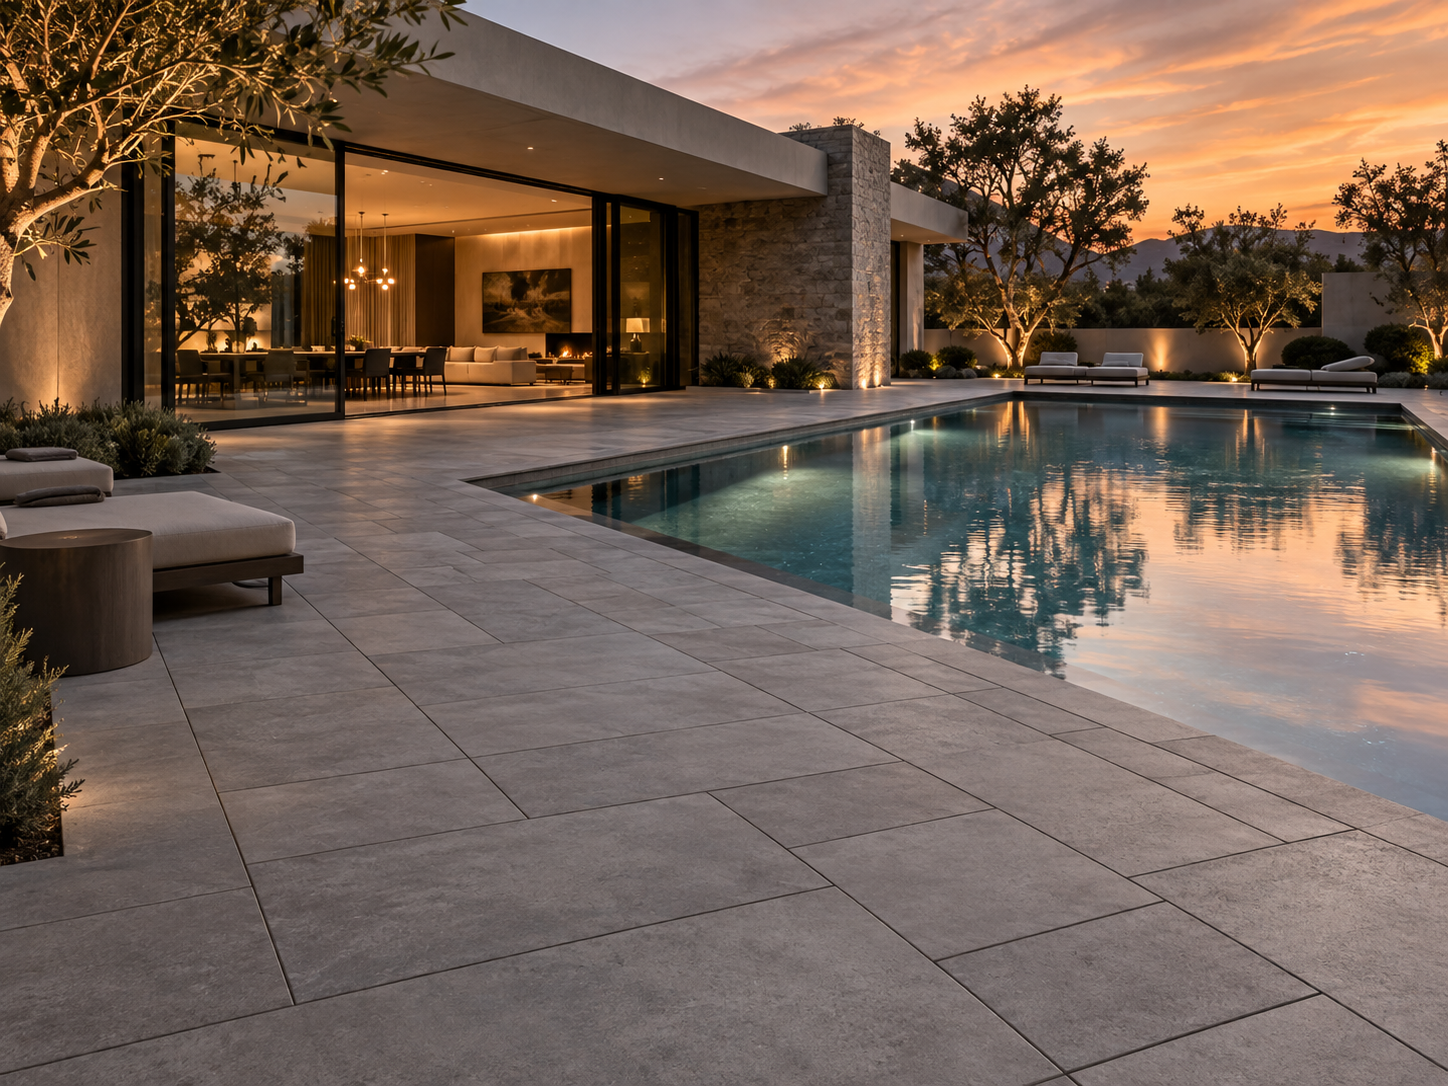
Porcelain pavers can provide a clean, refined appearance that works especially well with contemporary and modern landscape designs.
They may be considered for patios, courtyards, walkways, outdoor living spaces, and selected pool-deck applications depending on the product and installation requirements.
Because porcelain products can vary in surface texture and intended use, the specific material should be selected for the application rather than appearance alone.
NATURAL STONE PAVERS
Natural stone can create a distinctive landscape with variations in color, texture, and character that are unique to the material.
Stone may be incorporated into patios, walkways, garden paths, steps, courtyards, pool surroundings, and landscape transitions.
Material selection should take into account the intended use, surface texture, maintenance requirements, surrounding architecture, and installation conditions.
PERMEABLE PAVERS
Permeable paver systems are designed differently from traditional paver installations and may be considered when water management is an important part of the project.
The complete system—including the pavers, joint material, base preparation, underlying soils, grades, and drainage—needs to be evaluated together for the application to function properly.
The best paver for a San Diego property ultimately depends on where it will be installed and how the space needs to perform. Material selection should be made as part of the complete landscape plan rather than as an isolated decision.
WHERE PAVERS WORK BEST IN SAN DIEGO LANDSCAPES
Pavers can be incorporated into many different areas of a property. The best application depends on how the space will be used, the amount and type of traffic it will receive, existing grades and drainage, surrounding architecture, and how the new hardscape connects with the rest of the landscape.
PAVER PATIOS & OUTDOOR LIVING SPACES
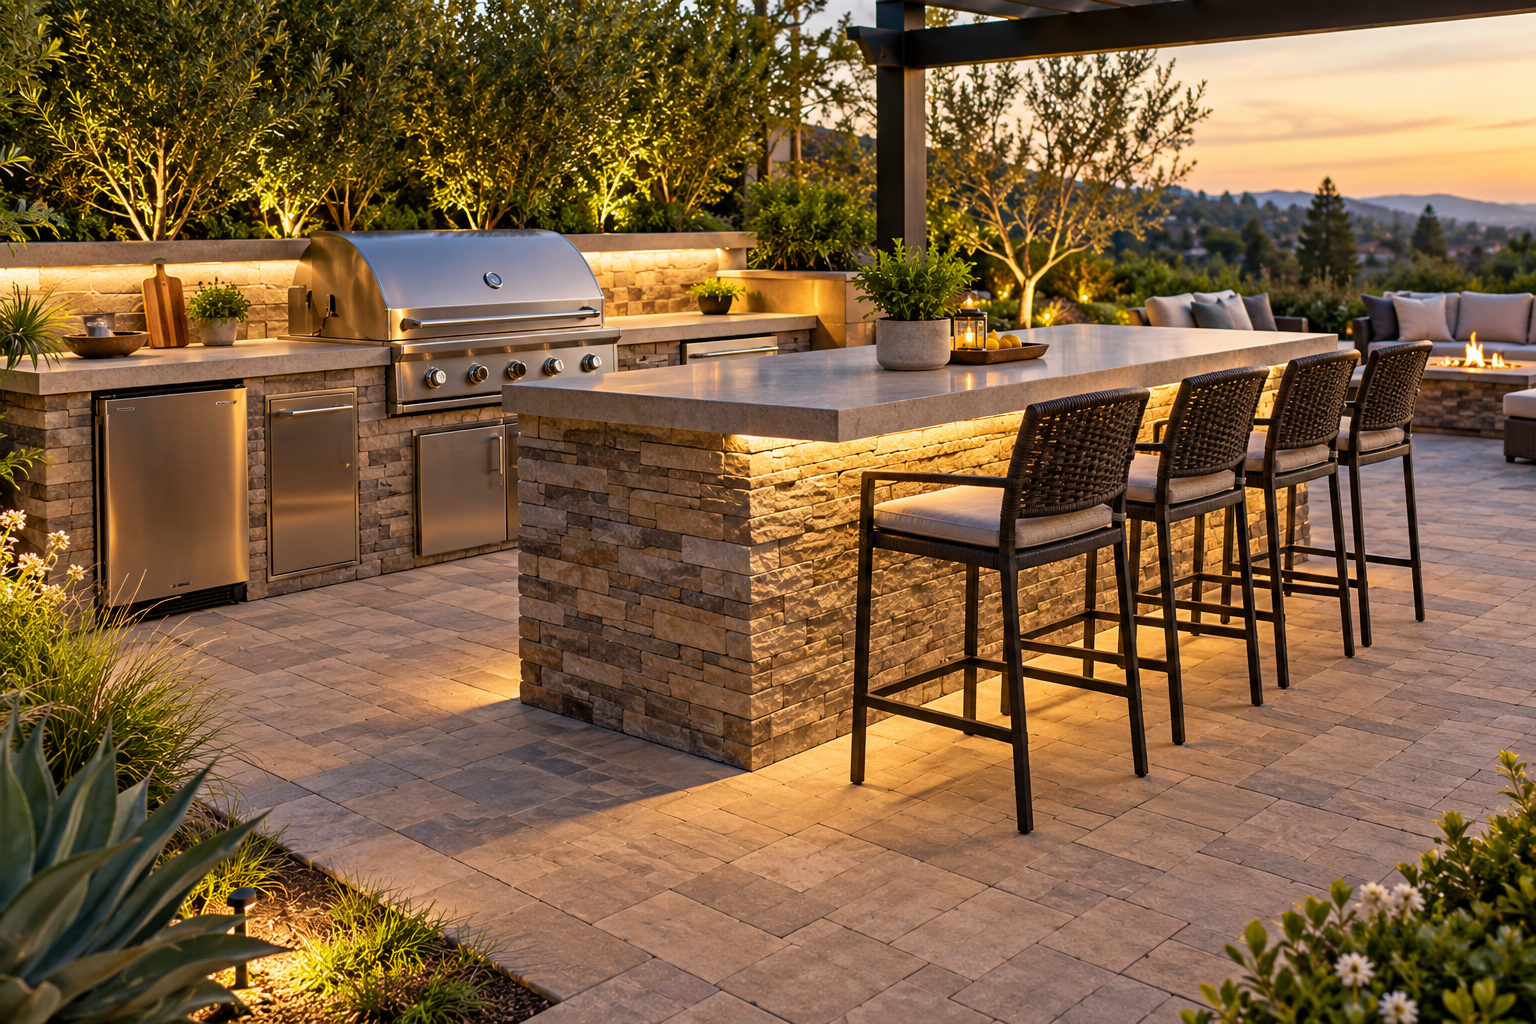
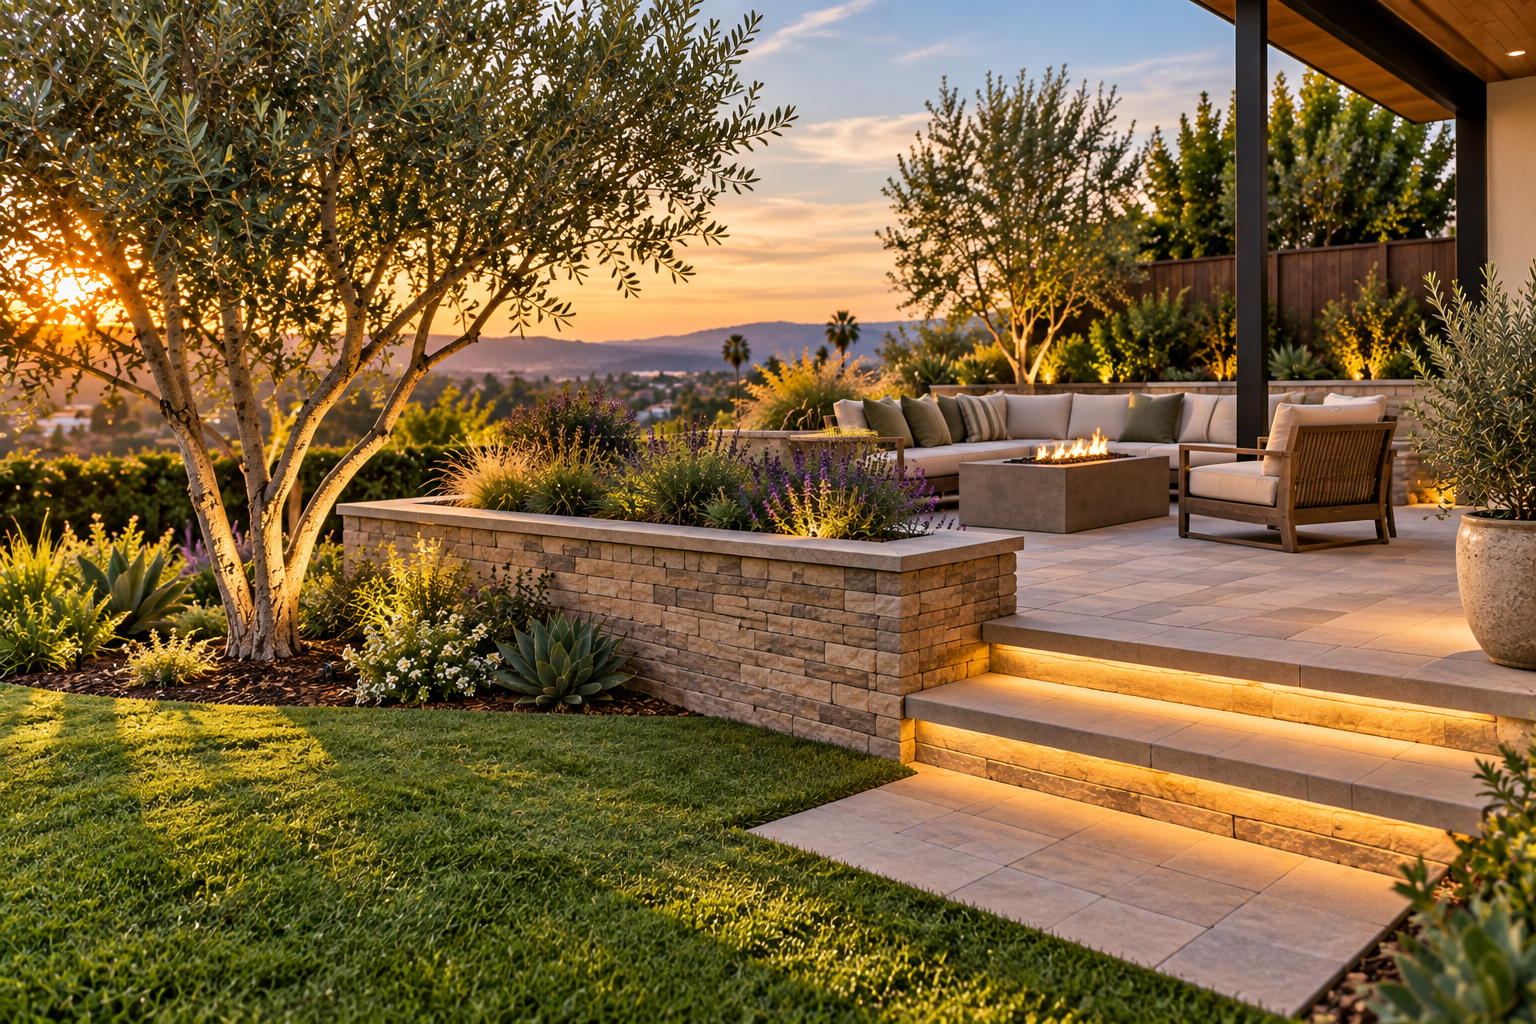
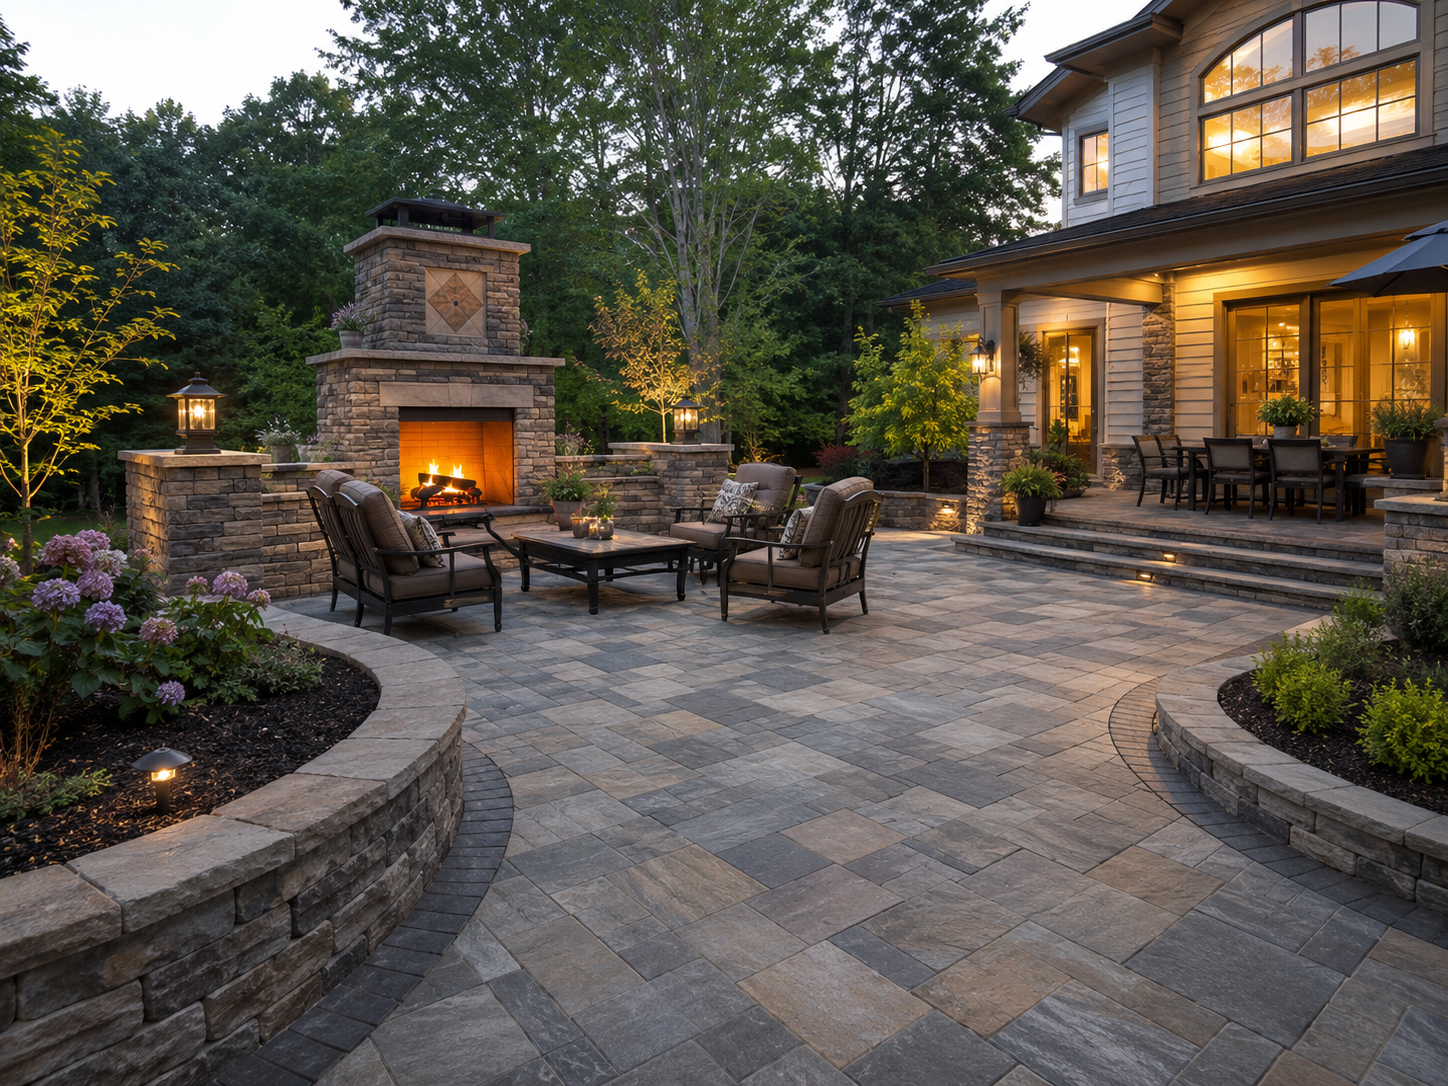
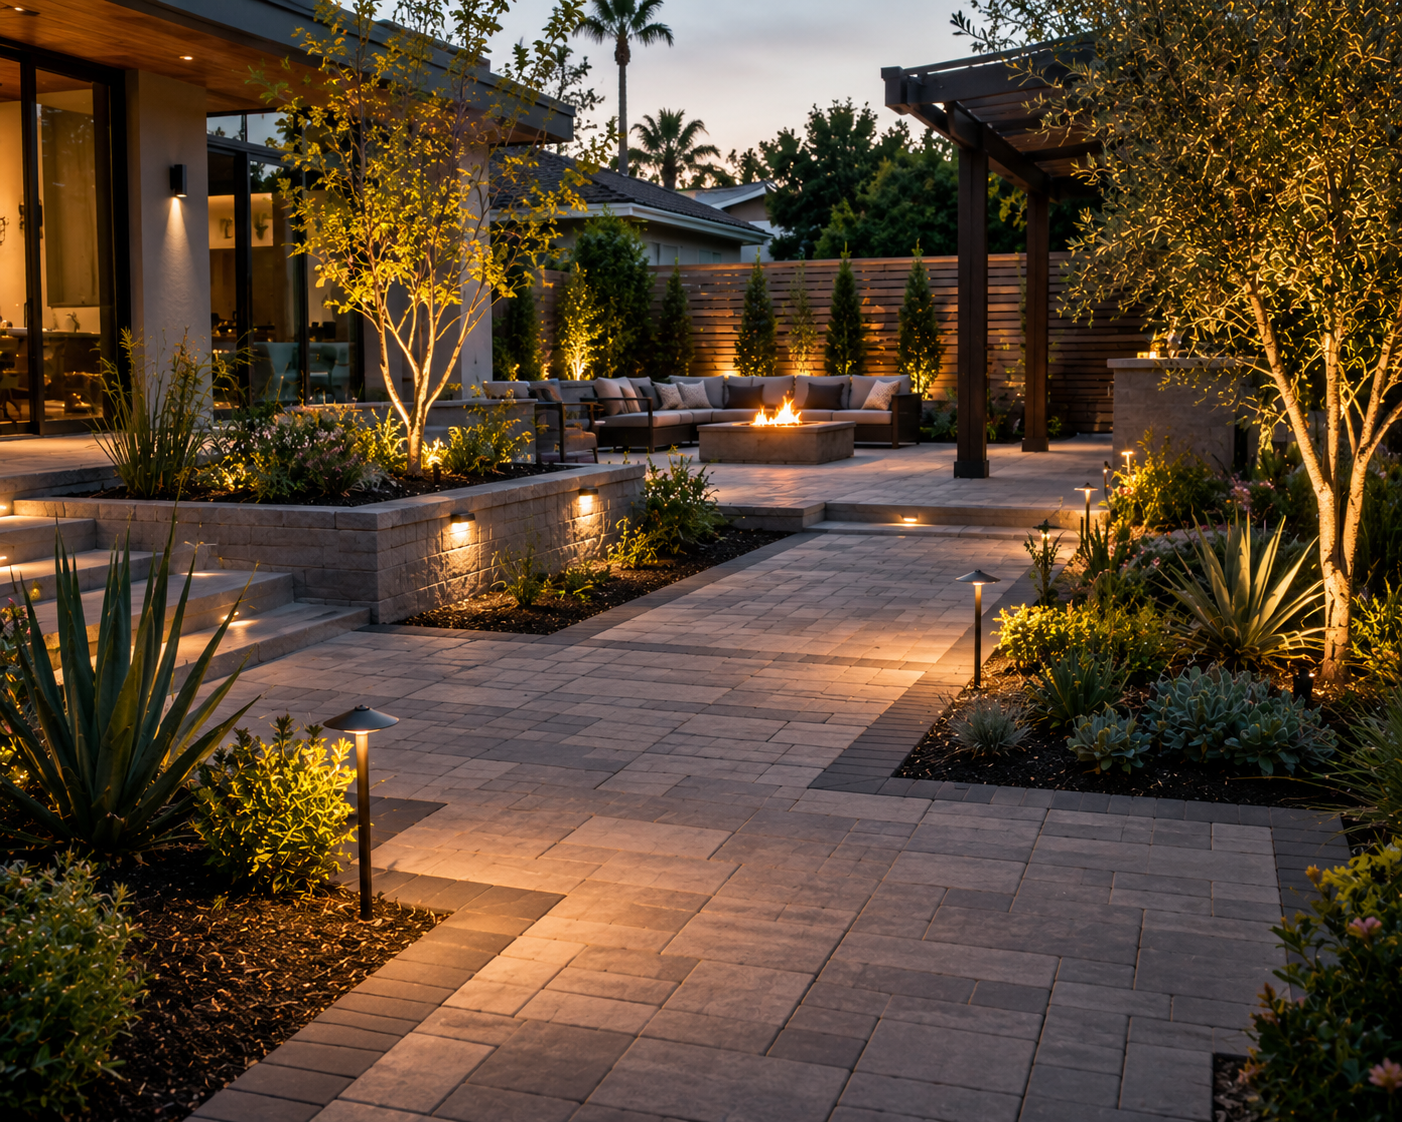
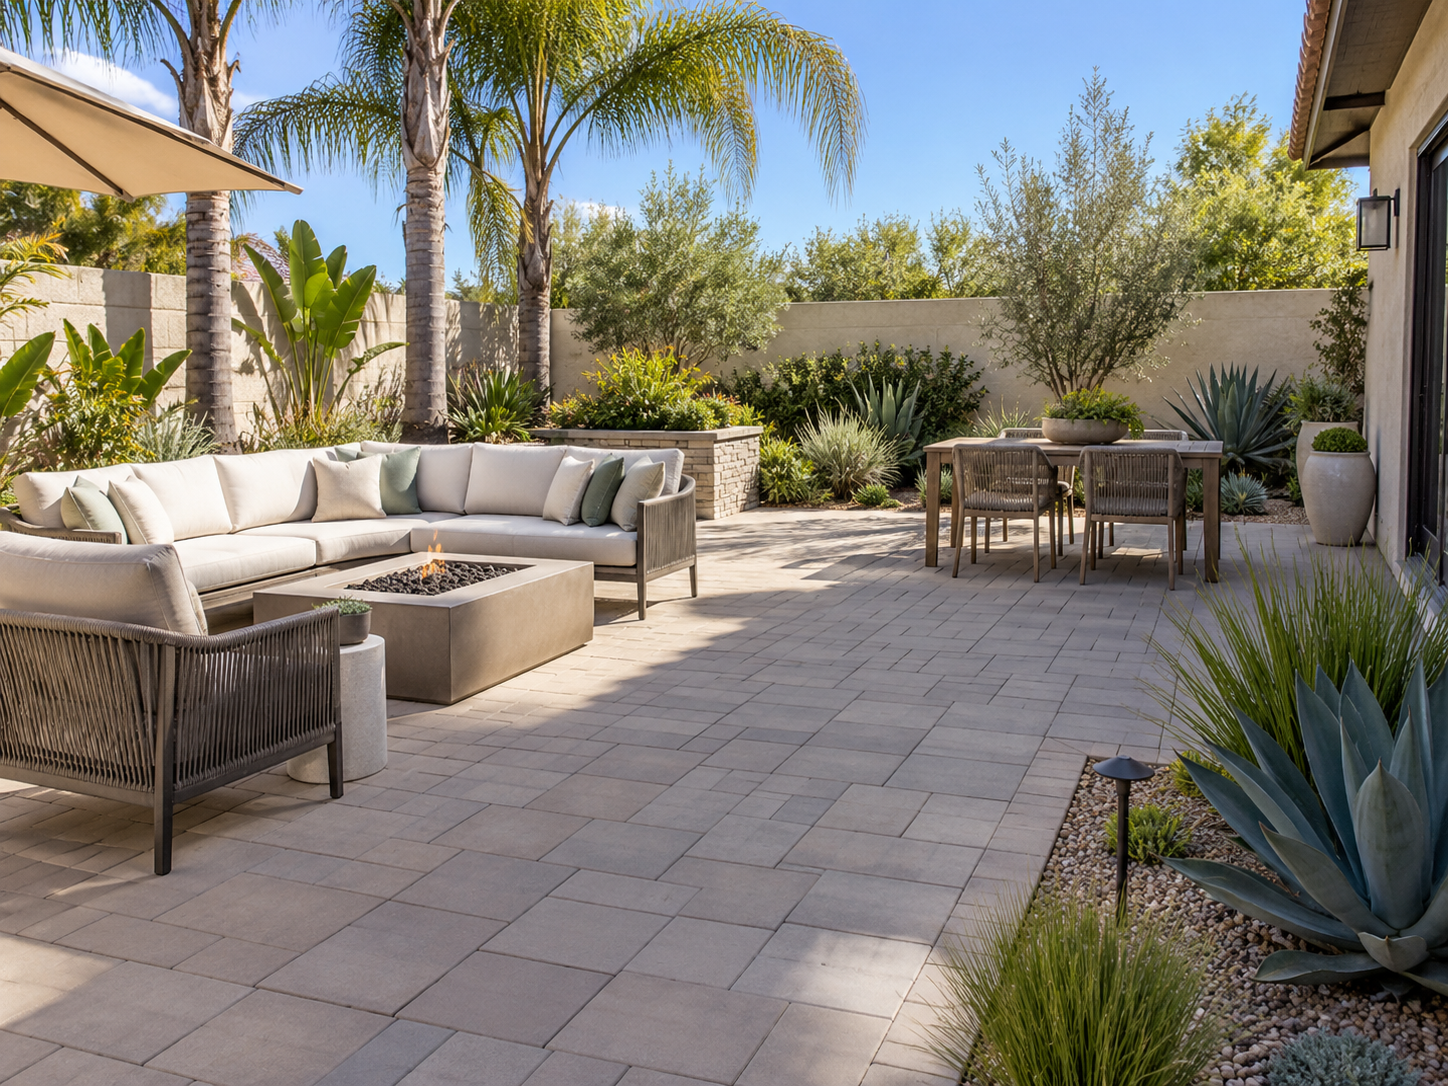
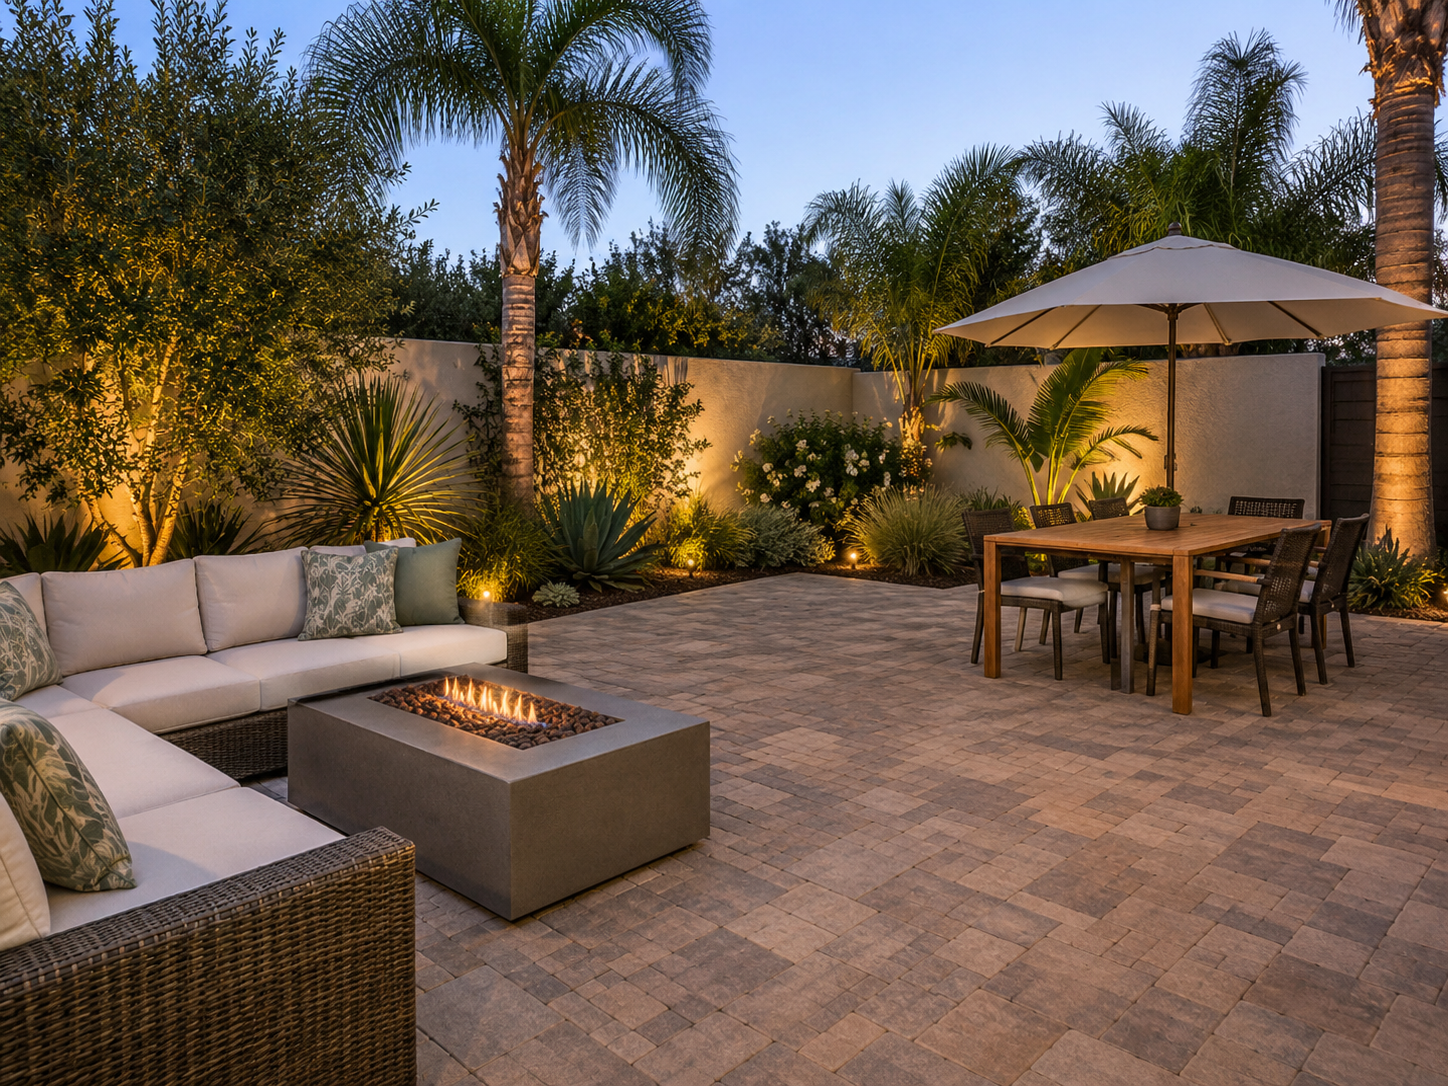
Paver patios can create defined areas for dining, entertaining, relaxing, outdoor kitchens, fire features, lounge furniture, and other backyard activities.
For larger projects, the patio should be planned together with walkways, planting, lighting, irrigation, shade structures, drainage, and other improvements so the finished space functions as one coordinated environment.
Homeowners planning a larger backyard project can explore our Complete Guide to Outdoor Living Spaces in San Diego.
WALKWAYS & ENTRY AREAS
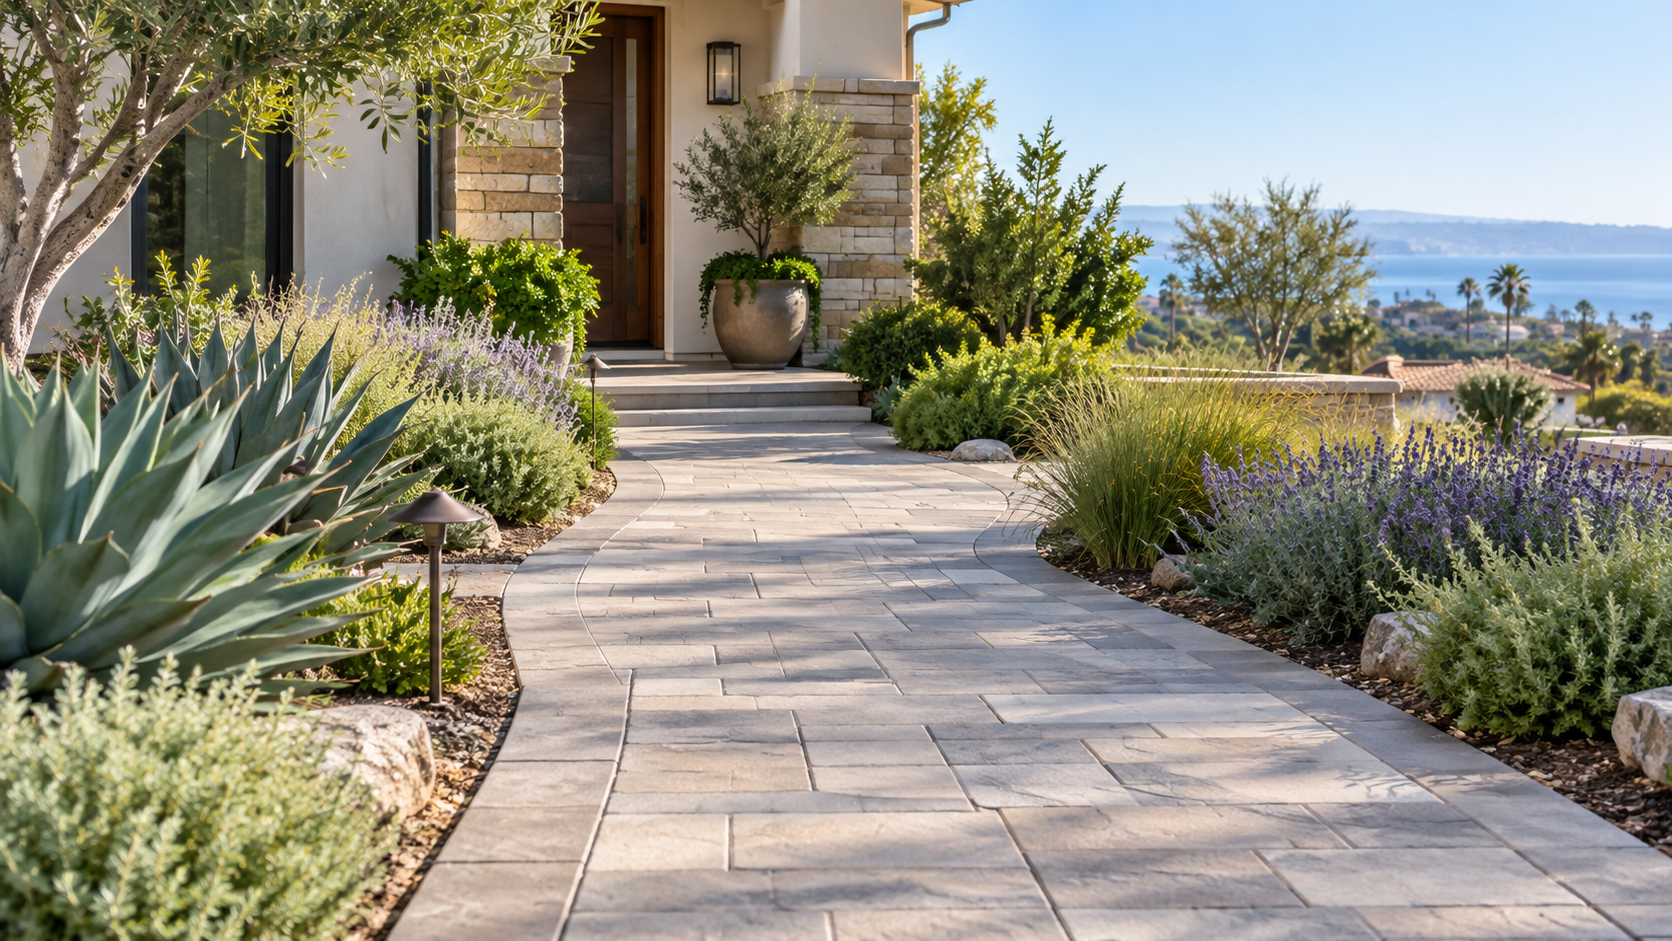
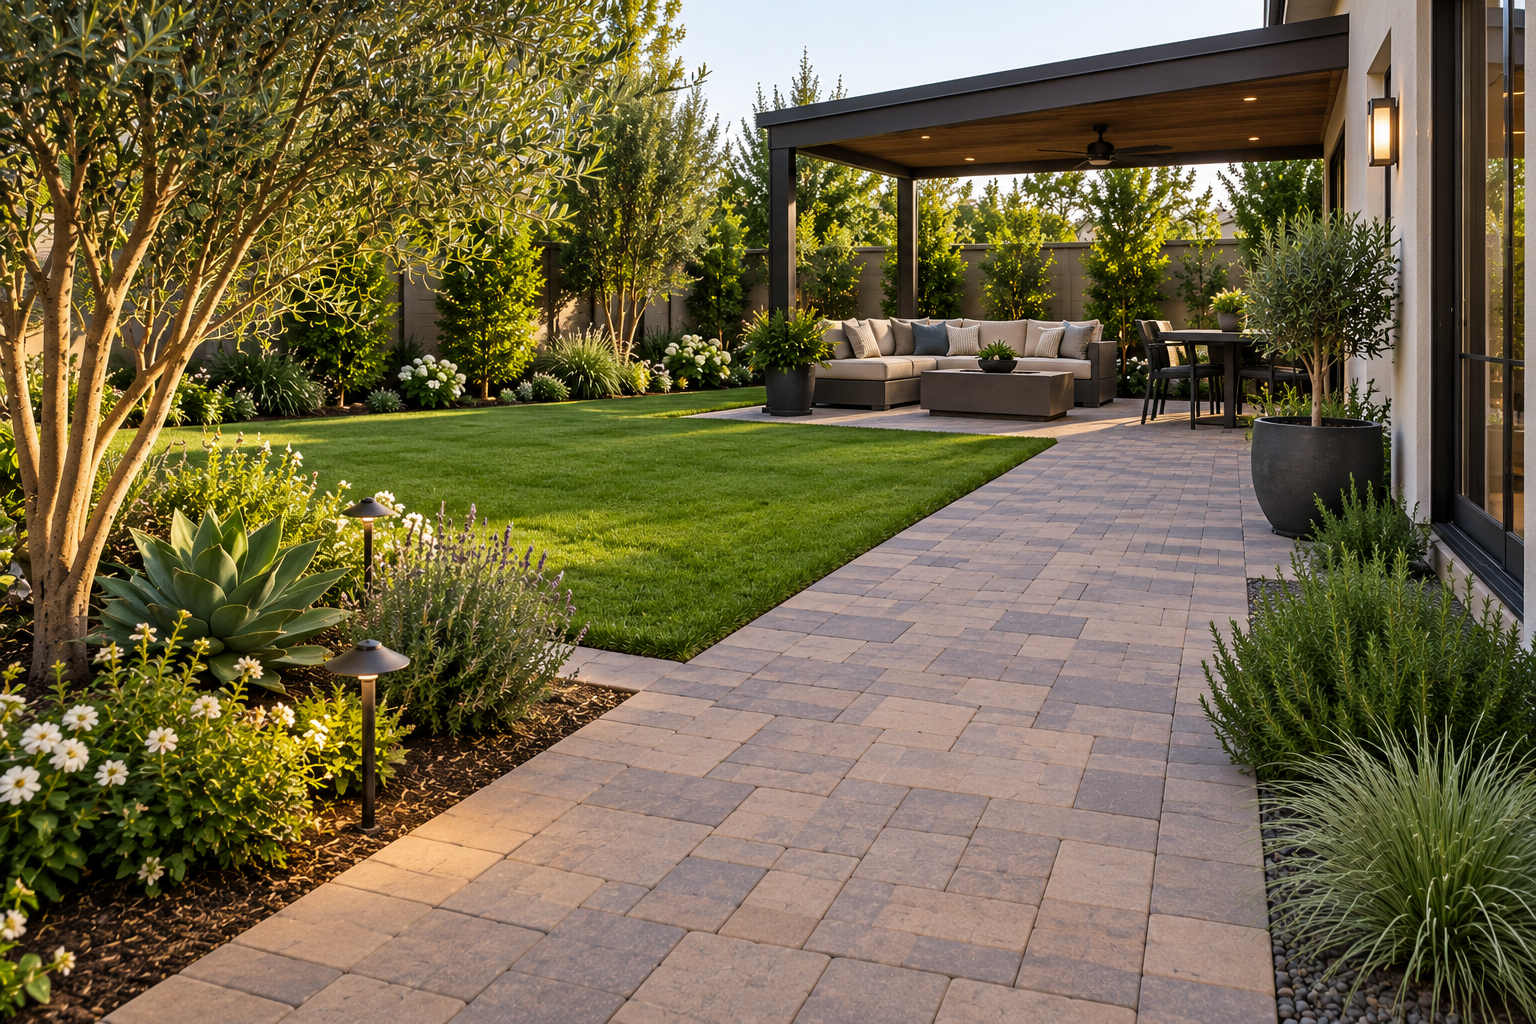
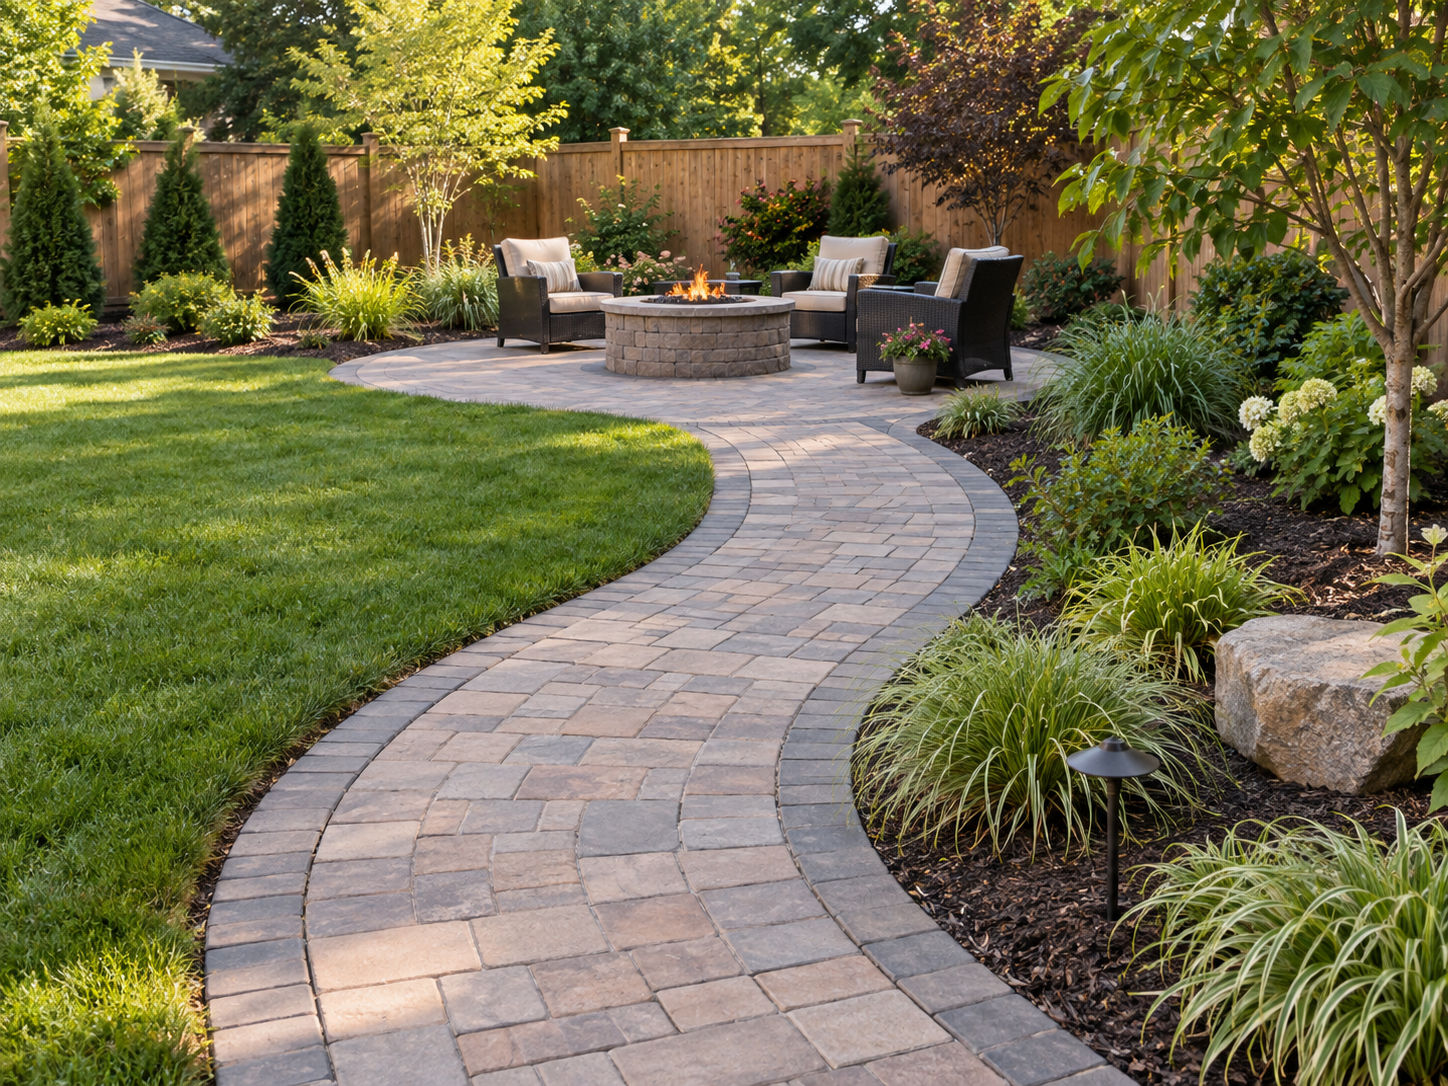
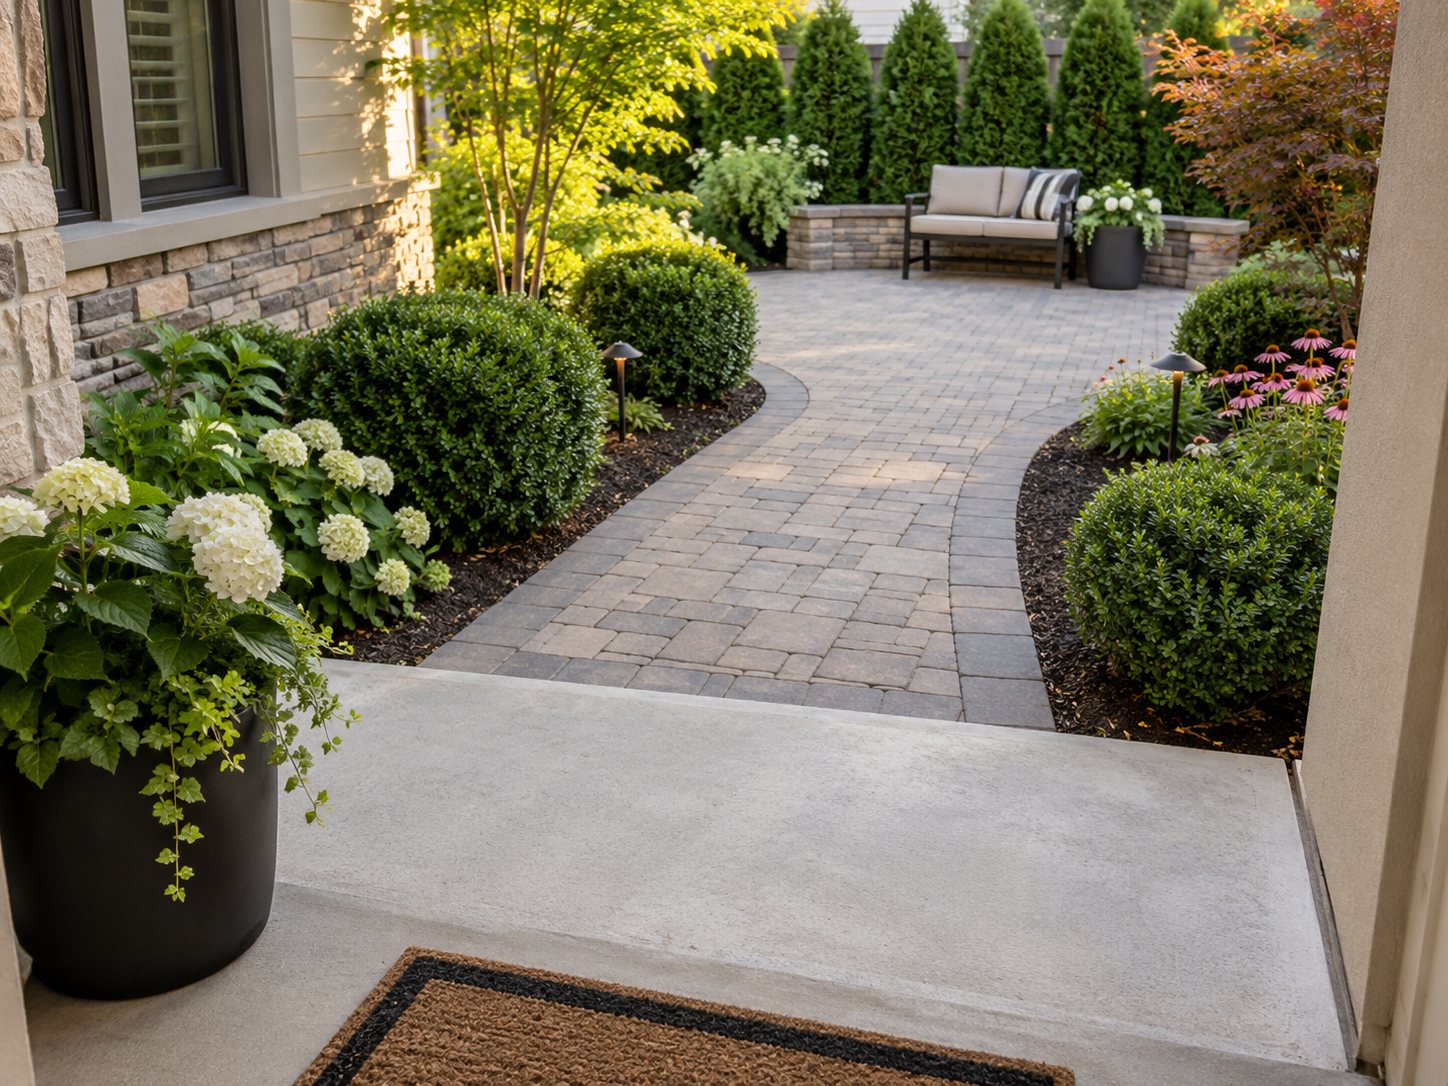
Paver walkways can connect driveways, front entrances, side yards, patios, gates, pools, and backyard destinations while helping establish clear circulation through the landscape.
Width, pattern, borders, drainage, gate clearances, mature planting, and surrounding elevations should all be considered before installation.
SIDE YARDS & COURTYARDS
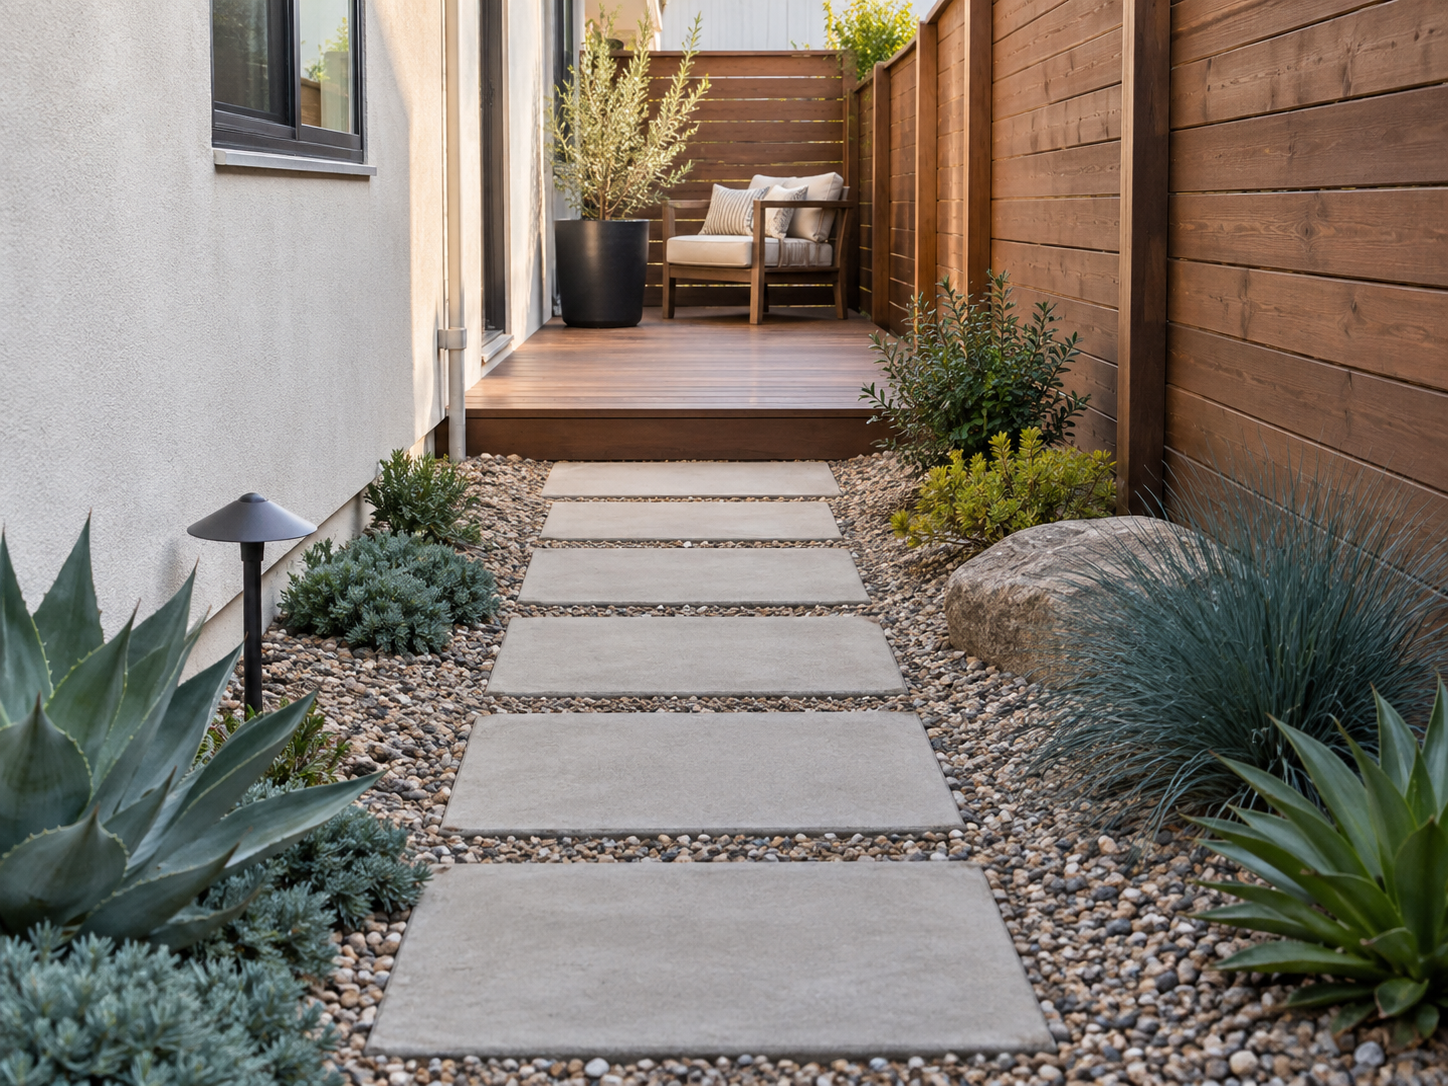
Narrow side yards and underused courtyards can often be improved with pavers, gravel, planting, drainage, and landscape lighting.
These areas require careful planning because limited space can make gates, utilities, drainage, equipment access, finished elevations, and transitions especially important.
DRIVEWAYS & POOL AREAS REQUIRE ADDITIONAL PLANNING
Pavers can also be used for residential driveways and around pools and spas, but these applications have different performance and installation considerations than a typical pedestrian patio or walkway.
Driveways need to account for vehicle loads, while pool areas require additional attention to surface characteristics, water, drainage, coping, barefoot circulation, and surrounding pool infrastructure.
These applications are covered in greater detail in the sections below.
COMPLETE LANDSCAPE RENOVATIONS
Pavers can also become one component of a larger landscape renovation involving concrete, retaining walls, planting, irrigation, drainage, fencing, landscape lighting, outdoor kitchens, fire features, shade structures, or other improvements.
Nature’s Elements Landscaping can coordinate these elements as part of a complete Hardscape & Concrete and landscape construction project rather than treating each improvement as an isolated installation.
The best use of pavers is determined by how the complete property needs to function—not simply by where another hardscape surface can be added.
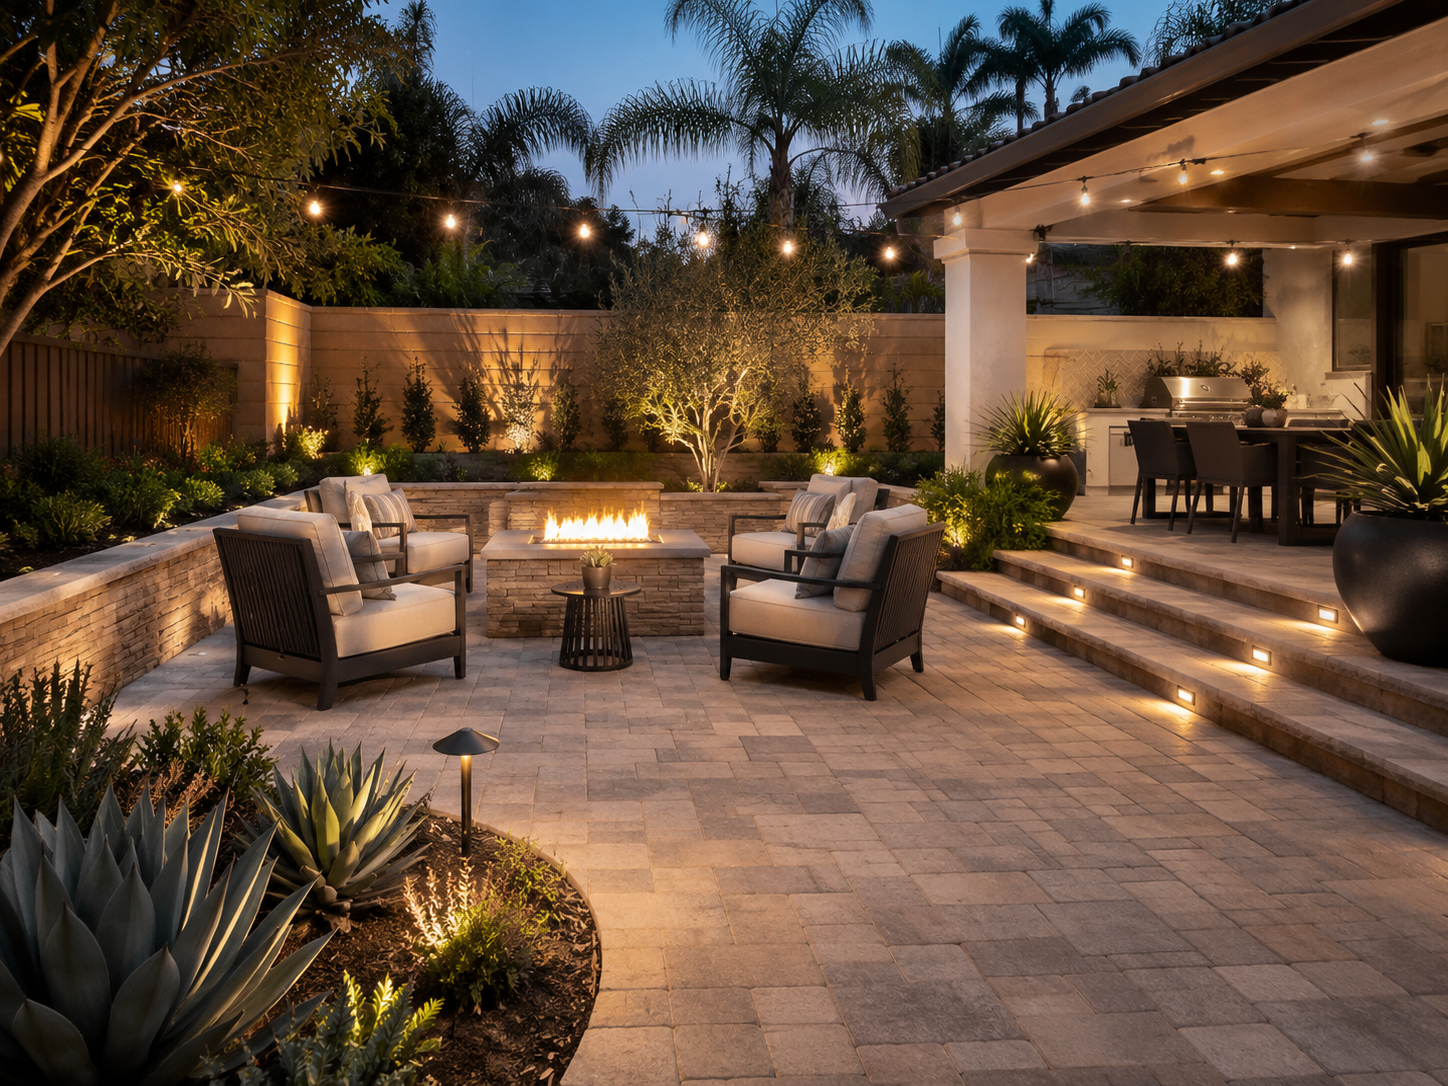
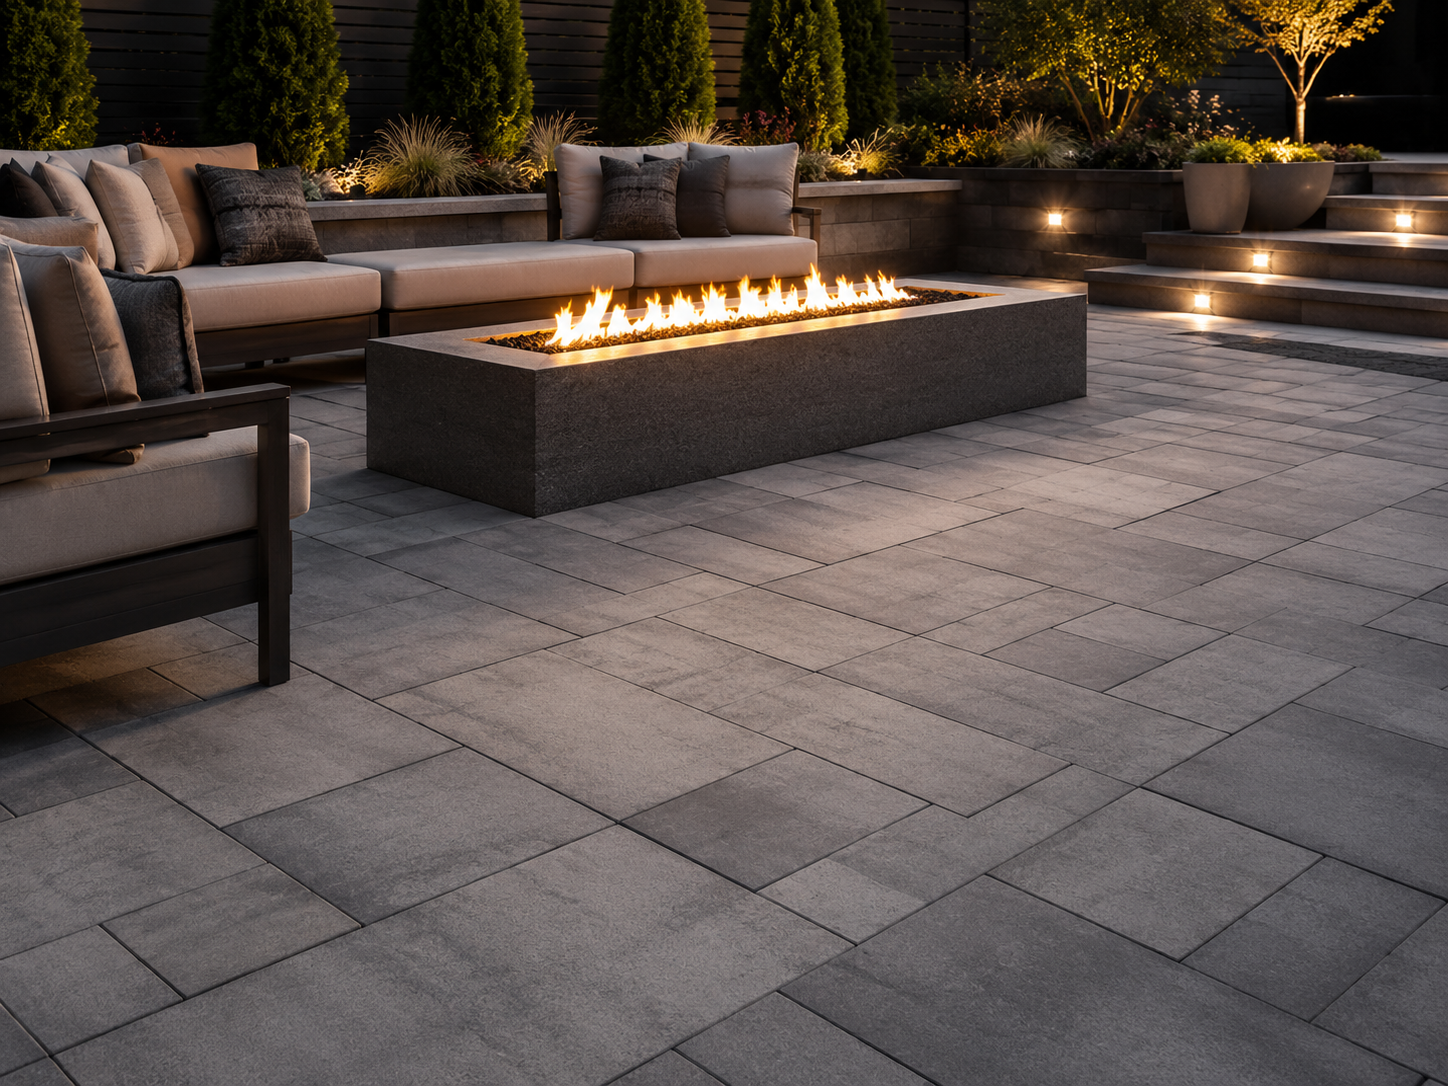
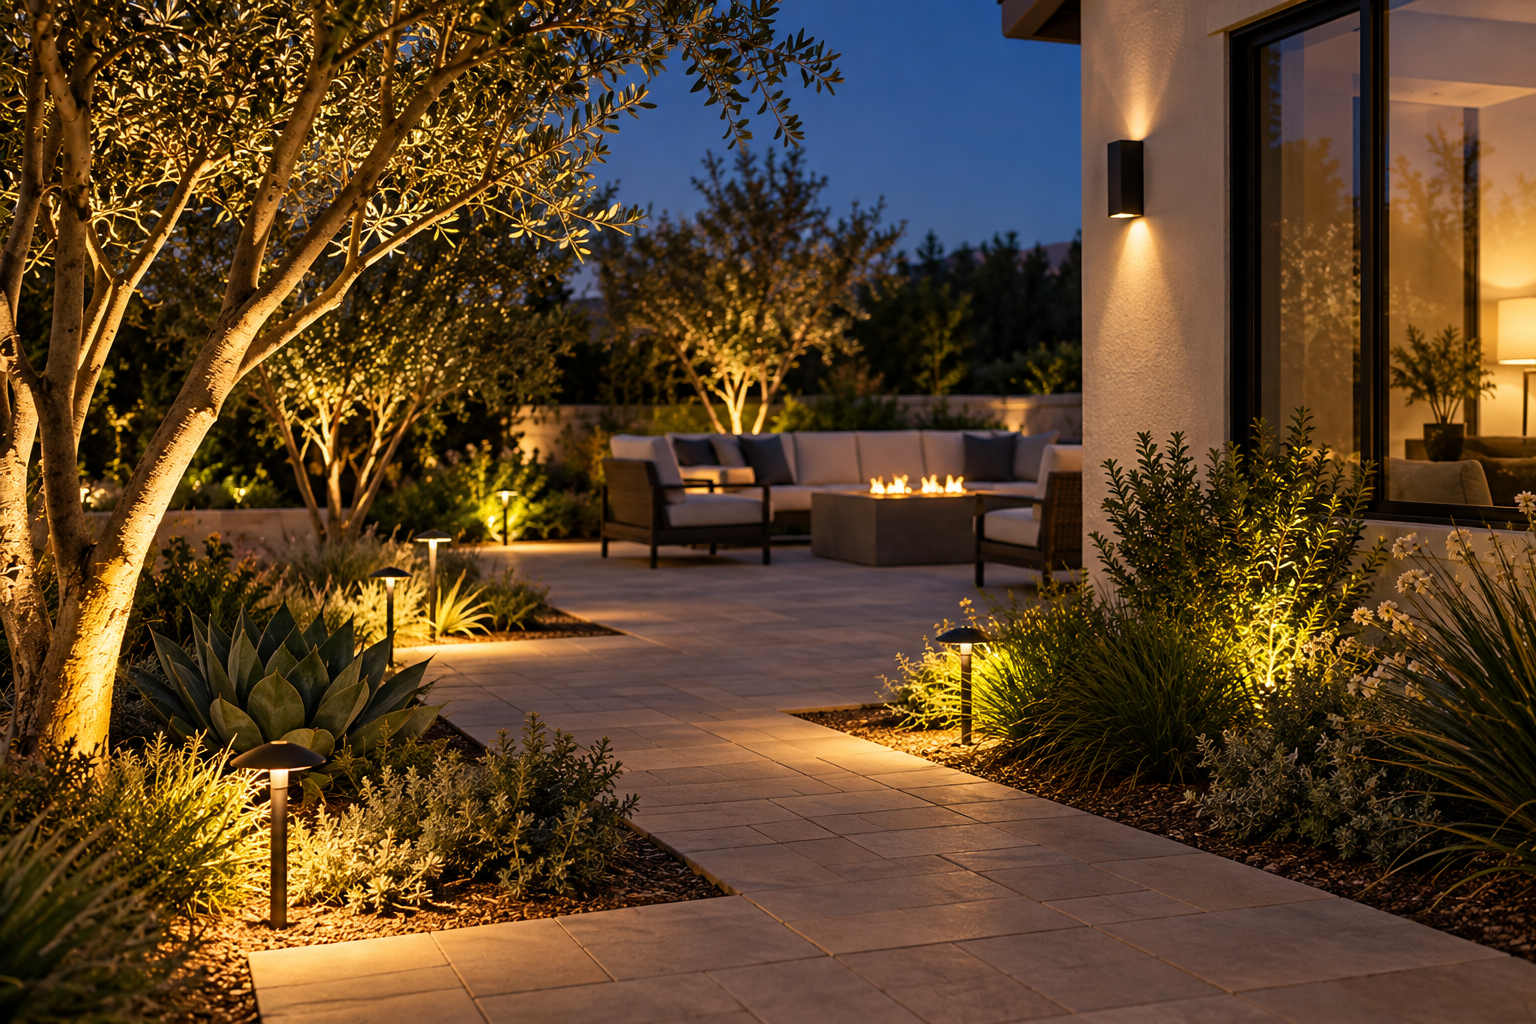
PAVER DRIVEWAYS REQUIRE DIFFERENT PLANNING THAN PATIOS
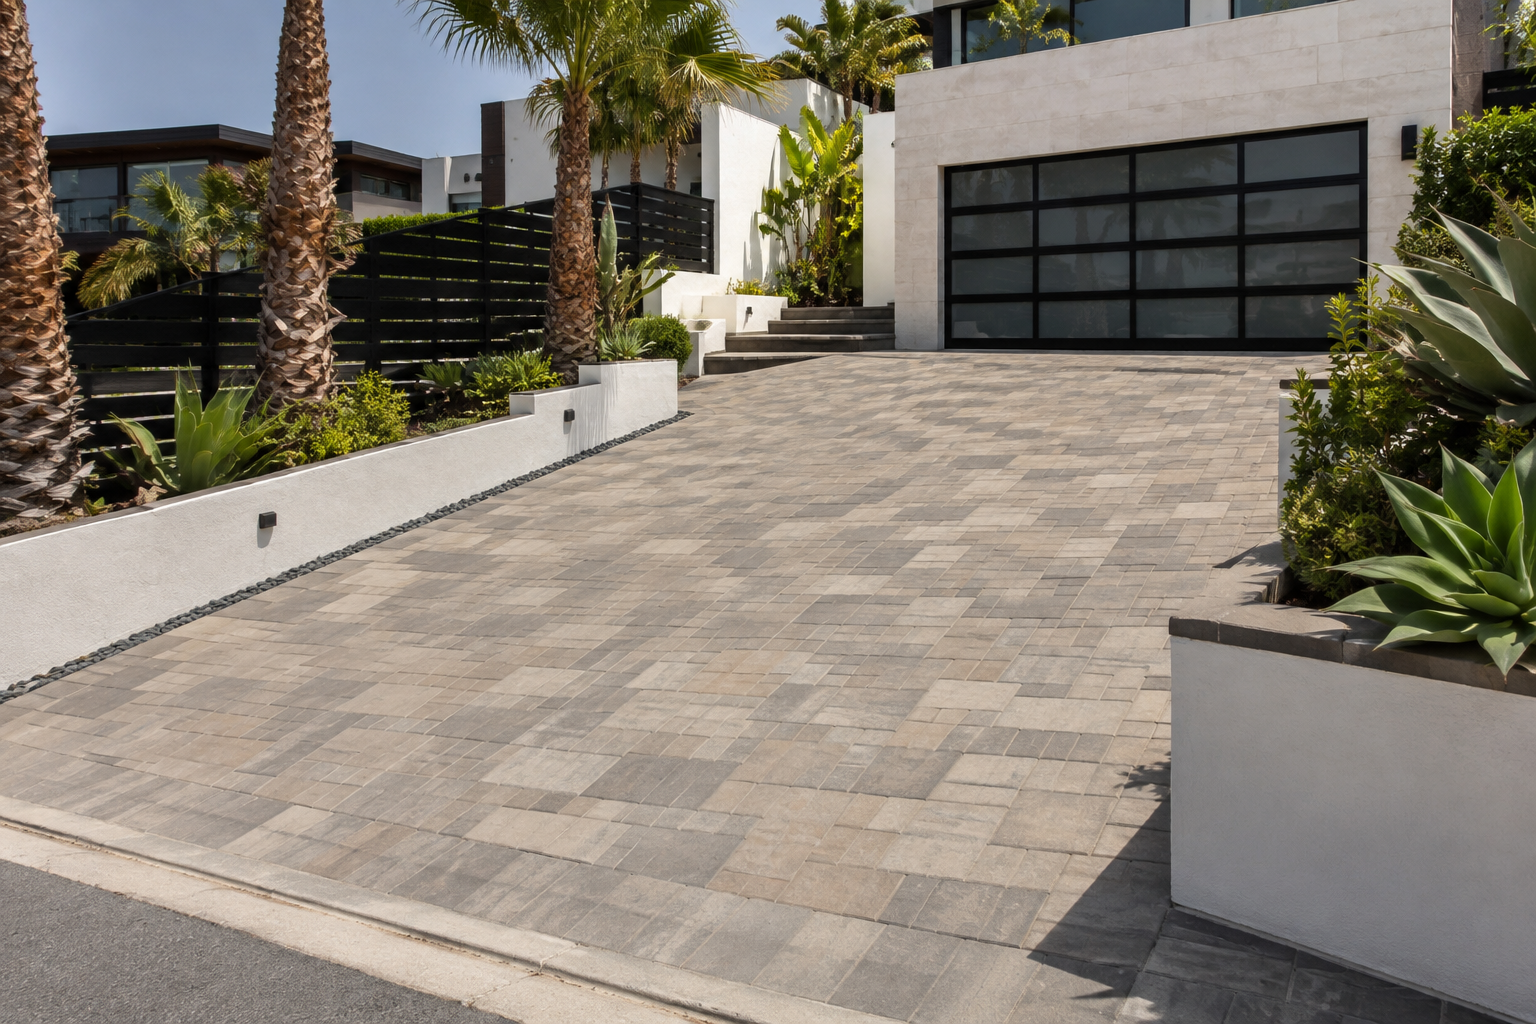
A paver driveway may use some of the same materials and design principles as a patio or walkway, but the installation needs to account for vehicle traffic from the beginning.
The paver itself, excavation, base preparation, compaction, edge restraint, drainage, transitions, and surrounding conditions should all be appropriate for the loads the finished surface will receive.
VEHICLE TRAFFIC CHANGES THE INSTALLATION REQUIREMENTS
A patio primarily supports people, furniture, grills, planters, and other relatively light loads.
A driveway must regularly support vehicles entering, exiting, turning, braking, and sometimes remaining parked in the same location for extended periods.
Because of this, the complete paver system should be selected and constructed for vehicular use rather than assuming that a patio-style installation will perform the same way.
BASE PREPARATION IS ESPECIALLY IMPORTANT
The stability of a paver driveway begins below the visible surface.
Existing soil conditions, excavation depth, base material, compaction, drainage, and the intended vehicle loads all influence how the driveway should be prepared.
Areas of disturbed soil, old utility trenches, poorly compacted fill, or soft subgrade should be evaluated before the new pavers are installed.
Cutting corners underneath the driveway may eventually lead to settlement, low areas, movement, or separation at the surface.
THE PAVER SHOULD BE APPROPRIATE FOR VEHICLE USE
Not every paver product is intended for every application.
Before selecting a paver for a driveway, verify that the product and proposed installation system are suitable for vehicular traffic.
Thickness, shape, pattern, edge conditions, manufacturer requirements, and overall installation method can all affect whether a particular product is appropriate.
Material should therefore be selected based on both appearance and intended use.
DRIVEWAY EDGES NEED SUPPORT
The perimeter of a driveway plays an important role in keeping the paver field contained.
Vehicle movement near unsupported edges can contribute to spreading or movement if the perimeter is not properly constructed.
Edge conditions should be coordinated with:
Adjacent planting areas.
Concrete curbs.
Sidewalks.
Garage slabs.
Walls.
Drainage features.
Landscape borders.
Neighboring improvements.
The appropriate restraint depends on the specific paver system and surrounding construction.
GARAGE AND STREET TRANSITIONS NEED CAREFUL PLANNING
Where the pavers meet the garage, sidewalk, curb, apron, or existing concrete, finished elevations should be planned before installation begins.
Poor transitions can create:
Abrupt changes in elevation.
Vehicle clearance problems.
Drainage issues.
Uncomfortable walking surfaces.
Awkward paver cuts.
Weak or unsupported edges.
The goal is for the driveway to connect naturally with the surrounding surfaces while maintaining appropriate drainage.
DRAINAGE SHOULD BE CONSIDERED BEFORE THE DRIVEWAY IS INSTALLED
A large driveway can influence how a significant amount of water moves across the property.
Existing grades, garage elevations, street drainage, downspouts, neighboring properties, walls, planting areas, and drainage systems should all be evaluated together.
Pavers do not automatically eliminate runoff or drainage concerns.
If the property already has standing water, runoff, or grading issues, review our Complete Guide to Drainage & Yard Drain Systems in San Diego before treating the driveway as an isolated improvement.
PLAN UNDERGROUND WORK BEFORE INSTALLING THE DRIVEWAY
Irrigation lines, drainage pipe, electrical conduit, water lines, sleeves, and other utilities may need to cross beneath a driveway.
Whenever possible, these items should be planned before the finished paver surface is installed.
Trenching through an area after installation can require sections of the driveway to be removed and rebuilt, and disturbed soil beneath those repairs needs to be properly backfilled and compacted.
DESIGN STILL MATTERS
Structural planning does not mean the driveway has to look purely functional.
Paver size, color, texture, pattern, borders, and transitions can help connect the driveway with the architecture of the home, front walkway, entry, walls, planting, and other landscape improvements.
The best driveway design considers appearance and construction together.
Homeowners considering a new paver driveway can learn more about patios, driveways, walkways, courtyards, pool surrounds, and complete installations on our Paver Contractor San Diego page.
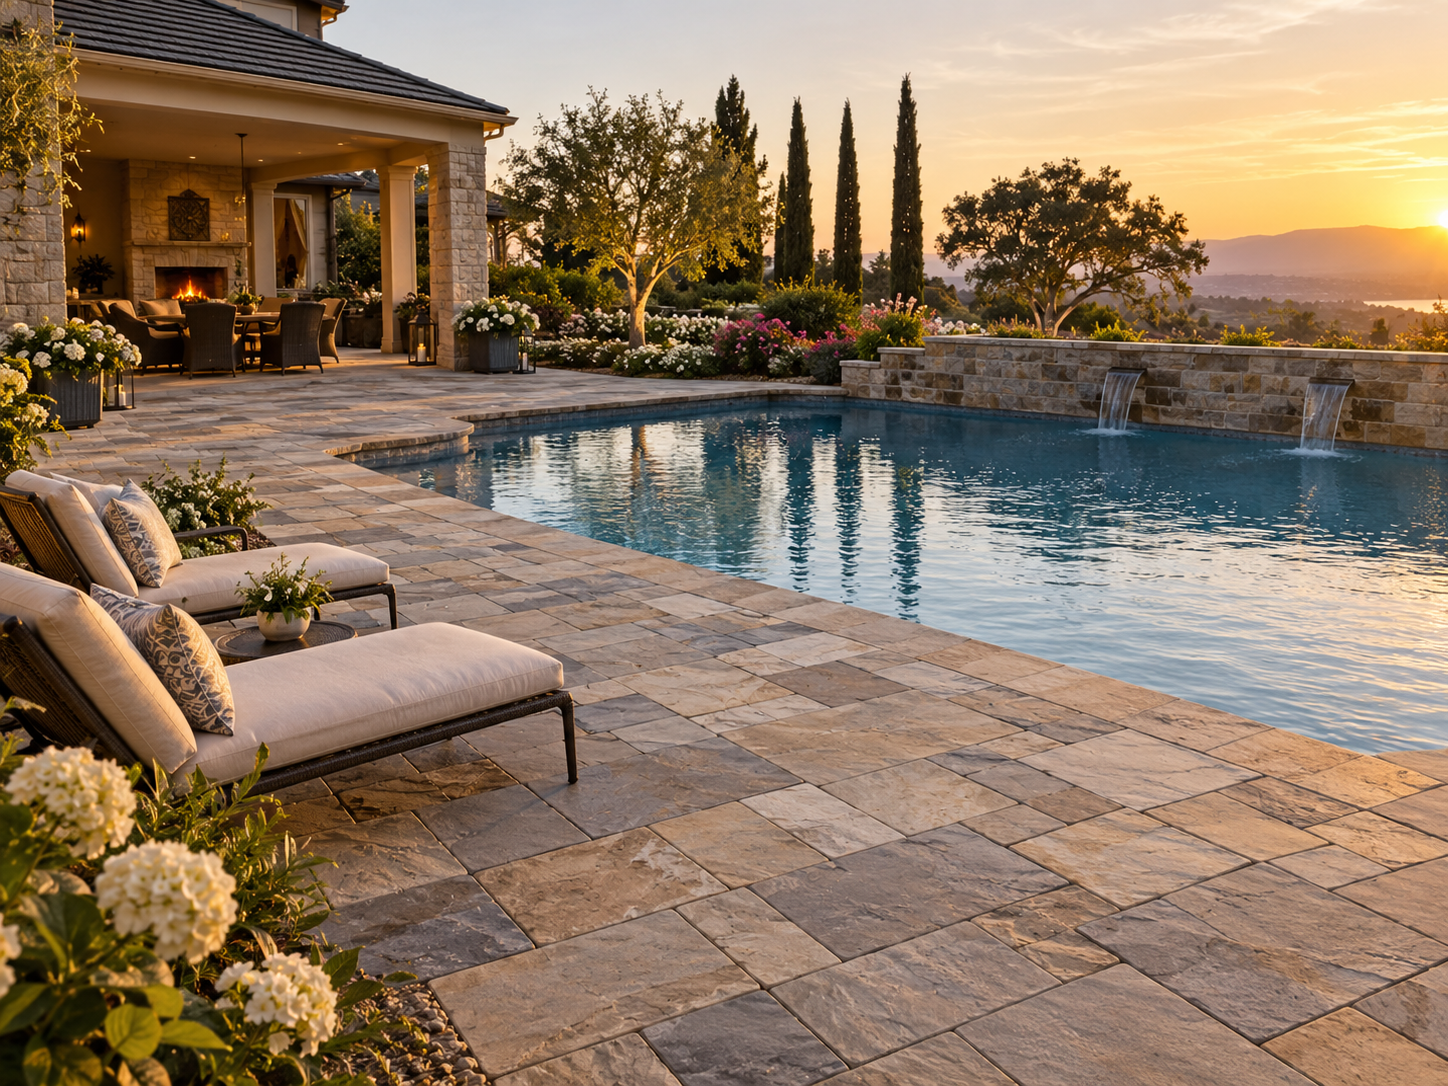
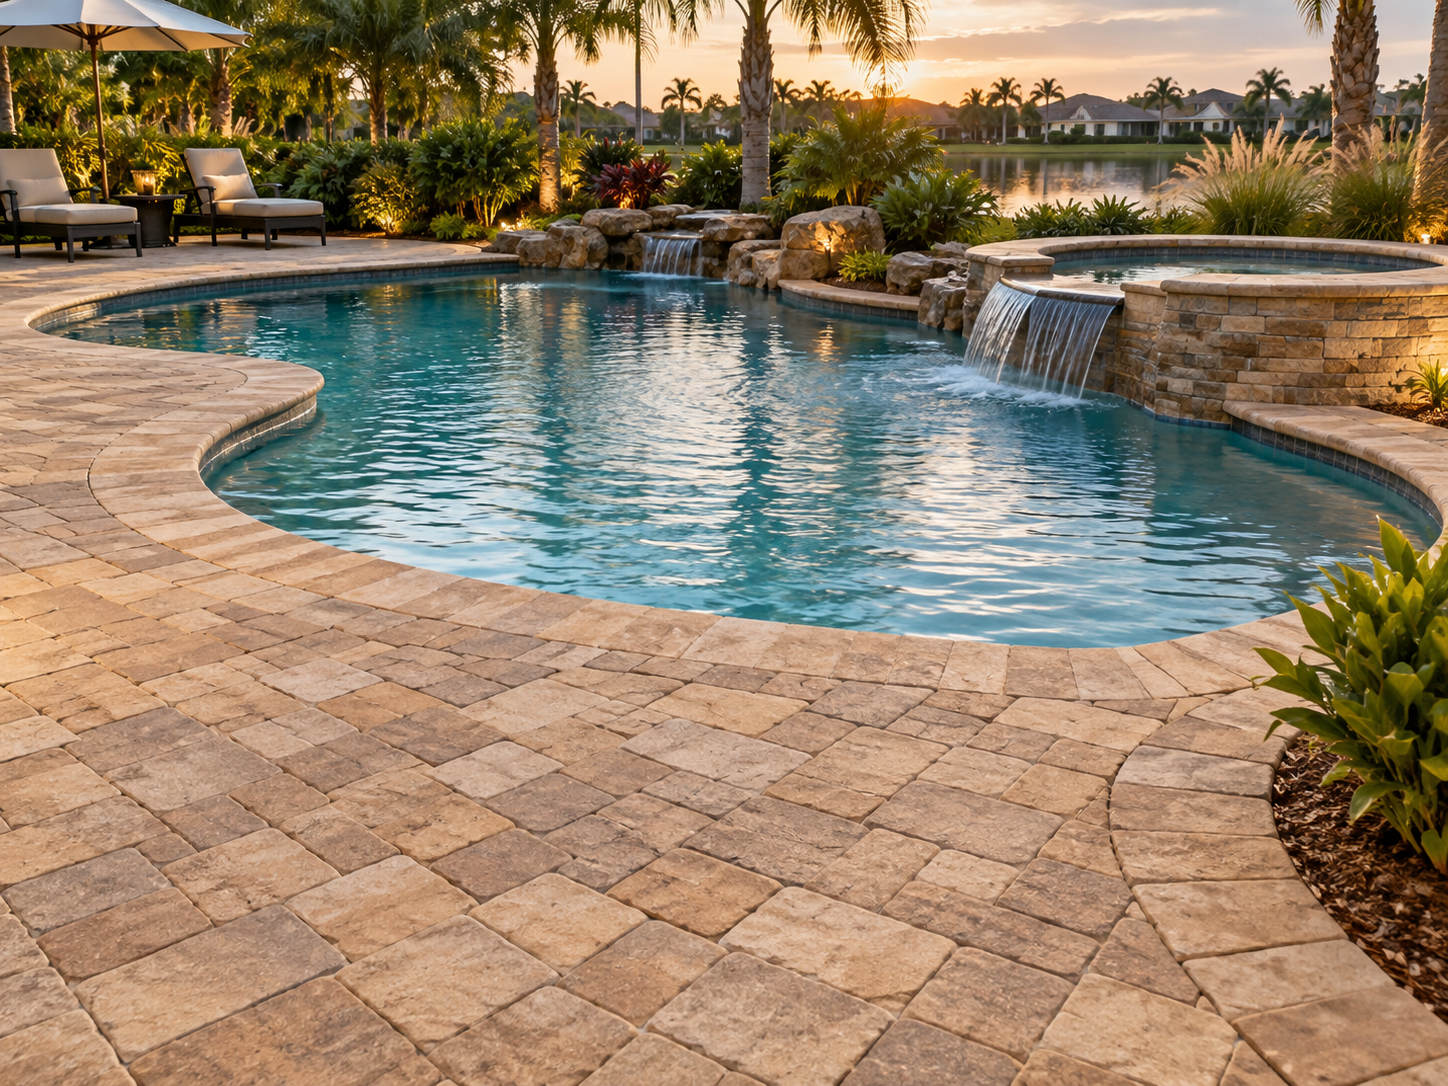
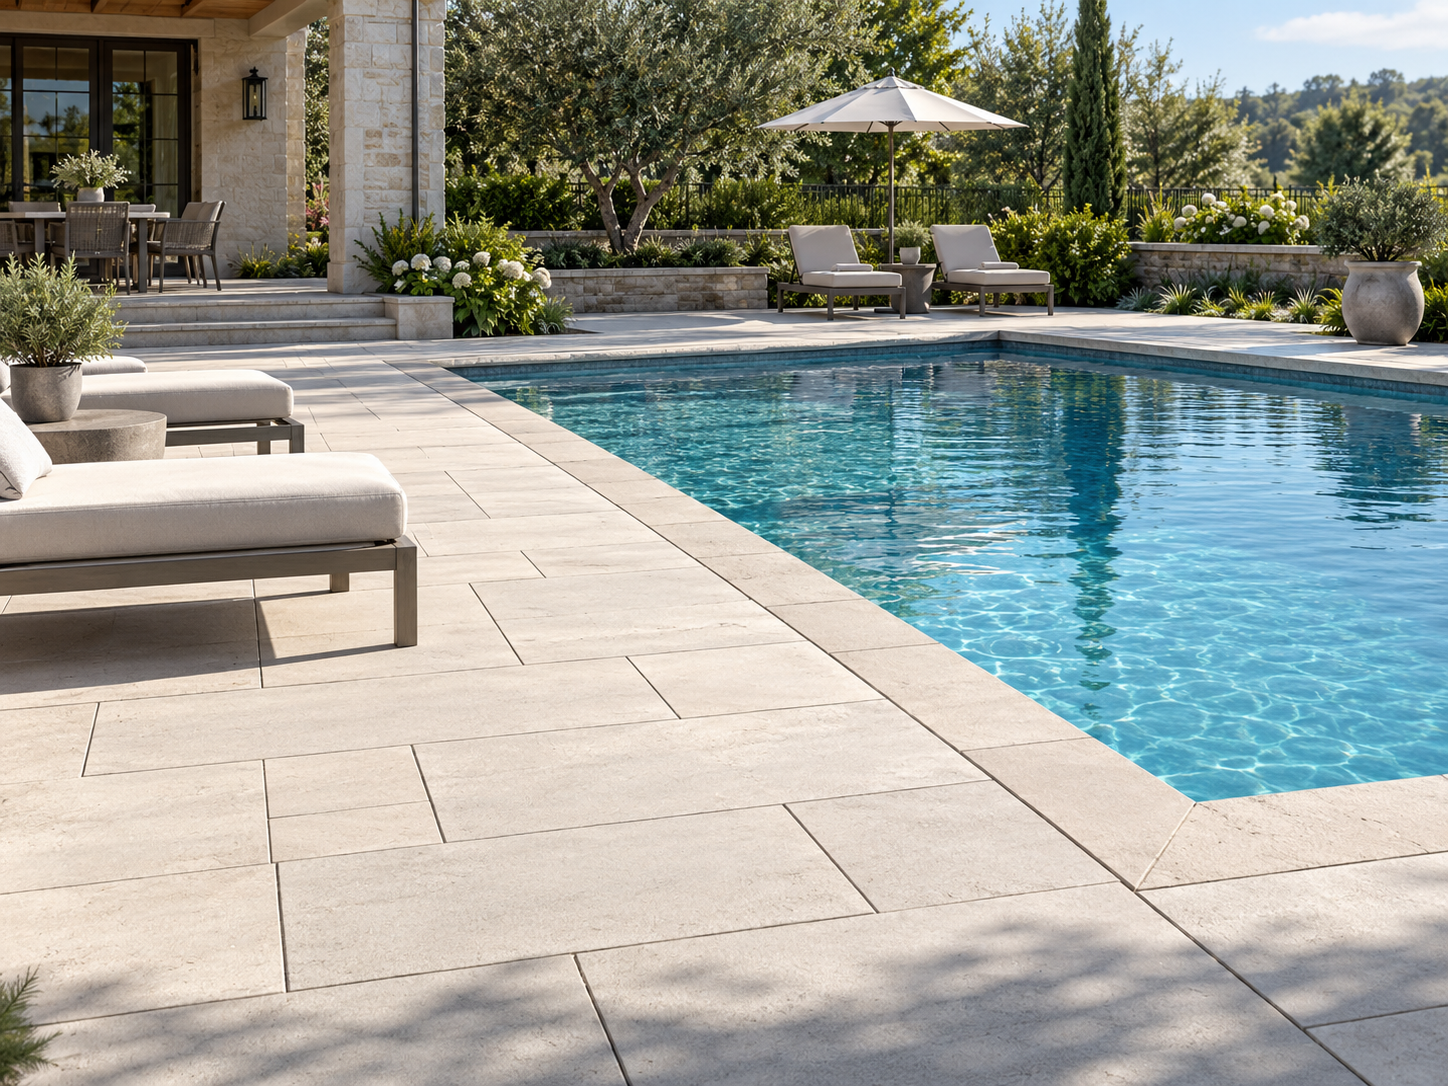
PAVER POOL DECKS NEED SPECIAL PLANNING
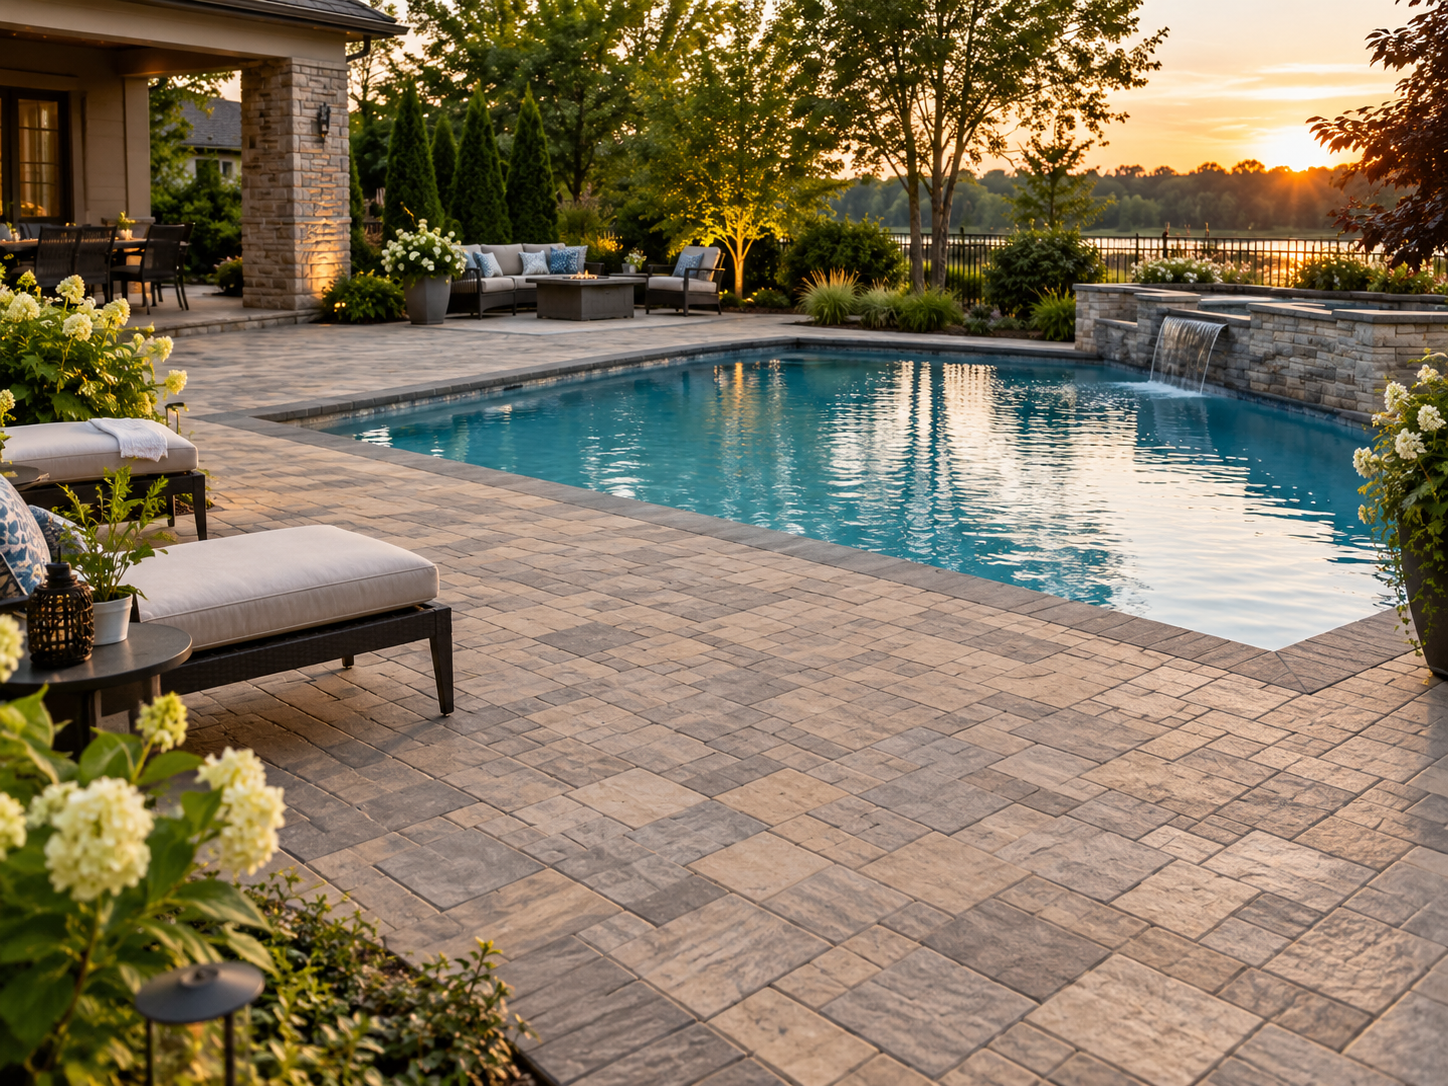
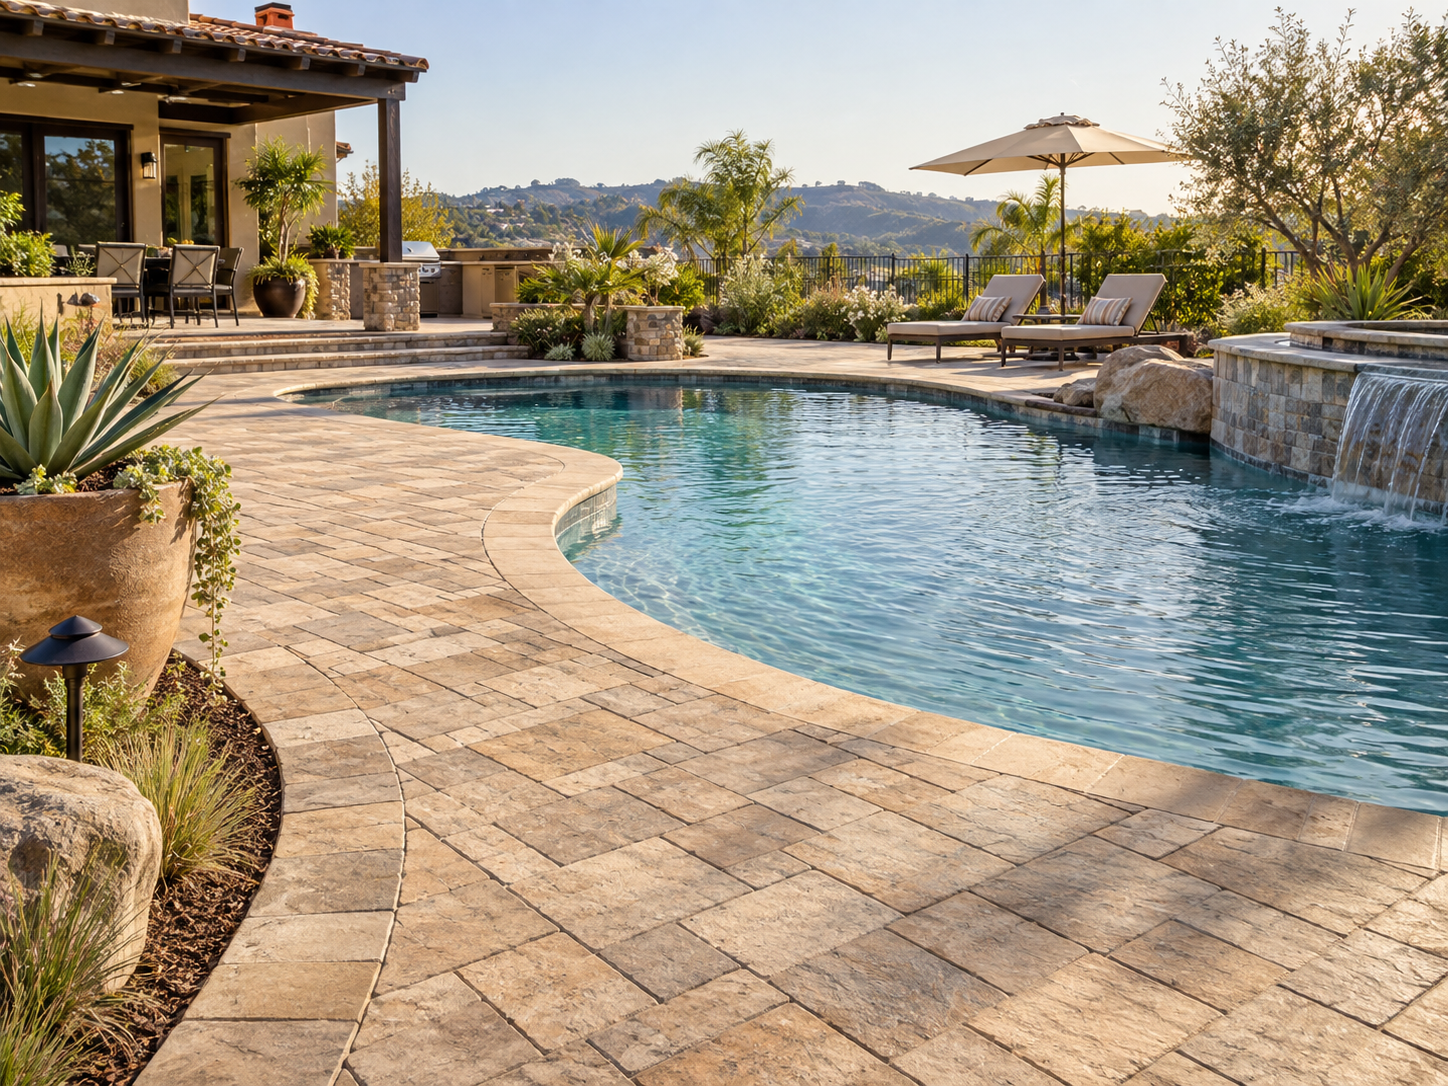
Pavers can be an attractive option around swimming pools and spas, but pool-deck planning involves more than selecting a material that looks good next to the water.
Surface characteristics, drainage, finished elevations, coping, heat exposure, furniture, circulation, maintenance, planting, irrigation, and connections to the rest of the backyard should all be considered before the paver installation begins.
SELECT A PAVER APPROPRIATE FOR THE POOL ENVIRONMENT
Pool areas regularly experience wet surfaces, direct sunlight, foot traffic, splashing, cleaning, and exposure to pool water.
The selected paver should be appropriate for the specific exterior and poolside application.
Consider:
Surface texture.
Slip resistance.
Heat exposure.
Maintenance requirements.
Manufacturer recommendations.
Color and finish.
Compatibility with the proposed installation system.
A material should not be selected for a pool deck based on appearance alone.
Homeowners comparing materials can also review our Concrete Pavers vs. Porcelain Pavers in San Diego: Which Is Better?.
POOL COPING AND PAVER TRANSITIONS SHOULD BE PLANNED TOGETHER
The relationship between the pool coping and surrounding pavers can have a significant impact on the finished appearance.
Paver dimensions, pattern, cuts, joint locations, coping material, elevations, and the shape of the pool should be coordinated before installation.
Poor planning can leave narrow cuts, awkward transitions, or inconsistent joints around one of the most visible areas of the backyard.
The goal is for the coping, pool deck, patios, walkways, and surrounding landscape to feel like parts of one design.
DRAINAGE IS ESPECIALLY IMPORTANT AROUND POOLS
Water around a pool does not come only from rain.
Splashing, pool use, cleaning, irrigation, outdoor showers, roof runoff, and surrounding landscape areas can all contribute water to the deck.
Finished grades and drainage should help direct water appropriately rather than allowing it to collect against the house, remain in low areas, wash into planting beds, or continually move back toward the pool.
Existing drains, proposed drains, deck slopes, nearby walls, doors, steps, and surrounding elevations should be considered before the pavers are installed.
Homeowners with broader drainage concerns can review our Complete Guide to Drainage & Yard Drain Systems in San Diego.
LEAVE ENOUGH SPACE FOR FURNITURE AND CIRCULATION
A pool deck should not be designed only around the perimeter of the swimming pool.
People need comfortable space to walk, sit, supervise children, place lounge furniture, carry towels and pool equipment, and move between the house and other outdoor areas.
Consider where you may need room for:
Lounge chairs.
Umbrellas.
Outdoor dining.
Pool equipment.
Towel storage.
Outdoor showers.
Grills or outdoor kitchens.
Steps and landings.
Walkways to gates and side yards.
A larger pool does not automatically create a better backyard if there is not enough usable space left around it.
CONSIDER HOW HOT THE SURFACE MAY FEEL
San Diego pool decks can receive significant direct sunlight, particularly in exposed backyards.
Color, material, finish, shade, orientation, and surrounding conditions can influence how a surface feels during hot weather.
Homeowners should consider where people are likely to walk barefoot and which areas receive the strongest afternoon sun.
Shade from umbrellas, pergolas, patio covers, trees, and other structures should be coordinated with the complete pool-area design rather than treated as an afterthought.
PLAN UTILITIES BEFORE THE PAVERS ARE FINISHED
Pool environments often contain more underground infrastructure than a basic patio.
Before installing the finished paver surface, consider whether the area may require:
Pool plumbing.
Drainage.
Irrigation lines.
Electrical conduit.
Landscape-lighting wire.
Outdoor kitchen utilities.
Outdoor shower plumbing.
Sleeves beneath walkways or patios.
Future equipment connections.
Planning these improvements before the pavers are completed can reduce the need to remove finished hardscape later.
KEEP PLANTING AND IRRIGATION IN MIND
Planting can help soften a large pool deck and connect the hardscape with the rest of the landscape, but plant placement should consider mature size, debris, roots, irrigation, and maintenance.
Repeated irrigation overspray can leave mineral deposits or staining on certain paver surfaces and may keep joints unnecessarily wet.
Trees and large plants should also be positioned with their mature growth and root systems in mind.
DESIGN THE ENTIRE POOL ENVIRONMENT TOGETHER
The most successful pool areas are not designed as a swimming pool surrounded by leftover space.
The pool, spa, paver deck, patios, furniture, planting, lighting, drainage, shade, outdoor kitchen, fire features, walkways, and views from the house should work together as one outdoor environment.
Homeowners planning a larger renovation can explore our Complete Guide to Pool & Spa Landscape Design in San Diego.
For information specifically about professional paver installation around pools, patios, walkways, driveways, and complete outdoor living areas, visit our Paver Contractor San Diego page.
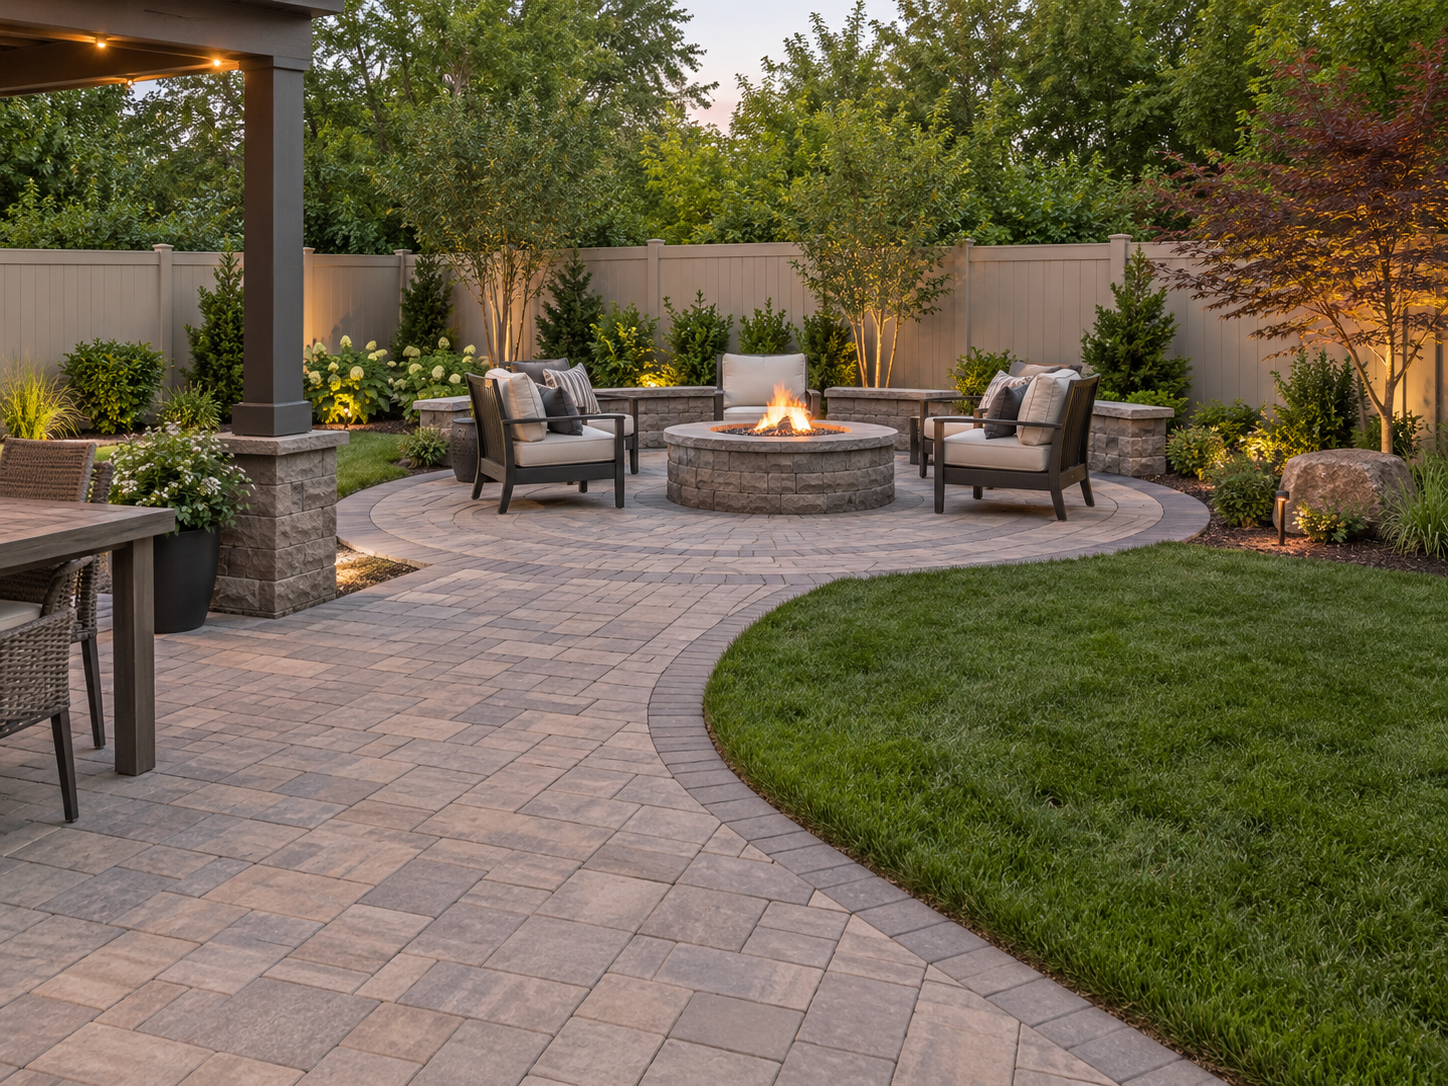
PLAN THE PAVER AREA AROUND HOW THE SPACE WILL ACTUALLY BE USED
The size and shape of a paver patio or walkway should be determined by more than the available square footage.
Before finalizing the hardscape layout, consider how people will move through the space, where furniture will be placed, how doors and gates will operate, and how the patio will connect with other outdoor features.
A patio may need room for outdoor dining, lounge furniture, an outdoor kitchen, a fire feature, or several different activities at the same time. Walkways also need to accommodate everyday circulation, maintenance access, gates, equipment, and the mature size of nearby plants.
Planning these relationships before construction can help prevent a patio from feeling undersized or a walkway from becoming unnecessarily narrow once the rest of the landscape is installed.
Homeowners planning a dining area can read our How Much Patio Space Do You Need Around an Outdoor Dining Table? guide for a closer look at furniture clearance and circulation.
For additional patio inspiration, explore our Paver Patio Ideas for San Diego Backyards guide.
PLAN PAVER PATIOS AROUND FURNITURE & CIRCULATION
The finished size of a paver patio should be based on more than the dimensions of the available yard.
Furniture, doors, walkways, outdoor kitchens, grills, steps, pools, planting areas, and other features all require space around them. A patio can look large when it is empty and still feel crowded once furniture and everyday circulation are added.
START WITH THE FURNITURE
Whenever possible, determine the approximate size and location of major furniture before finalizing the patio.
Consider:
Outdoor dining tables and chairs.
Lounge furniture.
Sectional sofas.
Coffee and side tables.
Umbrellas and shade structures.
Fire features.
Grills and outdoor kitchens.
Bar seating.
Planning around realistic furniture dimensions can help prevent a finished patio from feeling undersized.
LEAVE ROOM BEHIND DINING CHAIRS
Dining areas require more room than the table itself.
People need space to pull chairs out, sit down, stand up, and move behind occupied chairs. If the dining area is also located along a primary walkway, additional circulation space may be needed behind the seating.
This is especially important near exterior doors, outdoor kitchens, pools, gates, and other frequently used areas.
For a more detailed look at dining-table placement and circulation, read How Much Patio Space Do You Need Around an Outdoor Dining Table?.
OUTDOOR KITCHENS NEED WORKING SPACE TOO
A grill or outdoor kitchen should not be planned only around the dimensions of the equipment.
The surrounding area may also need room for:
The person preparing or cooking food.
Grill doors and cabinet doors to open.
Countertop work areas.
Bar stools and seated guests.
People walking behind the cooking area.
Routes between the house, kitchen, dining area, and yard.
Cooking space and general circulation should not compete for the same narrow walkway whenever the layout allows them to be separated.
Homeowners planning a larger entertaining area can also explore our Complete Guide to Outdoor Living Spaces in San Diego.
WATCH DOORS, STEPS & OTHER TRANSITIONS
A patio may have enough total square footage while still feeling tight in the wrong places.
Before construction, evaluate where:
Exterior doors open.
Sliding doors connect to the patio.
Steps and landings occur.
Gates enter the space.
Walkways cross the patio.
Pool access is located.
Planting beds or retaining walls reduce usable space.
Furniture should not create a bottleneck immediately outside a doorway or force people into an awkward route around the patio.
SEPARATE ACTIVITY AREAS WHEN SPACE ALLOWS
Larger patios can sometimes function better when the space is organized into separate zones rather than treated as one large open surface.
One area might be used for dining while another is used for lounging, cooking, or gathering around a fire feature.
Paver patterns, borders, furniture placement, planting, lighting, and changes in orientation can help define these areas without physically separating them with walls.
TEST THE LAYOUT BEFORE CONSTRUCTION
Before finalizing the paver dimensions, it can be helpful to mark the proposed patio and furniture locations on the ground.
Garden hoses, chalk, tape, cones, or temporary furniture can help homeowners visualize how much room will actually remain once the space is furnished.
Walk through the routes between the house, dining area, grill, pool, gates, and surrounding yard.
The goal is not simply to create the largest patio possible. It is to create enough hardscape in the right locations so the finished outdoor space feels comfortable, connected, and easy to use.
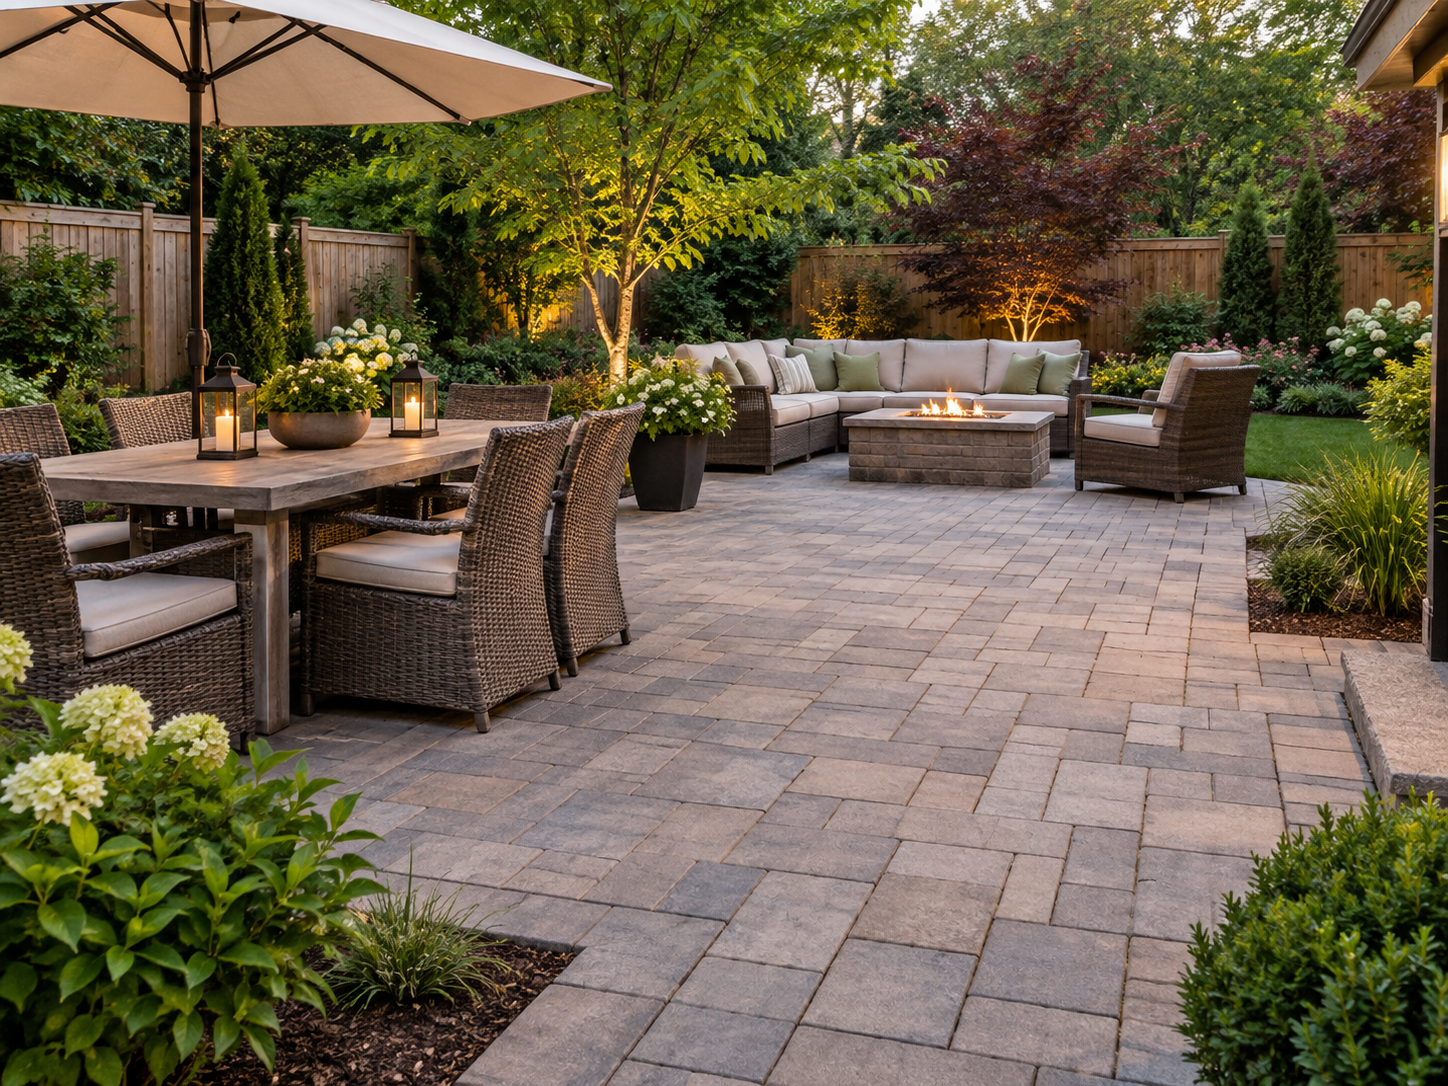
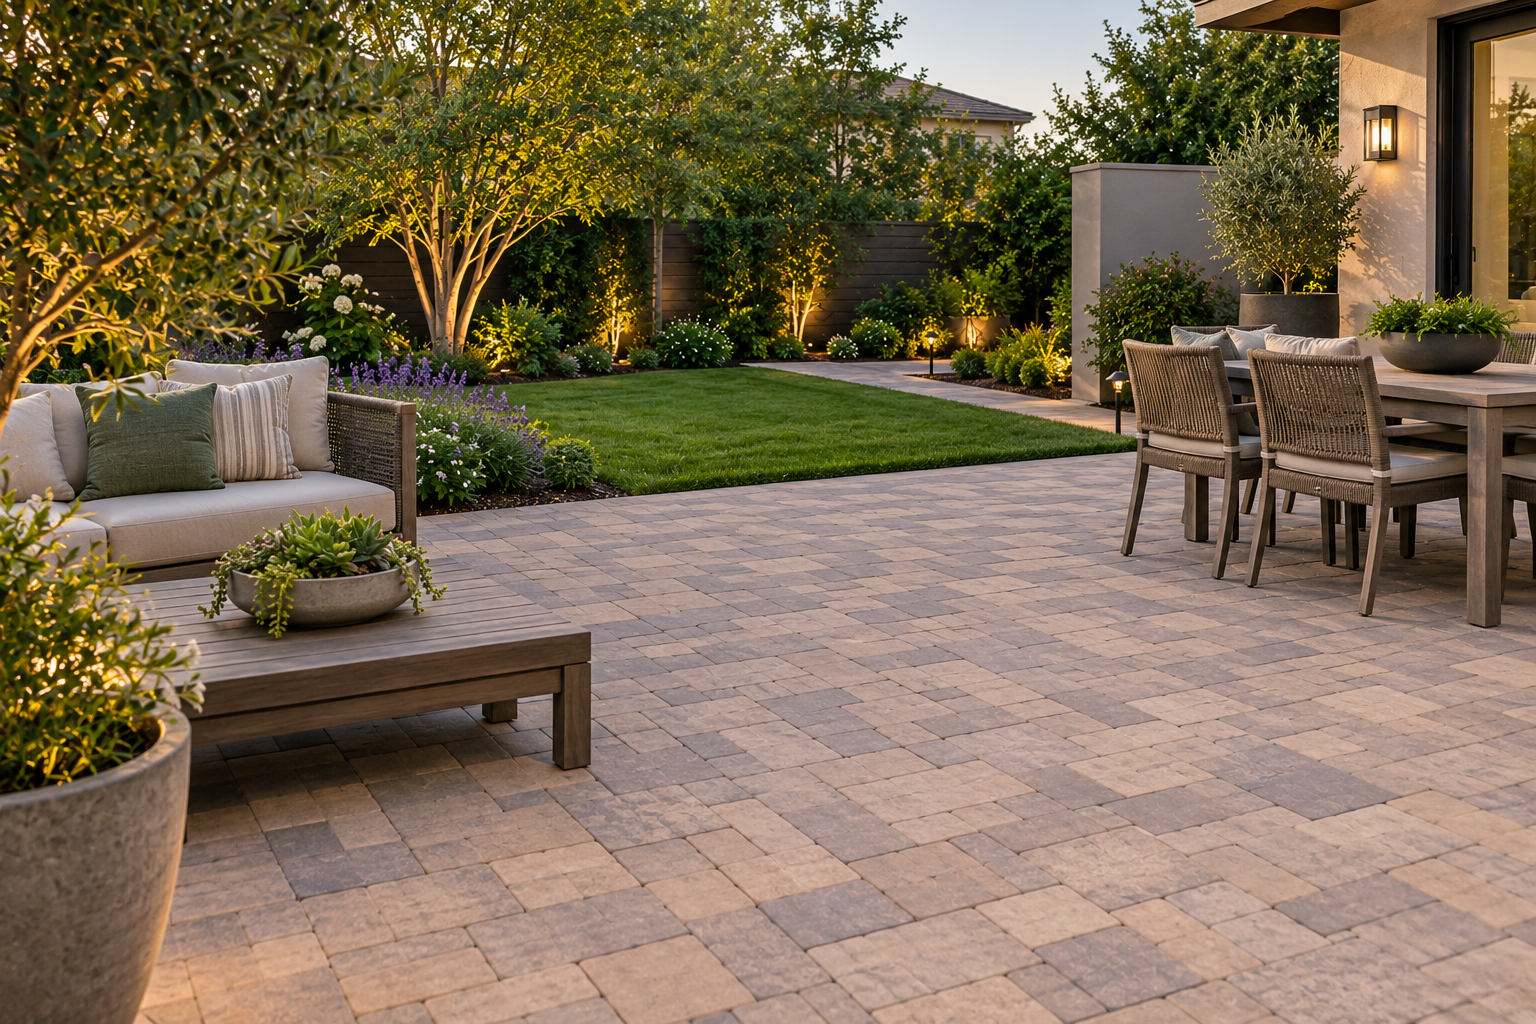
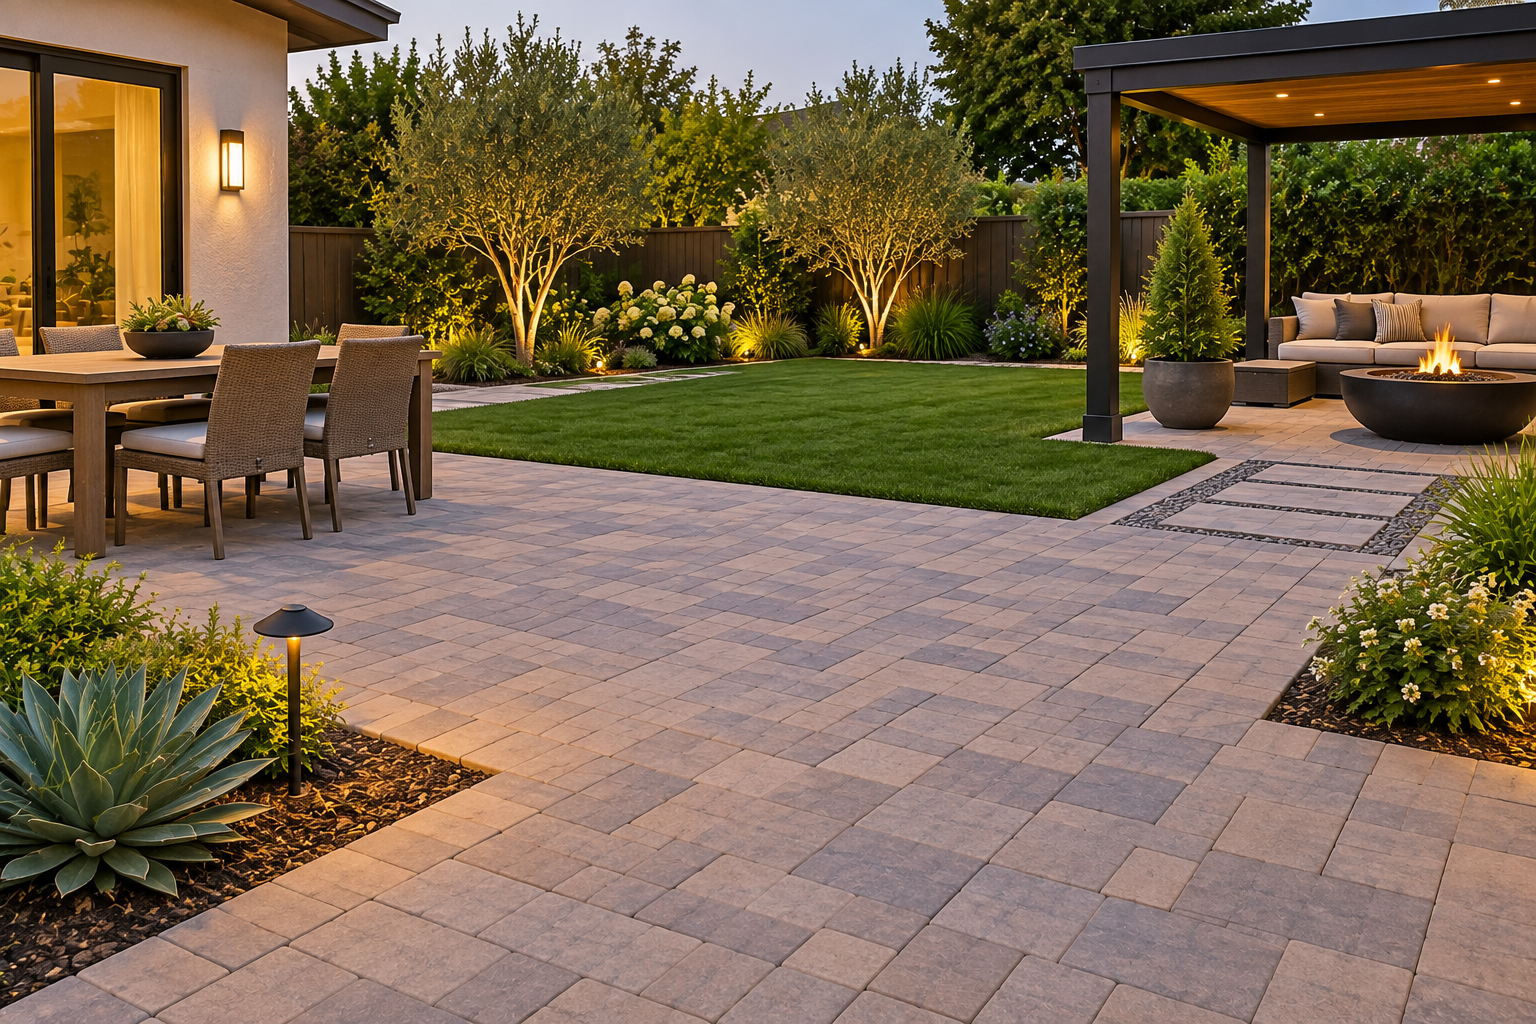
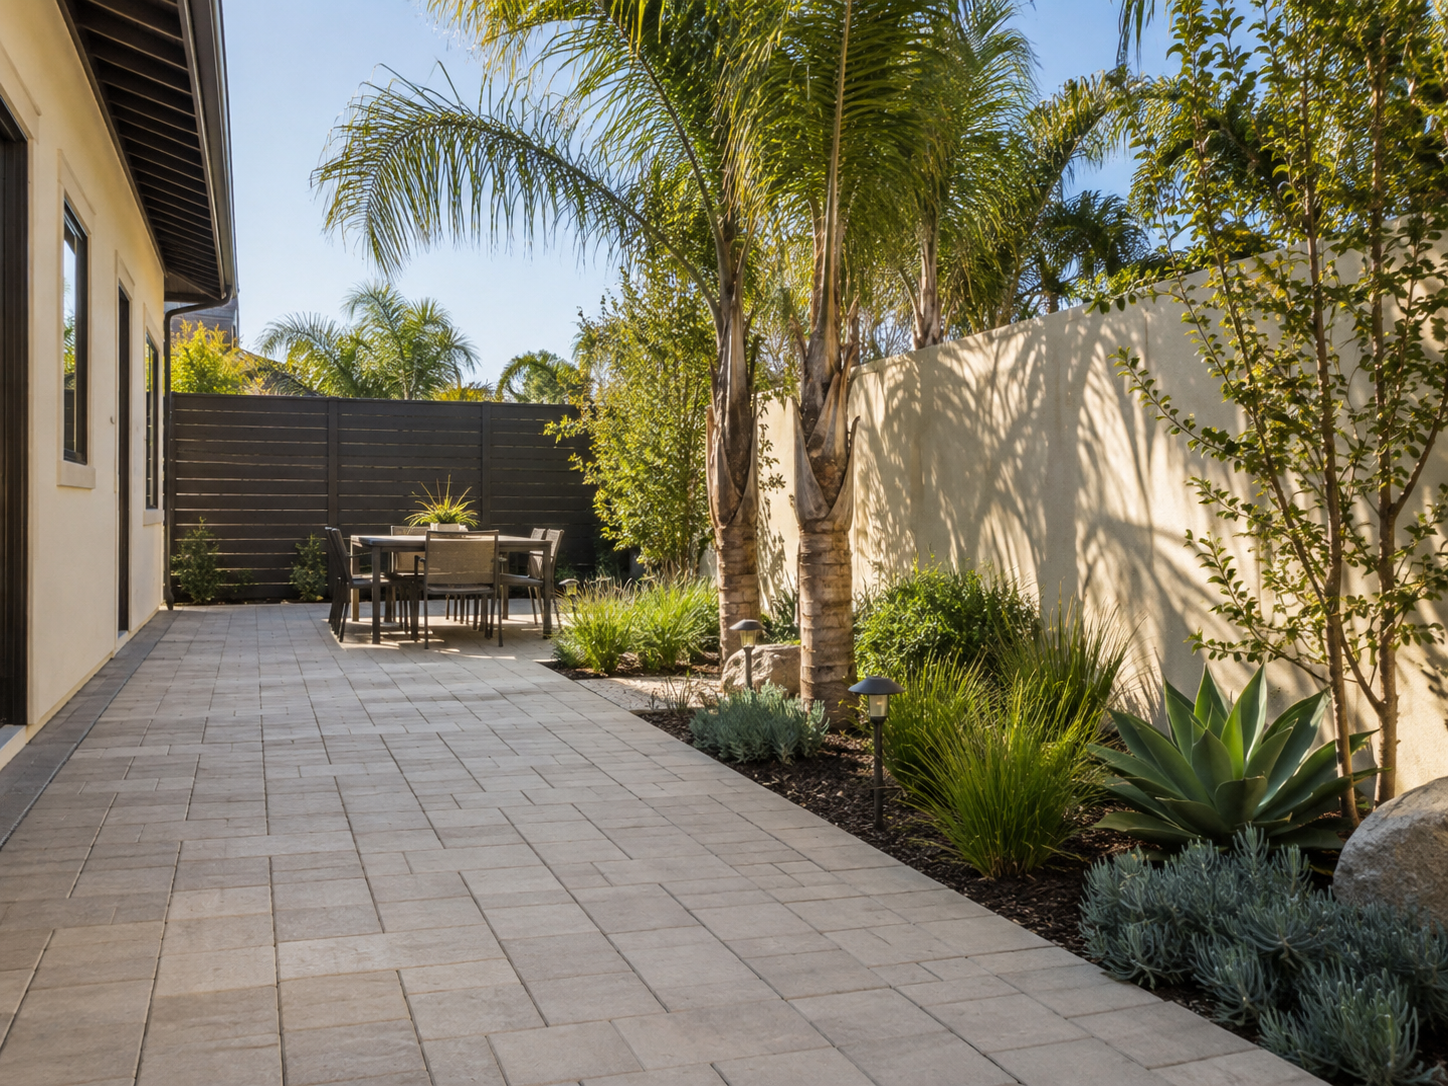
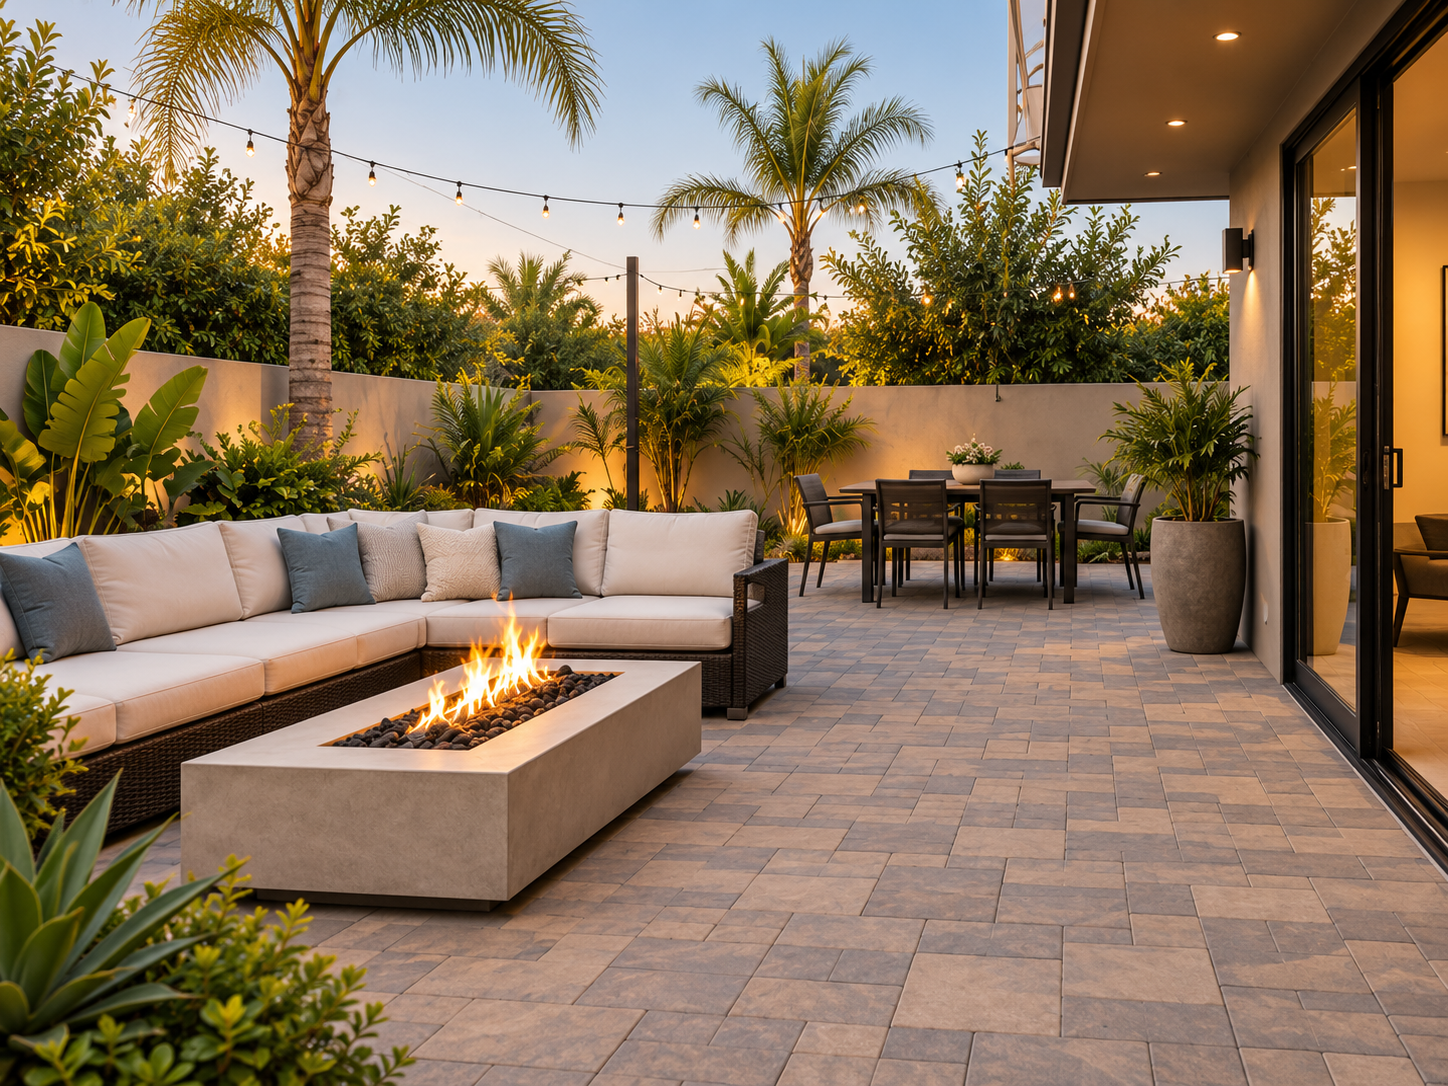
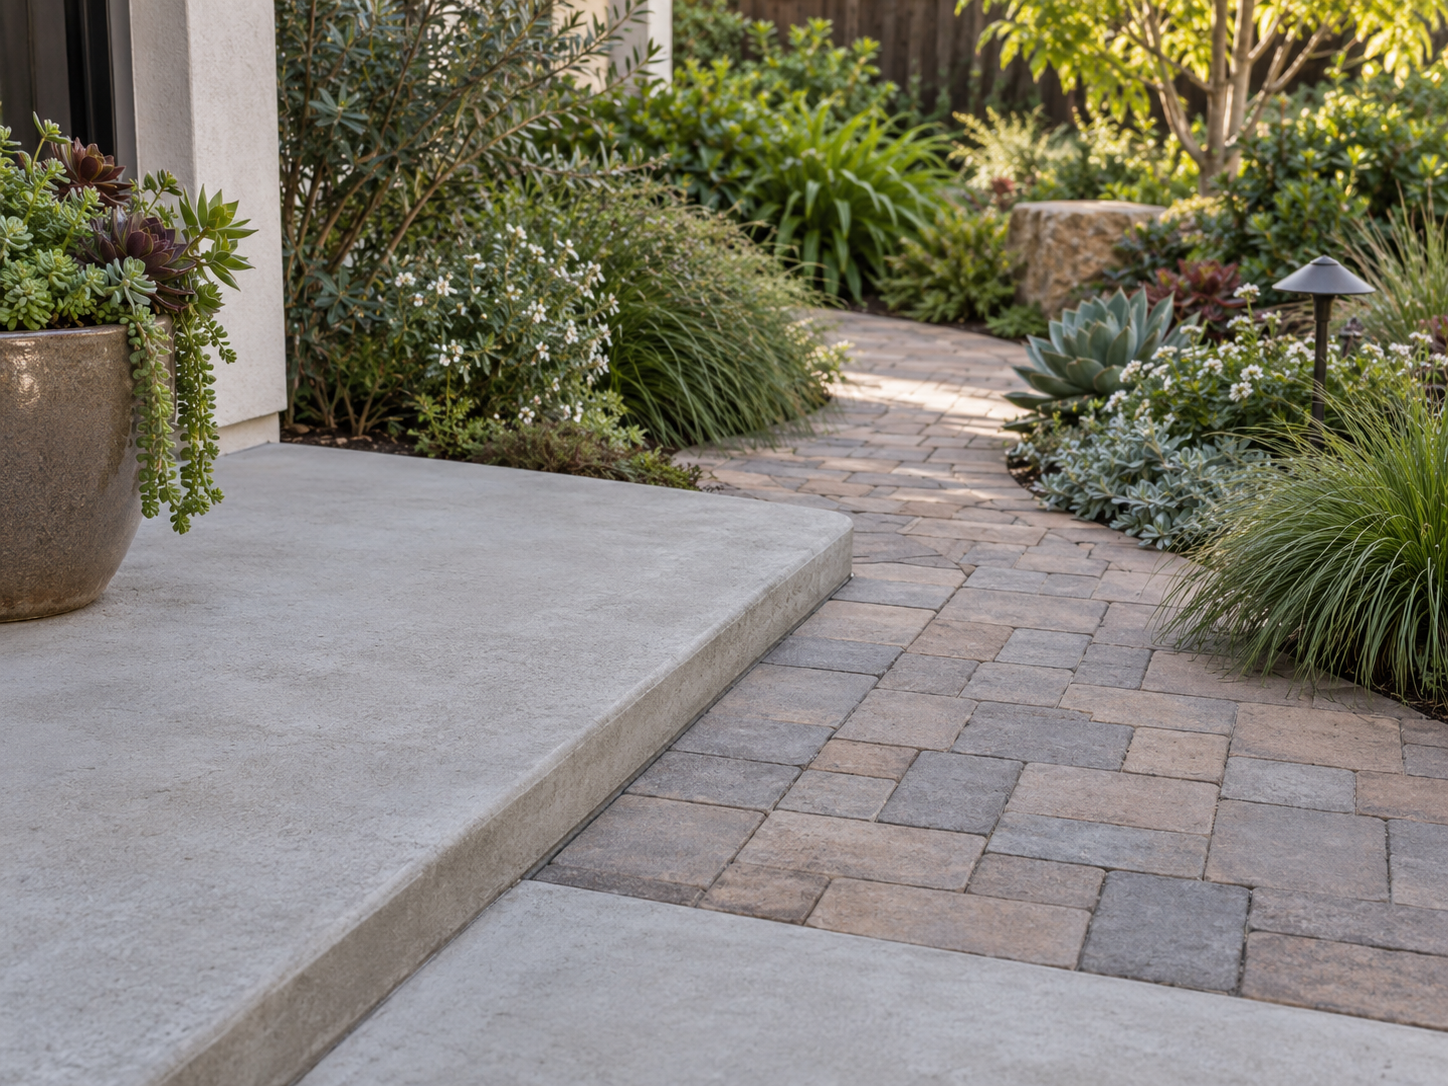
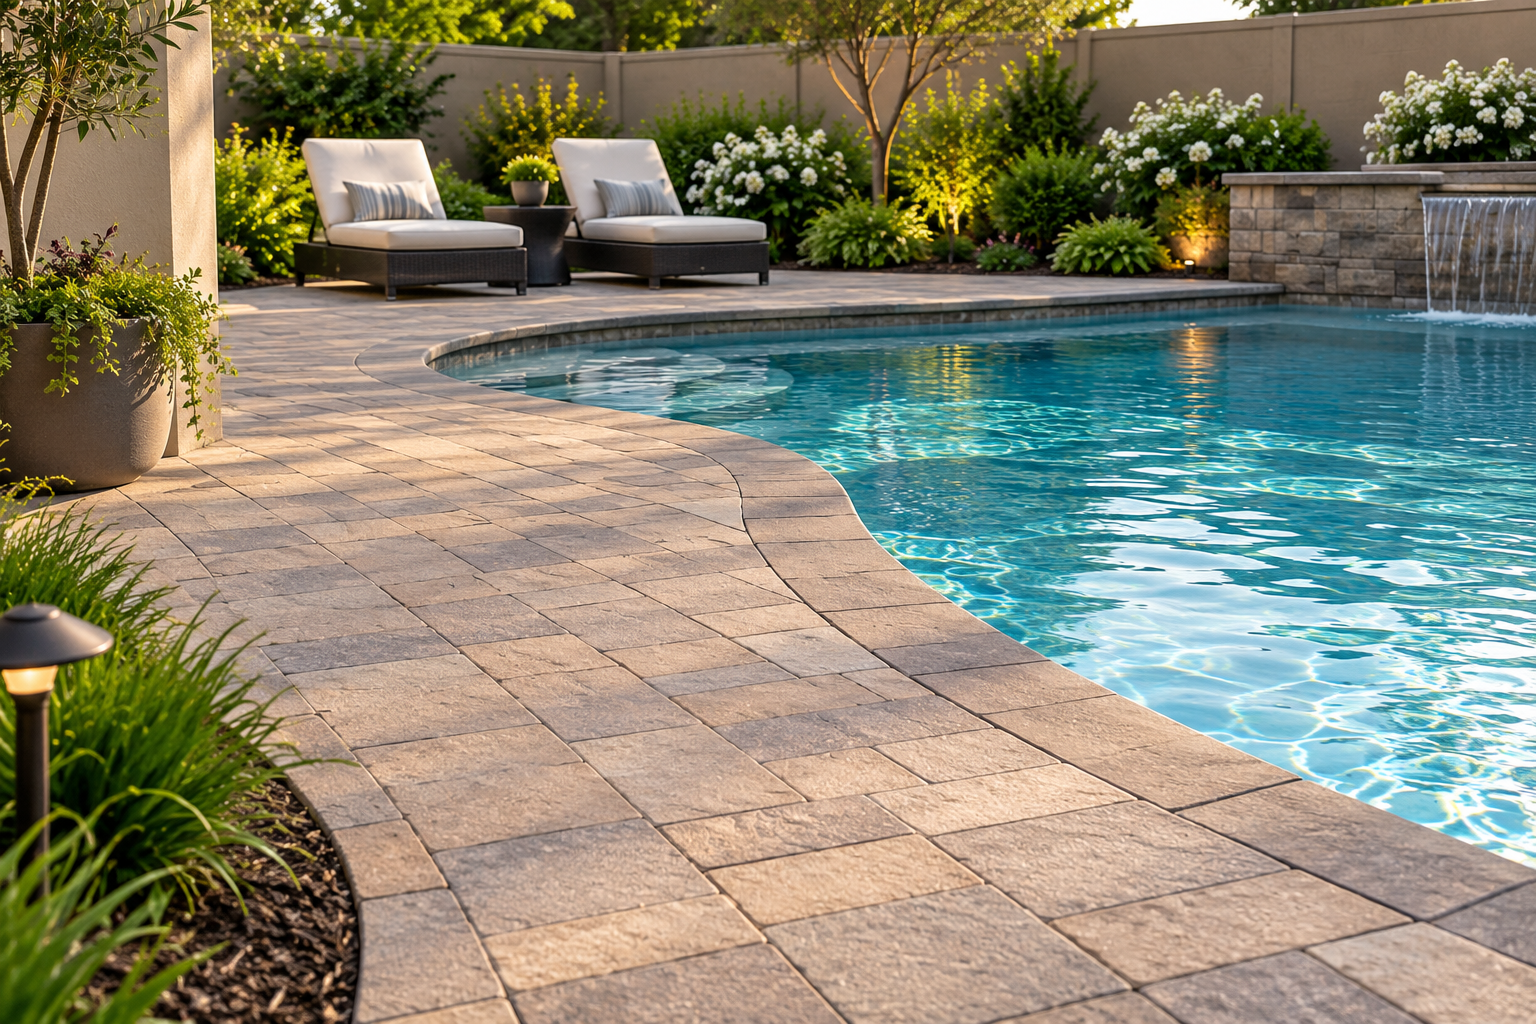
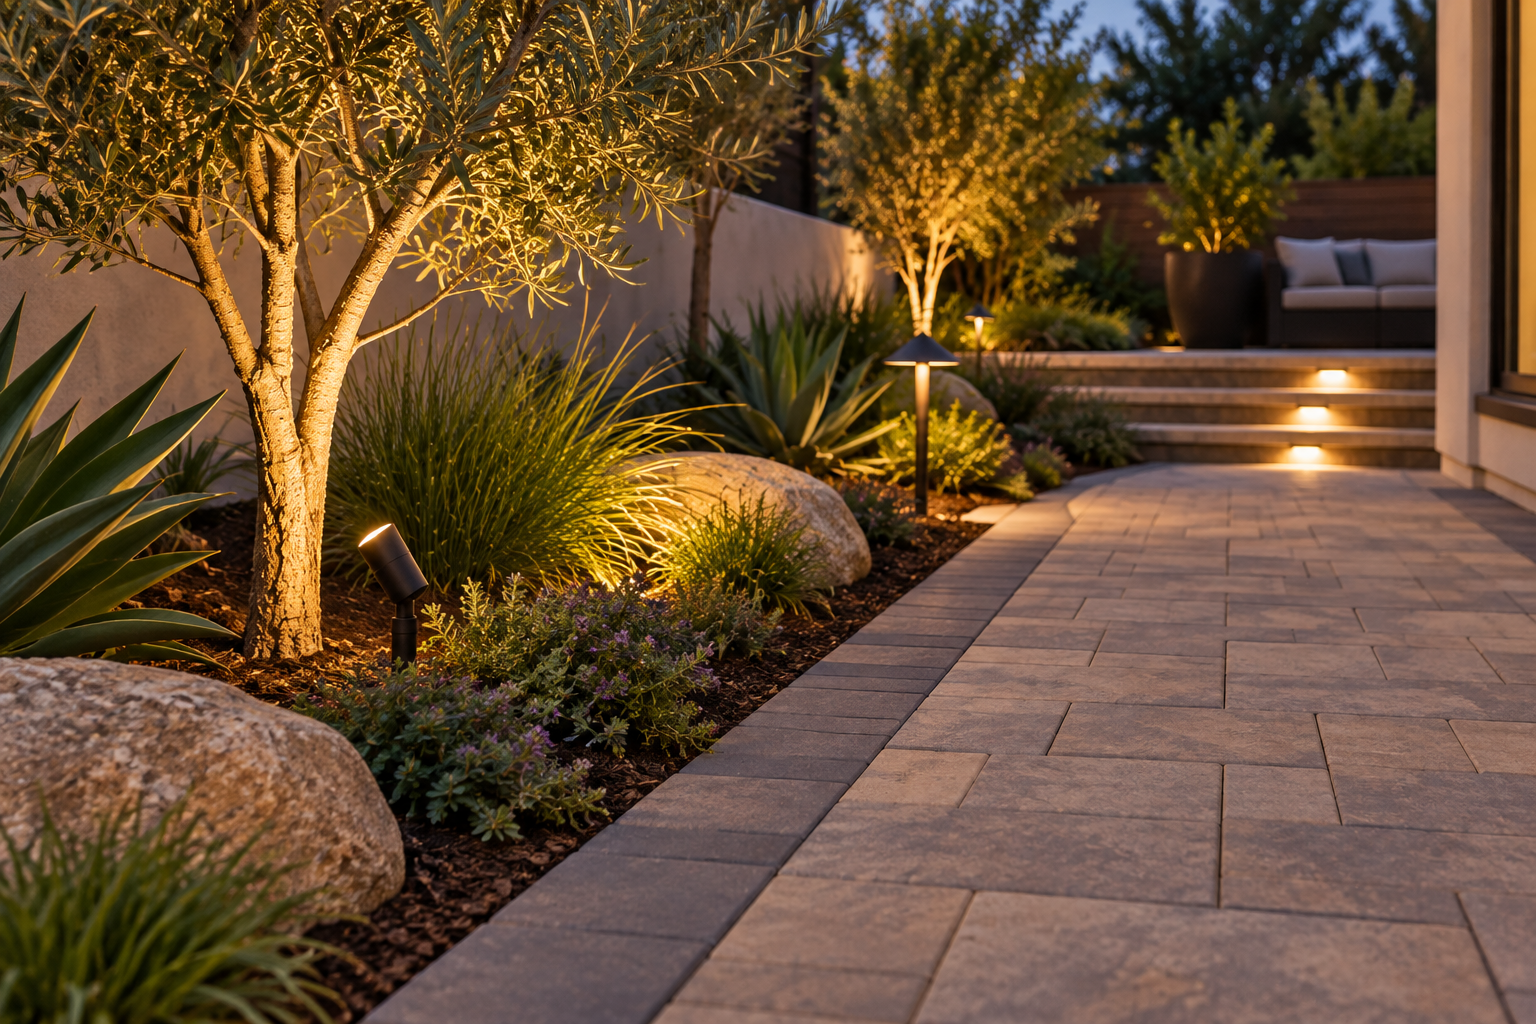
HOW WIDE SHOULD A PAVER WALKWAY BE?
The right walkway width depends on how the path will actually be used.
A secondary garden path used by one person has different requirements than a front entry, pool walkway, side-yard access route, or path used to move trash containers, wheelbarrows, landscape equipment, and other items through the property.
Before choosing a width, consider the people, equipment, gates, planting, walls, drainage, and other features that will share the space.
APPROXIMATELY THREE FEET MAY WORK FOR A BASIC WALKWAY
A walkway around three feet wide may work for a simple path primarily used by one person at a time.
This can sometimes be appropriate for:
Secondary garden paths.
Limited side-yard access.
Utility areas.
Occasional maintenance routes.
Walkways where available space is restricted.
However, the path may feel considerably narrower when it is located between walls, fences, equipment, or mature planting.
FOUR FEET CAN PROVIDE MORE COMFORTABLE EVERYDAY ACCESS
Approximately four feet can provide more comfortable circulation for many backyard and side-yard walkways.
The additional width can be helpful when carrying groceries, tools, serving trays, pool equipment, landscape materials, or other items through the property.
It can also provide more flexibility for paver patterns and borders without leaving an overly narrow walking surface.
PRIMARY WALKWAYS MAY BENEFIT FROM ADDITIONAL WIDTH
Front entrances and major circulation routes may benefit from a wider walkway when two people are expected to walk together or pass comfortably.
The appropriate width should still remain proportional to the home, entry, landscape, and available space.
Simply making a walkway wider does not automatically make the design better.
GATES AND SIDE-YARD ACCESS SHOULD BE PLANNED TOGETHER
A wide walkway does little good if the path suddenly becomes too narrow at a gate.
Before determining the finished walkway width, evaluate:
Gate opening width.
Gate posts and hardware.
Direction of gate swing.
Nearby walls and fences.
Air-conditioning equipment and utilities.
Waste and recycling containers.
Wheelbarrows and landscape equipment.
Pool-service access.
Future maintenance requirements.
The finished paver elevation should also allow gates to open and close without dragging across the new surface.
PLANTS CAN REDUCE THE USABLE WALKWAY WIDTH
Planting should be planned according to its mature size rather than its size when first installed.
Shrubs, grasses, groundcovers, and other plants that extend into a walkway can make an adequately sized path feel narrow within only a few years.
Plant selection and walkway width should therefore be considered together.
BORDERS COUNT TOWARD THE TOTAL WIDTH
Decorative paver borders occupy part of the overall walkway.
On a narrow path, wide borders on both sides can leave a relatively small central walking area.
The total walkway width, paver size, pattern, border width, and required cuts should be reviewed together before construction begins.
PLAN THE WALKWAY AROUND REAL MOVEMENT
The best walkway width is not determined by one universal number.
It should provide comfortable circulation, accommodate the equipment and people who will use it, work with gates and mature planting, provide appropriate drainage, and remain proportional to the surrounding property.
For more detailed guidance on front entries, side yards, gates, borders, planting, maintenance access, and circulation, read our How Wide Should a Paver Walkway Be? A Guide for San Diego Homeowners.
HOW PROFESSIONAL PAVER INSTALLATION WORKS
A successful paver installation depends just as much on what is underneath the pavers as the material you see on the finished surface. Proper excavation, base preparation, grading, drainage, compaction, edge restraint, and installation all contribute to the long-term performance of a paver patio, driveway, walkway, or outdoor living area.
1. SITE EVALUATION & PLANNING
Before installation begins, the property should be evaluated for existing elevations, soil conditions, drainage patterns, access, surrounding structures, irrigation, utilities, and connections to existing hardscape.
The finished elevation of the pavers should also be coordinated with doors, gates, patios, driveways, pool decks, landscape areas, and other improvements throughout the property.
2. DEMOLITION & EXCAVATION
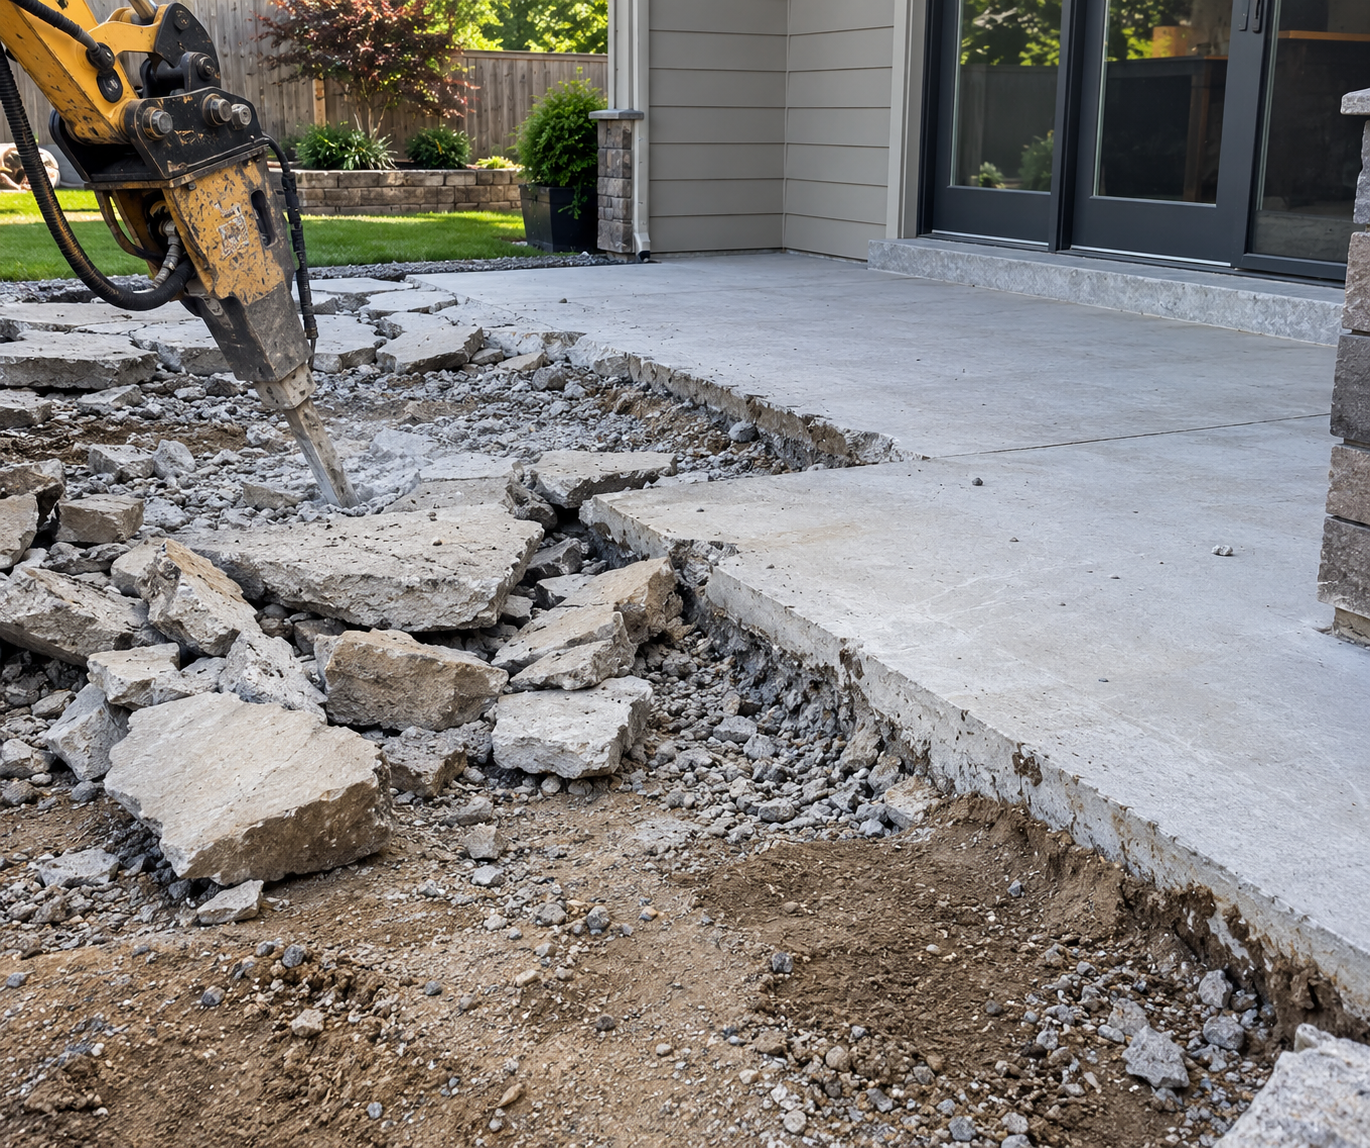
Existing concrete, old pavers, landscape materials, soil, turf, or other materials may need to be removed before the new paver system can be installed.
Excavation depth depends on the application, existing soil conditions, selected paver system, proposed base, and whether the surface will support pedestrian or vehicle traffic.
3. BASE PREPARATION & COMPACTION
The base is one of the most important parts of professional paver installation.
A properly prepared and compacted base helps create a stable surface beneath the pavers and reduces the potential for uneven settling, movement, and low areas over time.
Cutting corners on excavation or base preparation can affect the entire finished installation.
4. GRADING & DRAINAGE
Pavers should be installed with drainage in mind from the beginning of the project.
Existing grades, roof runoff, downspouts, surrounding soil, drains, retaining walls, neighboring elevations, and nearby structures may all influence how water needs to move through or away from the hardscape area.
For properties with existing water or grading concerns, our Complete Guide to Drainage & Yard Drain Systems in San Diego explains how drainage should be coordinated with landscape and hardscape construction.
5. PAVER LAYOUT & INSTALLATION
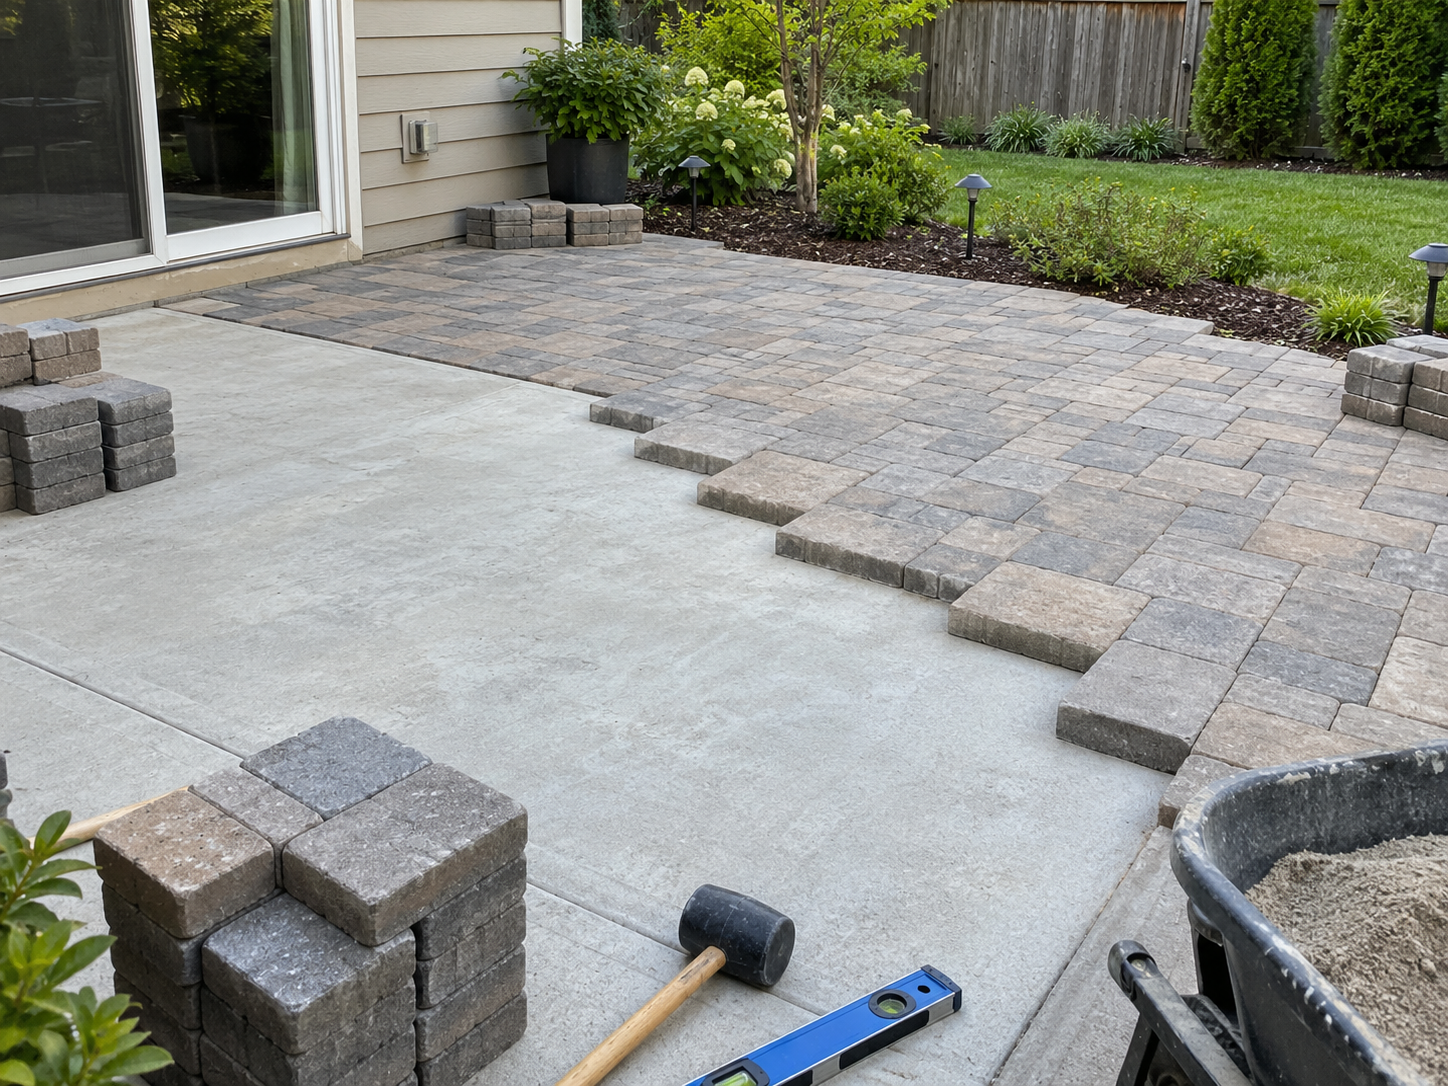
Once the base and installation surface are properly prepared, the selected pavers can be installed according to the planned pattern, orientation, borders, and transitions.
Layout should consider the dimensions of the area, visible cut locations, adjoining surfaces, architectural lines, drainage, and how the paver pattern will look from the primary viewing areas.
6. EDGE RESTRAINTS, JOINTS & FINAL COMPACTION
Proper edge restraint helps keep the perimeter of the paver installation secure.
After installation, the joints are completed using the appropriate material for the selected paver system, and the finished surface is compacted and inspected as required.
WHY INSTALLATION QUALITY MATTERS
Two patios using the exact same paver can perform very differently depending on how they were installed.
Professional paver installation in San Diego should account for the complete system beneath and around the finished surface—not simply the paver selected from a catalog.
Nature’s Elements Landscaping incorporates pavers into complete Hardscape & Concrete projects with grading, drainage, landscape construction, and surrounding improvements considered together.
Homeowners researching installation quality can also read 7 Paver Installation Mistakes San Diego Homeowners Should Avoid.
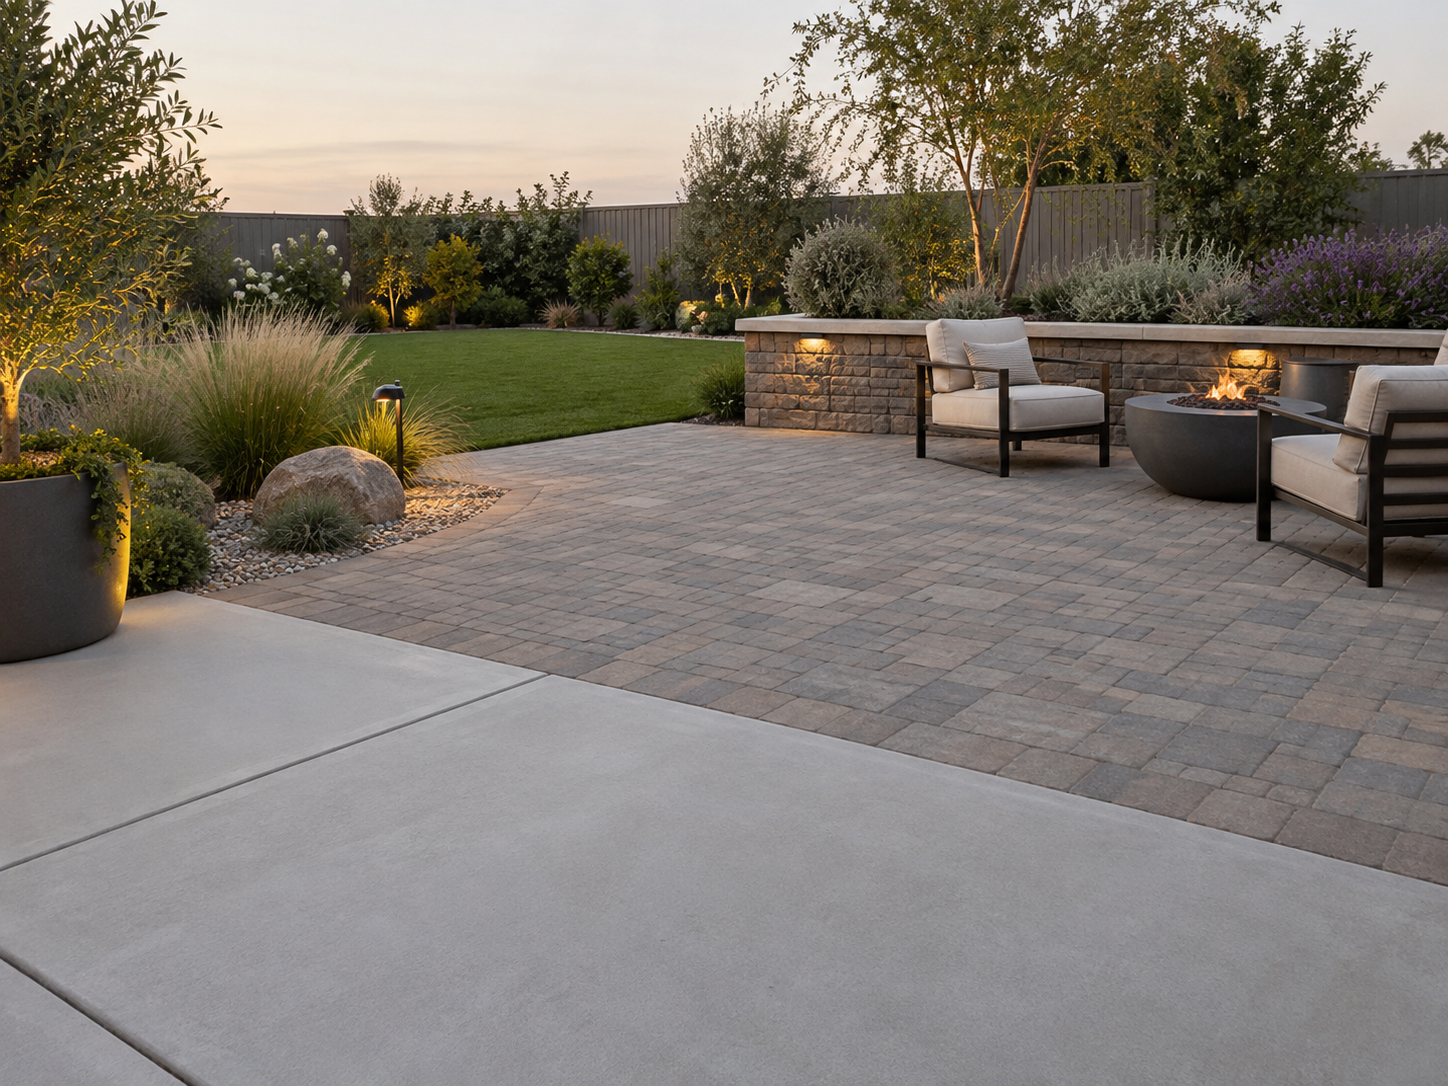
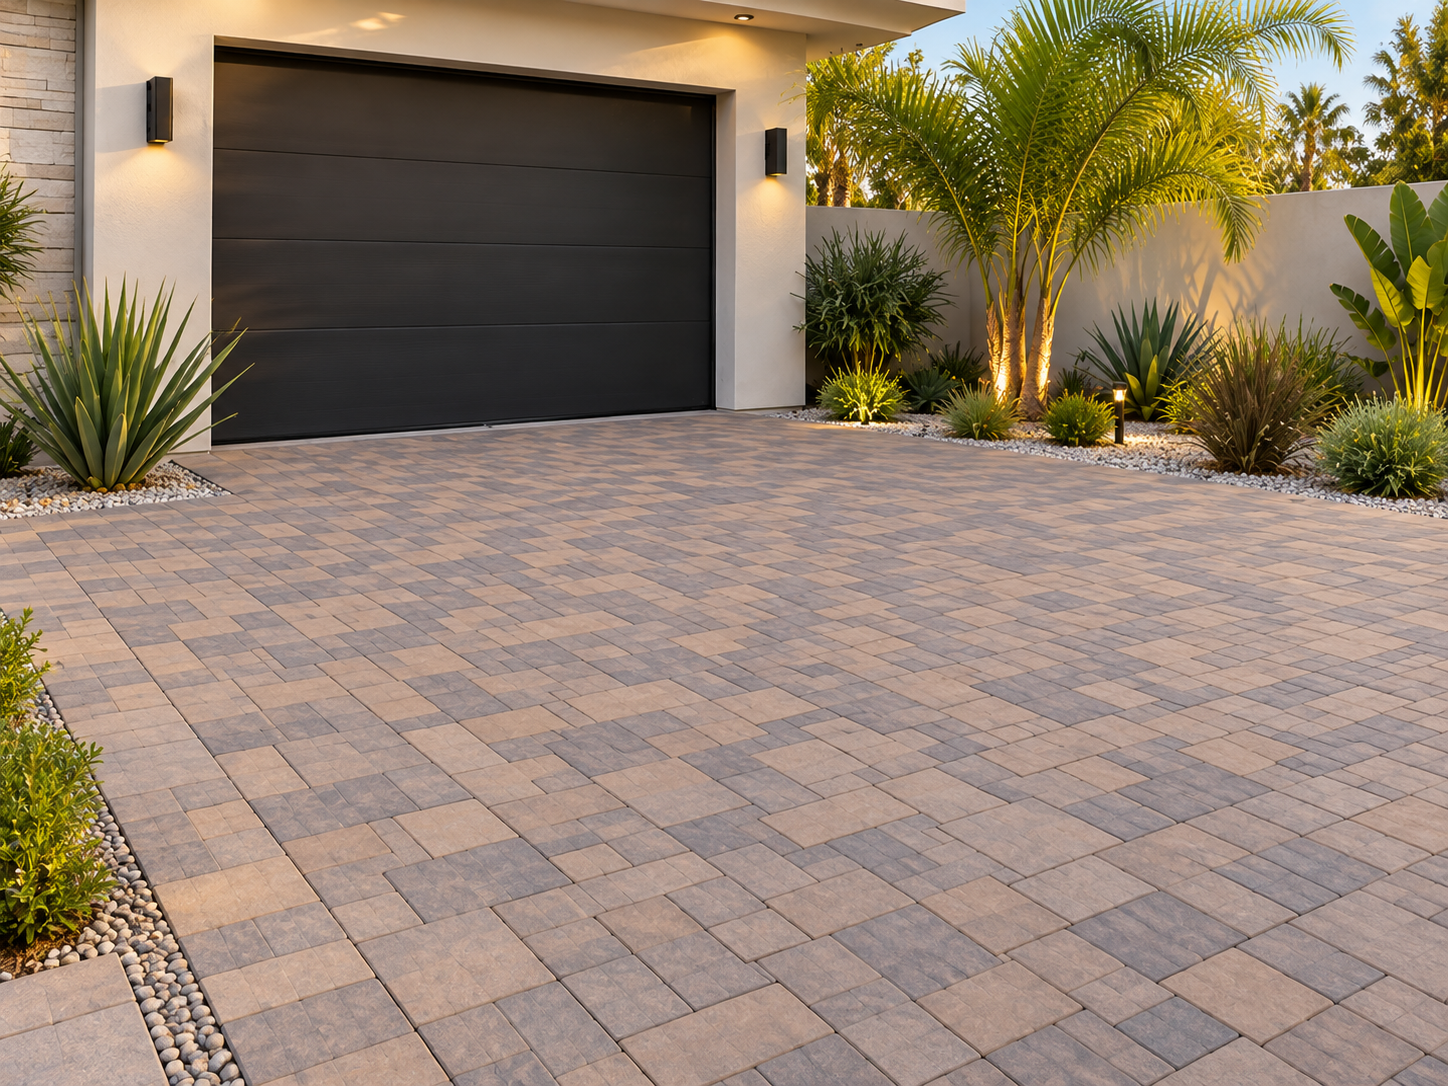
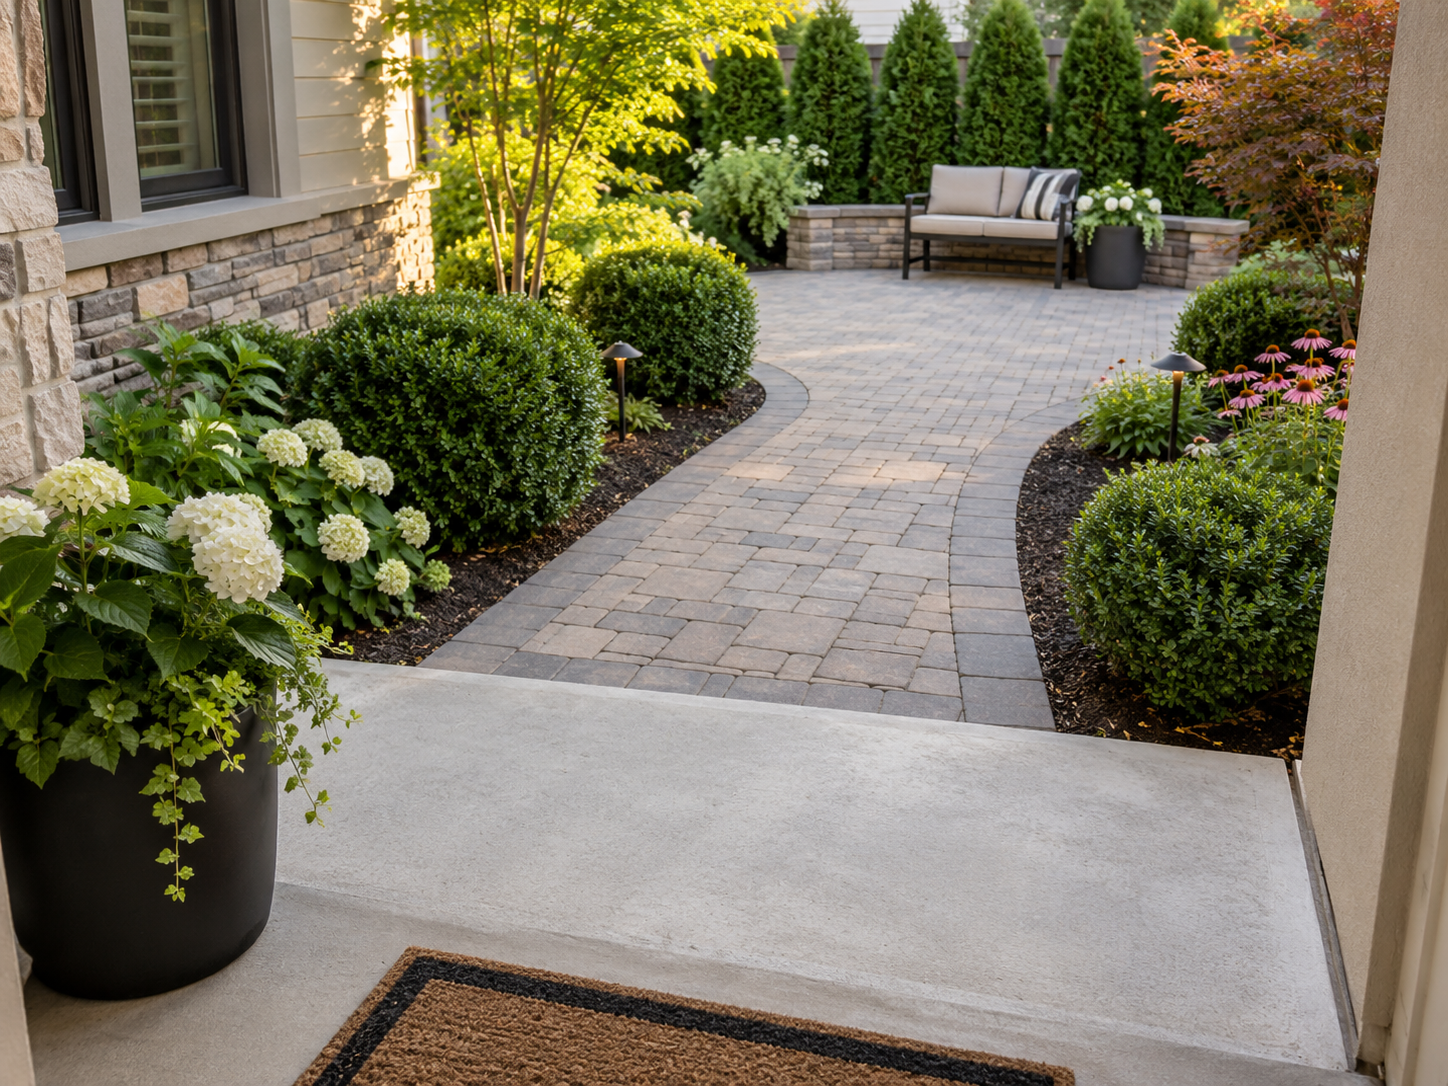

HOW PAVERS SHOULD MEET DOORS, GATES, STEPS & EXISTING CONCRETE
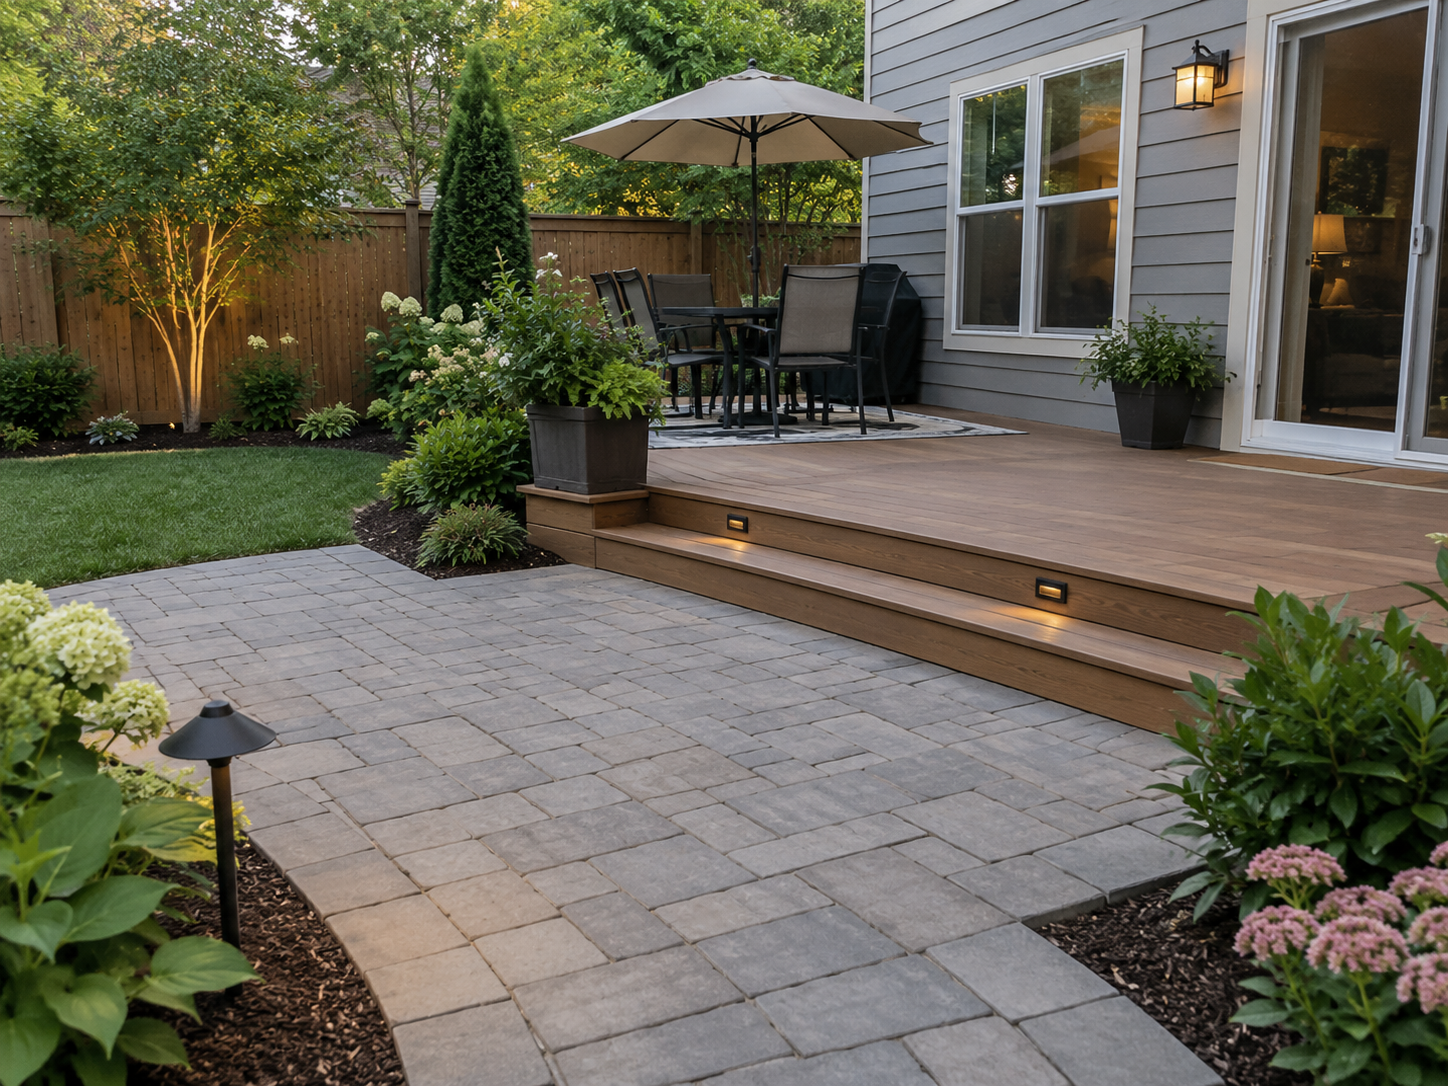
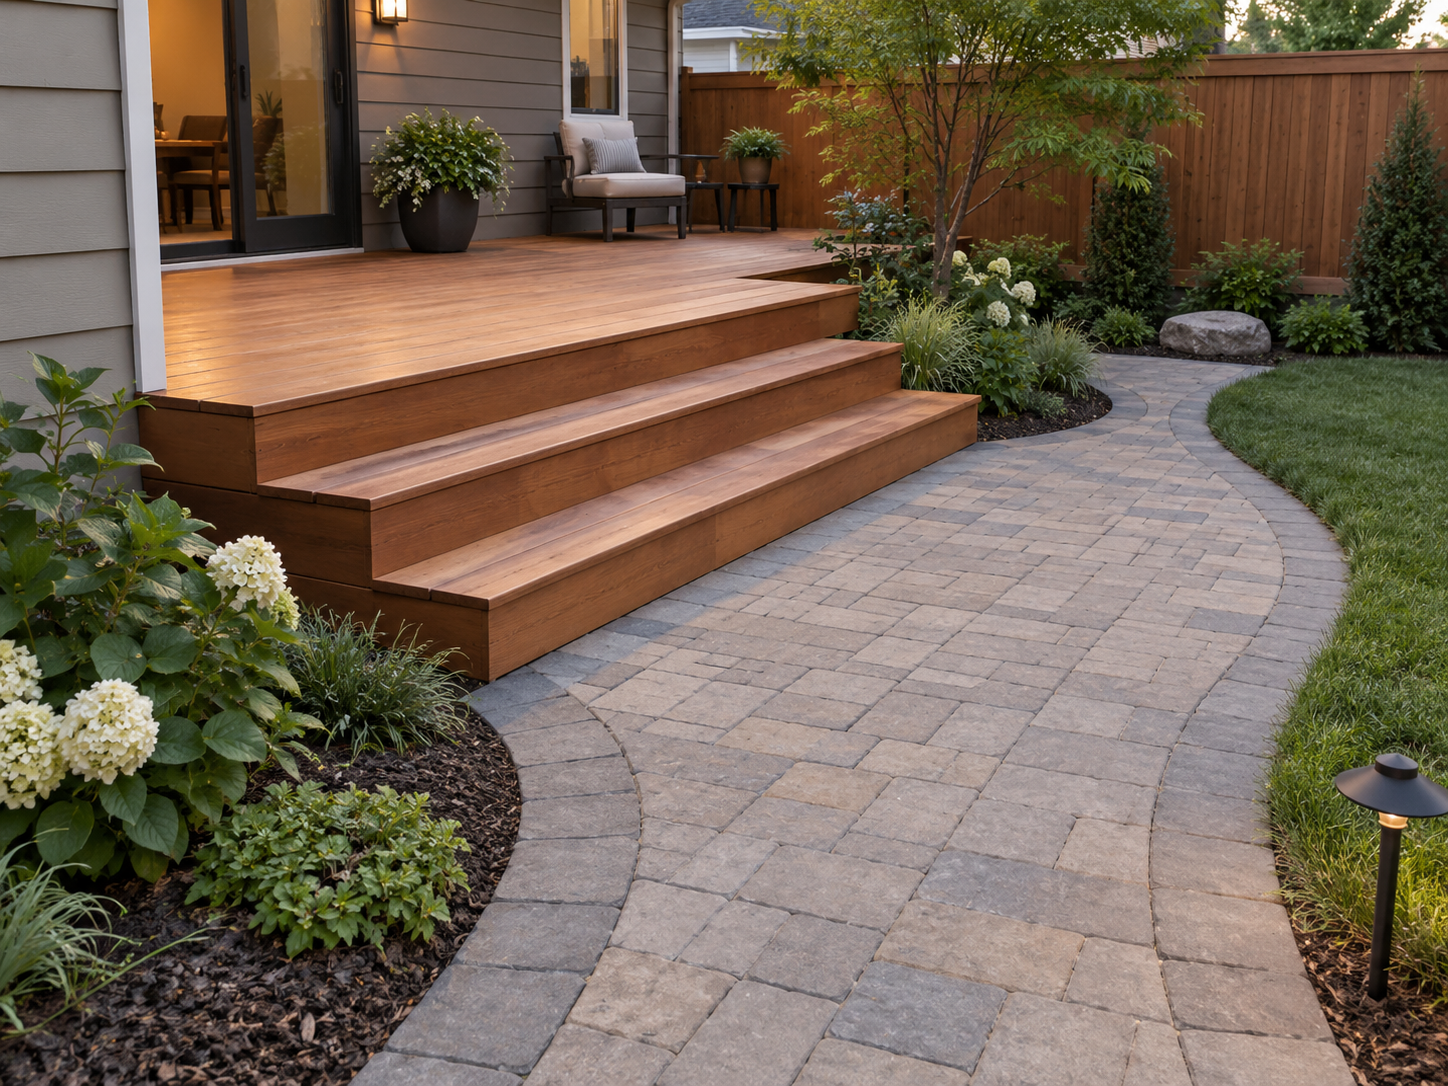
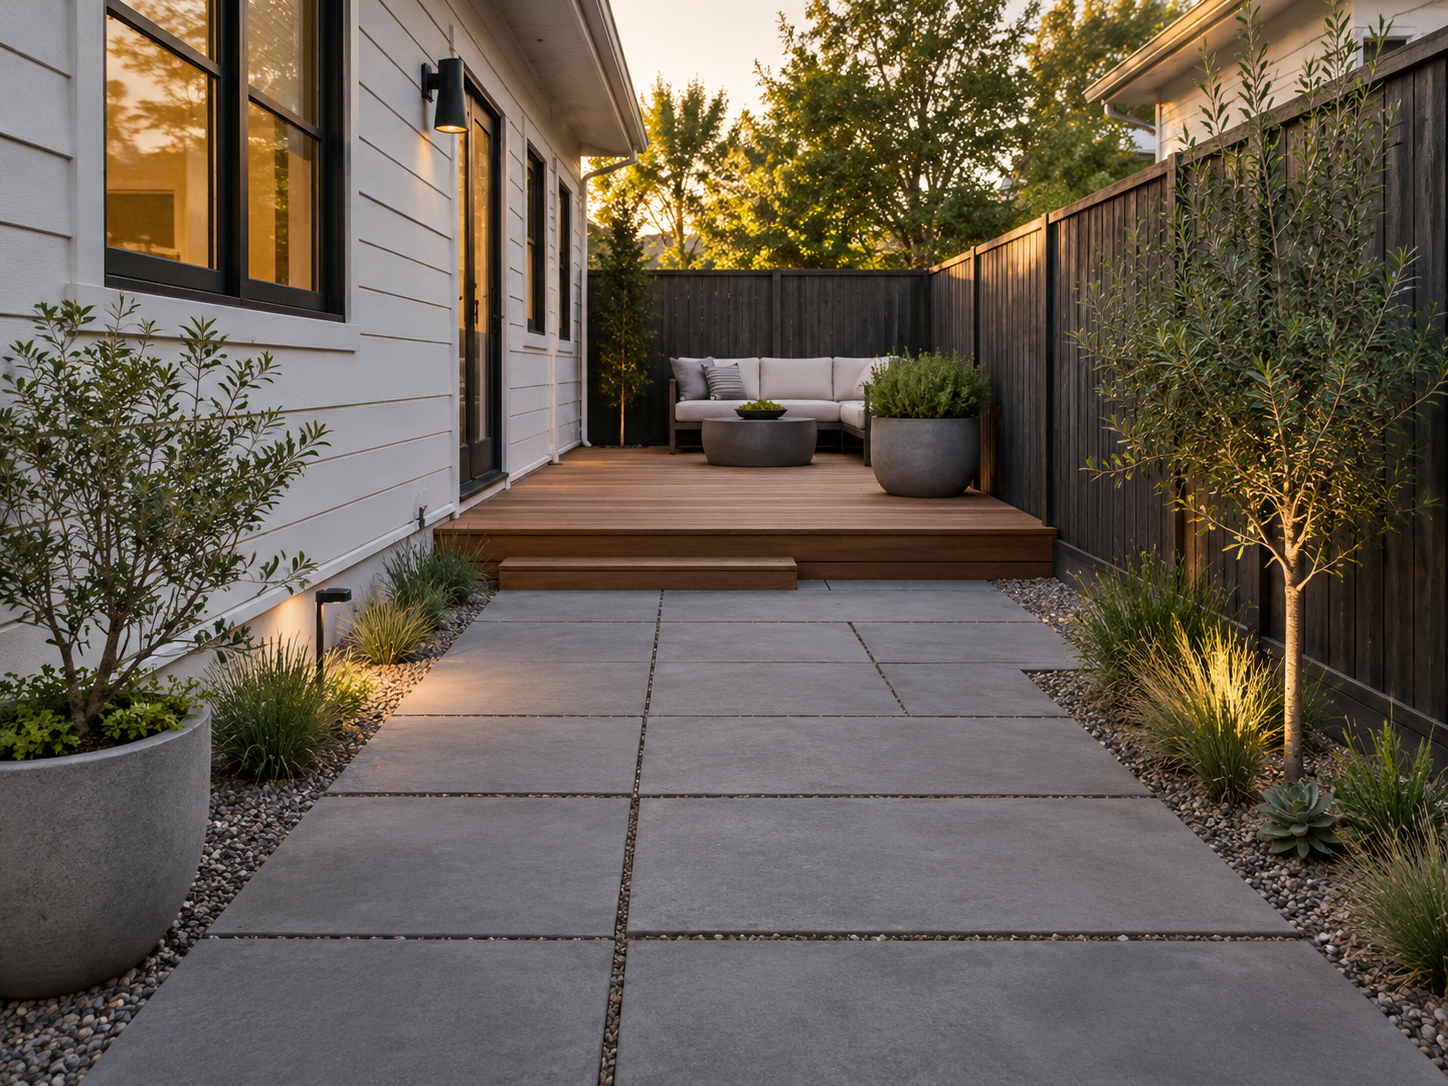
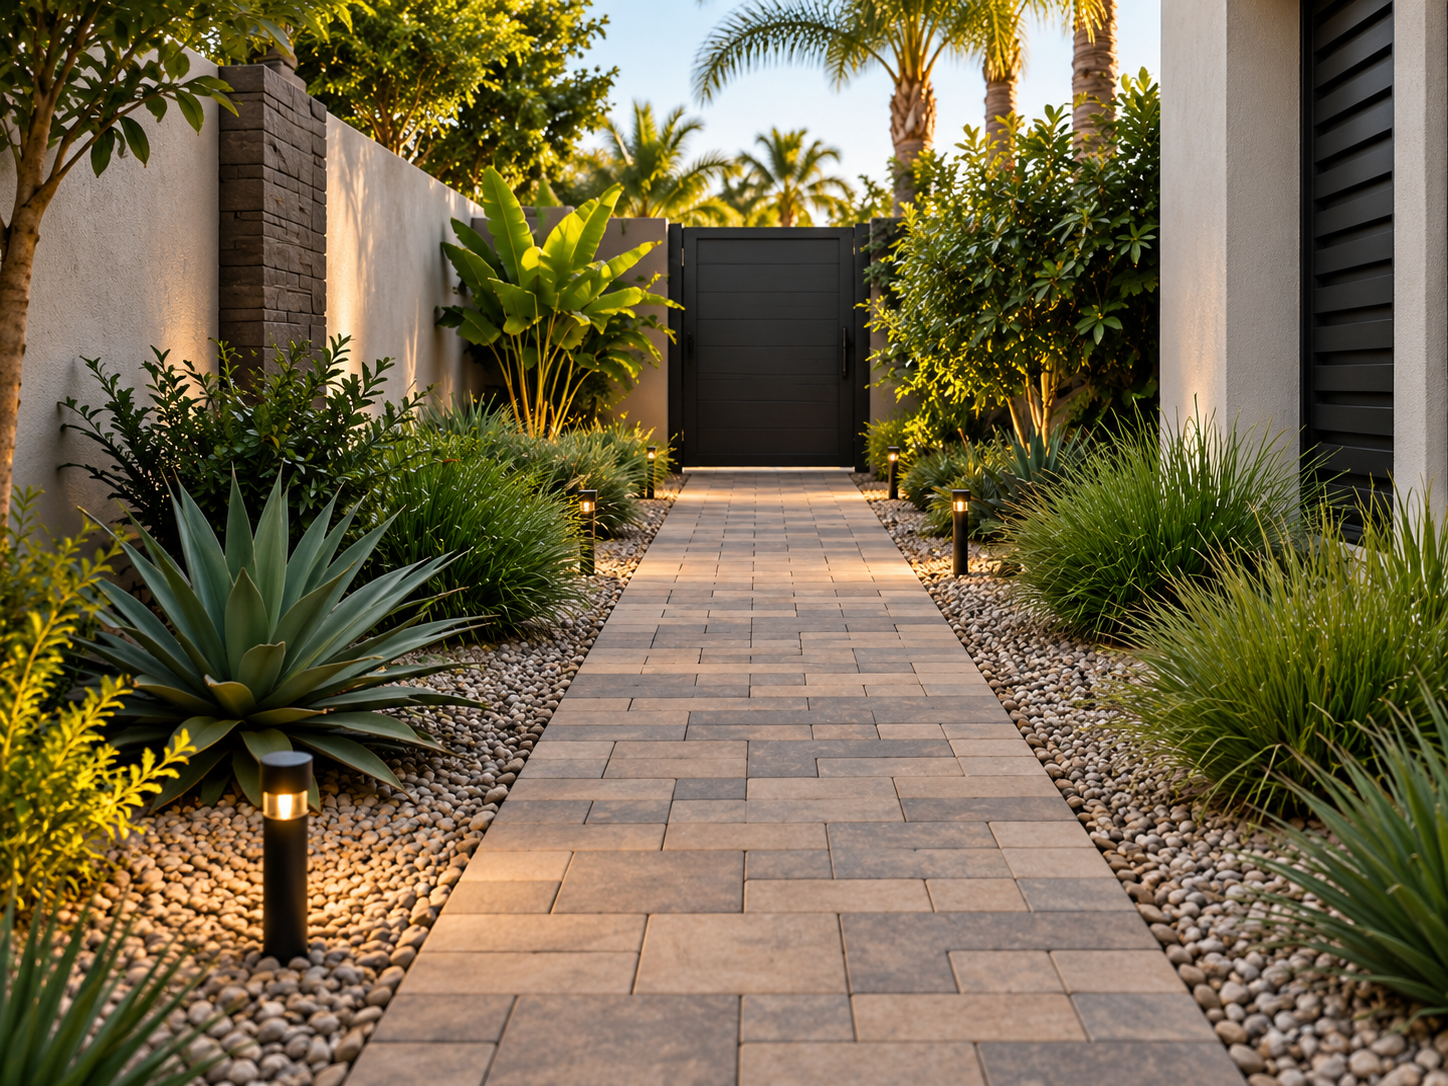
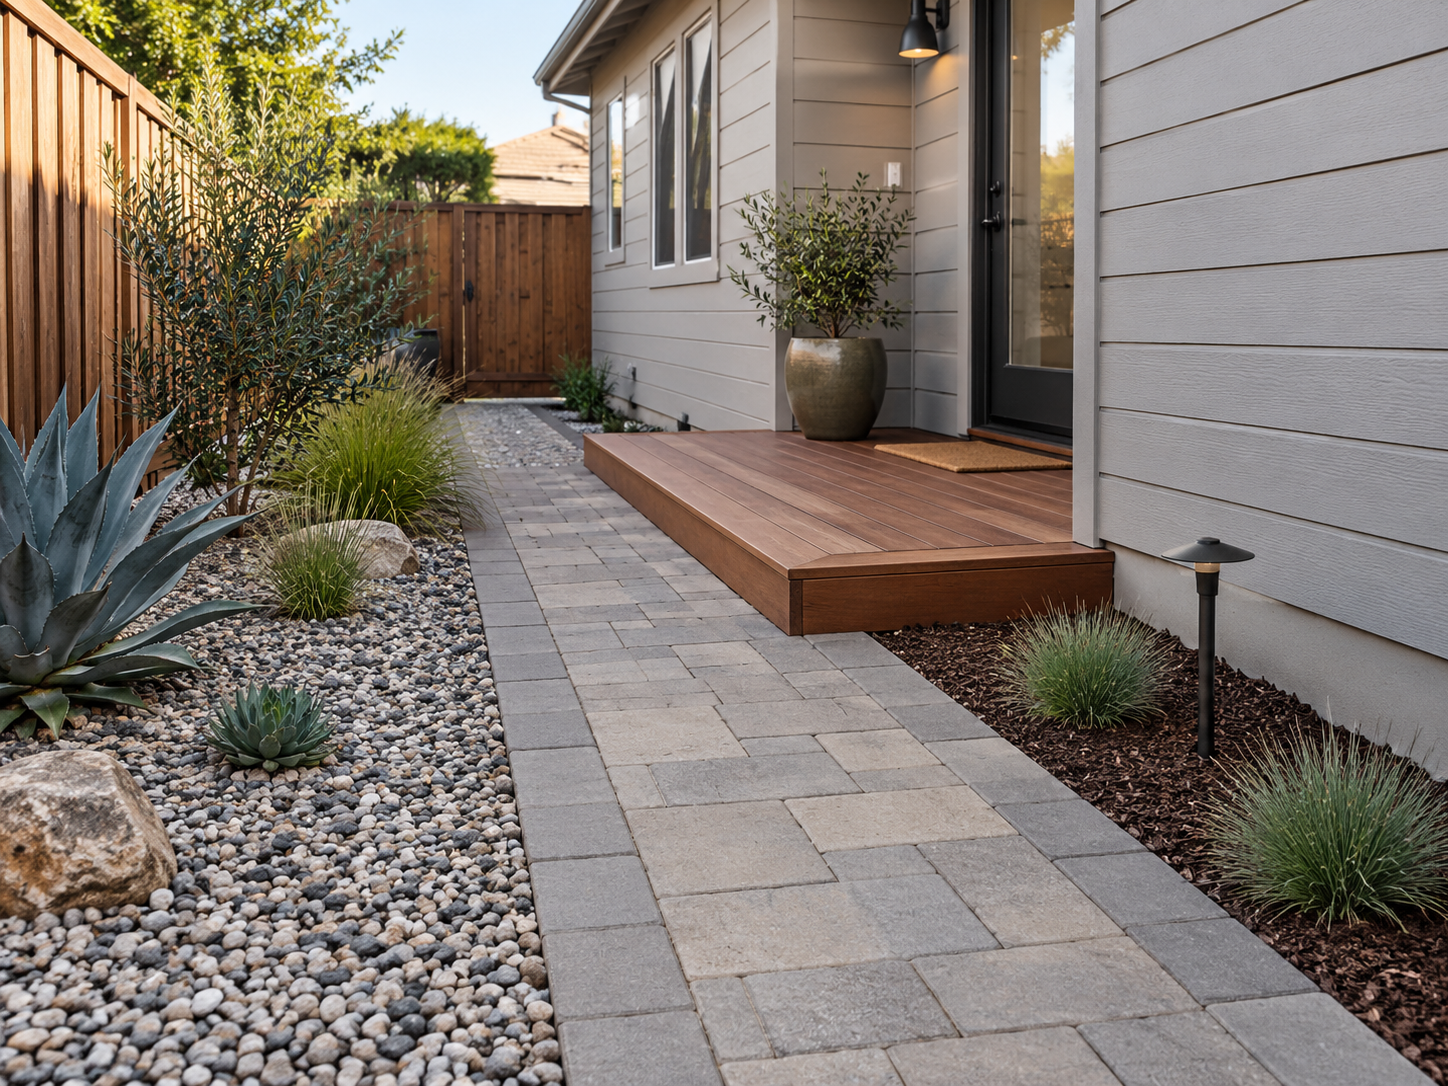
A paver installation rarely exists by itself.
The finished surface usually needs to connect with doors, gates, steps, driveways, sidewalks, pool decks, existing concrete, walls, planting areas, or other improvements already on the property.
These transitions should be planned before excavation and base preparation begin because even a small change in finished elevation can affect drainage, access, appearance, and how comfortably people move through the space.
START WITH FINISHED ELEVATIONS
Before installing the pavers, determine how high the finished surface will be at each connection point.
The proposed elevation should consider:
Exterior doors.
Sliding doors.
Garage slabs.
Gates.
Steps and landings.
Existing concrete.
Sidewalks.
Driveways.
Pool decks and coping.
Drains.
Turf and planting areas.
The paver surface should not simply be installed to whatever height is easiest for the contractor.
The elevation should be coordinated with the complete property.
PAVERS NEAR EXTERIOR DOORS REQUIRE CAREFUL PLANNING
Pavers installed near exterior doors should allow the door area to remain functional while also supporting appropriate drainage away from the structure.
Raising a patio too high can create an awkward transition at the threshold and may affect how water moves near the home.
The existing door elevation, proposed paver thickness, bedding system, base depth, slope, and surrounding grades should therefore be considered together.
GATES NEED ENOUGH CLEARANCE TO OPERATE
A new paver surface can change the clearance underneath an existing gate.
If the finished surface is installed too high, the gate may drag across the pavers or no longer open completely.
Before construction, check:
Bottom-of-gate clearance.
Gate swing.
Gate posts.
Hinges and hardware.
Existing slope.
Proposed paver elevation.
Drainage through or near the opening.
This is especially important in narrow side yards where there may be very little room to adjust the surrounding grade.
STEPS SHOULD NOT BE TREATED AS AN AFTERTHOUGHT
Adding pavers around an existing step can change the effective height of the riser.
If a new surface raises one side of a step without coordinating the rest of the elevation, the finished transition can feel awkward or create inconsistent step dimensions.
Steps, landings, thresholds, and surrounding hardscape should be evaluated together before the paver elevation is finalized.
EXISTING CONCRETE NEEDS A CLEAN TRANSITION
Where pavers meet an existing concrete patio, driveway, sidewalk, or walkway, the two surfaces should connect intentionally.
The transition should consider:
Finished elevations.
Drainage direction.
Edge support.
Paver cuts.
Existing cracks or movement.
Appearance from primary viewing areas.
How people and equipment will cross between the surfaces.
A poor transition can make an otherwise attractive installation look unfinished.
Homeowners considering keeping an existing slab can also read Can You Install Pavers Over Existing Concrete? What San Diego Homeowners Should Know.
DRAINAGE SHOULD CROSS TRANSITIONS CORRECTLY
A transition between two hardscape surfaces can unintentionally create a low point where water collects.
Existing concrete may already slope in one direction while the proposed paver area needs to drain in another.
Before installation, consider:
Existing slopes.
Proposed slopes.
Nearby drains.
Roof runoff.
Downspouts.
Planting beds.
Walls and foundations.
Neighboring elevations.
For broader drainage planning, review our Complete Guide to Drainage & Yard Drain Systems in San Diego.
PLAN CUTS AND BORDERS AROUND FIXED FEATURES
Doors, steps, walls, columns, drains, pool coping, and existing concrete often determine where paver cuts will occur.
The paver size, pattern, orientation, and border should be planned so these fixed elements do not leave awkward slivers or unnecessary small pieces.
This is one reason the layout should be evaluated before the installation begins rather than deciding on cuts as the crew reaches each obstacle.
Homeowners comparing layouts can also read How to Choose the Right Paver Size and Pattern for Your San Diego Patio.
GOOD TRANSITIONS MAKE THE ENTIRE PROJECT FEEL INTENTIONAL
A well-designed paver installation should feel connected to the house and surrounding landscape.
Doors should remain functional, gates should open properly, steps should feel natural, drainage should continue to work, and new pavers should meet existing hardscape without appearing forced.
For a more detailed look at these connection points, read How Should Pavers Meet Doors, Gates, Steps and Existing Concrete?.
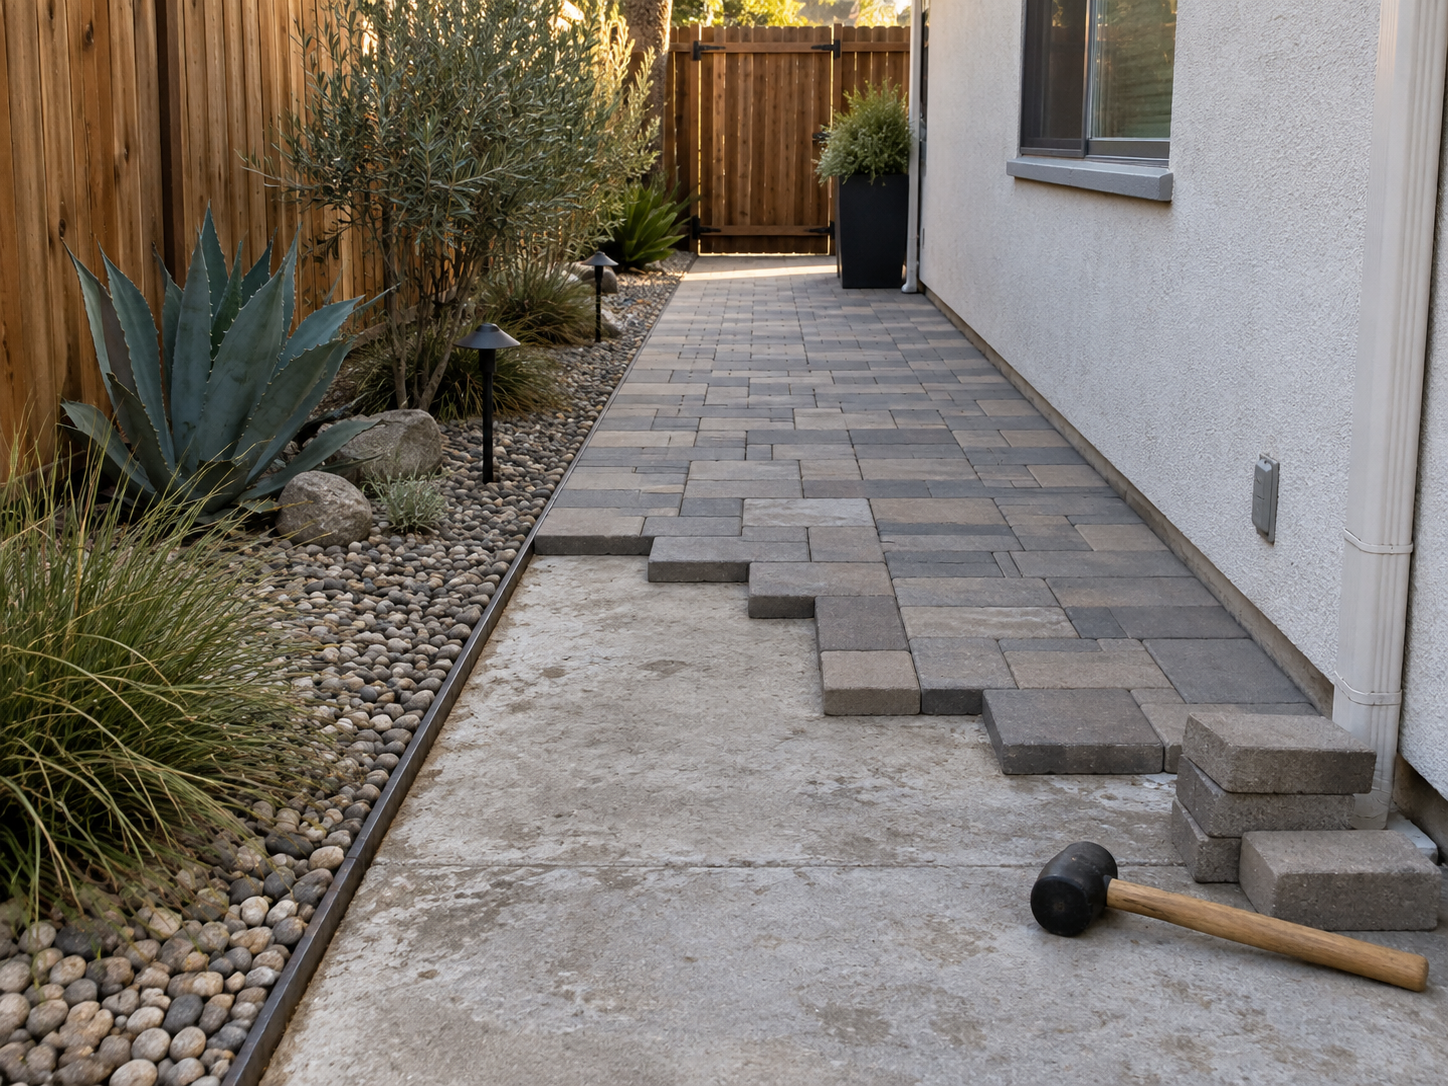
CAN PAVERS BE INSTALLED OVER EXISTING CONCRETE?
In some situations, pavers can be installed over an existing concrete patio, walkway, courtyard, or other hardscape surface. However, the existing concrete should be evaluated before deciding that an overlay is the right approach.
Keeping the concrete may reduce demolition, but it does not automatically make the project easier or provide a better long-term installation.
THE EXISTING CONCRETE NEEDS TO BE EVALUATED
Before covering an existing slab, consider its condition, including cracking, settlement, movement, drainage, surface deterioration, and surrounding elevations.
Pavers installed over a slab that is already moving or settling may eventually reflect problems occurring underneath the new surface.
An overlay improves the finished appearance, but it does not repair a failed or unstable concrete slab.
FINISHED ELEVATION CAN BECOME A PROBLEM
Adding a paver system over existing concrete raises the finished surface.
That additional height should be evaluated at:
Exterior doors and sliding doors.
Gates.
Steps and landings.
Pool coping.
Existing drains.
Driveways and walkways.
Adjacent concrete.
Turf and planting areas.
Even a relatively small elevation change can affect drainage, door clearance, step dimensions, or the way the new surface transitions into surrounding areas.
DRAINAGE STILL NEEDS TO WORK
Installing pavers over concrete does not automatically correct an existing drainage problem.
The proposed surface still needs to coordinate with existing grades, roof runoff, downspouts, drains, surrounding landscape areas, and nearby structures.
If water already collects on the concrete or moves toward the house, those conditions should be addressed as part of the overall project.
SOMETIMES REMOVING THE CONCRETE IS THE BETTER OPTION
Concrete removal may make more sense when the existing slab is severely cracked, settled, poorly drained, too high near doors or gates, or conflicts with the proposed paver installation.
Removal can also provide access for drainage, irrigation, electrical conduit, outdoor kitchen utilities, or other underground improvements that should be completed before the new hardscape is installed.
The decision should compare the complete project—not demolition cost alone.
For a more detailed evaluation of slab condition, elevations, drainage, steps, gates, utilities, pool decks, and other considerations, read our Can You Install Pavers Over Existing Concrete? What San Diego Homeowners Should Know guide.
HOW MUCH DO PAVERS COST IN SAN DIEGO?
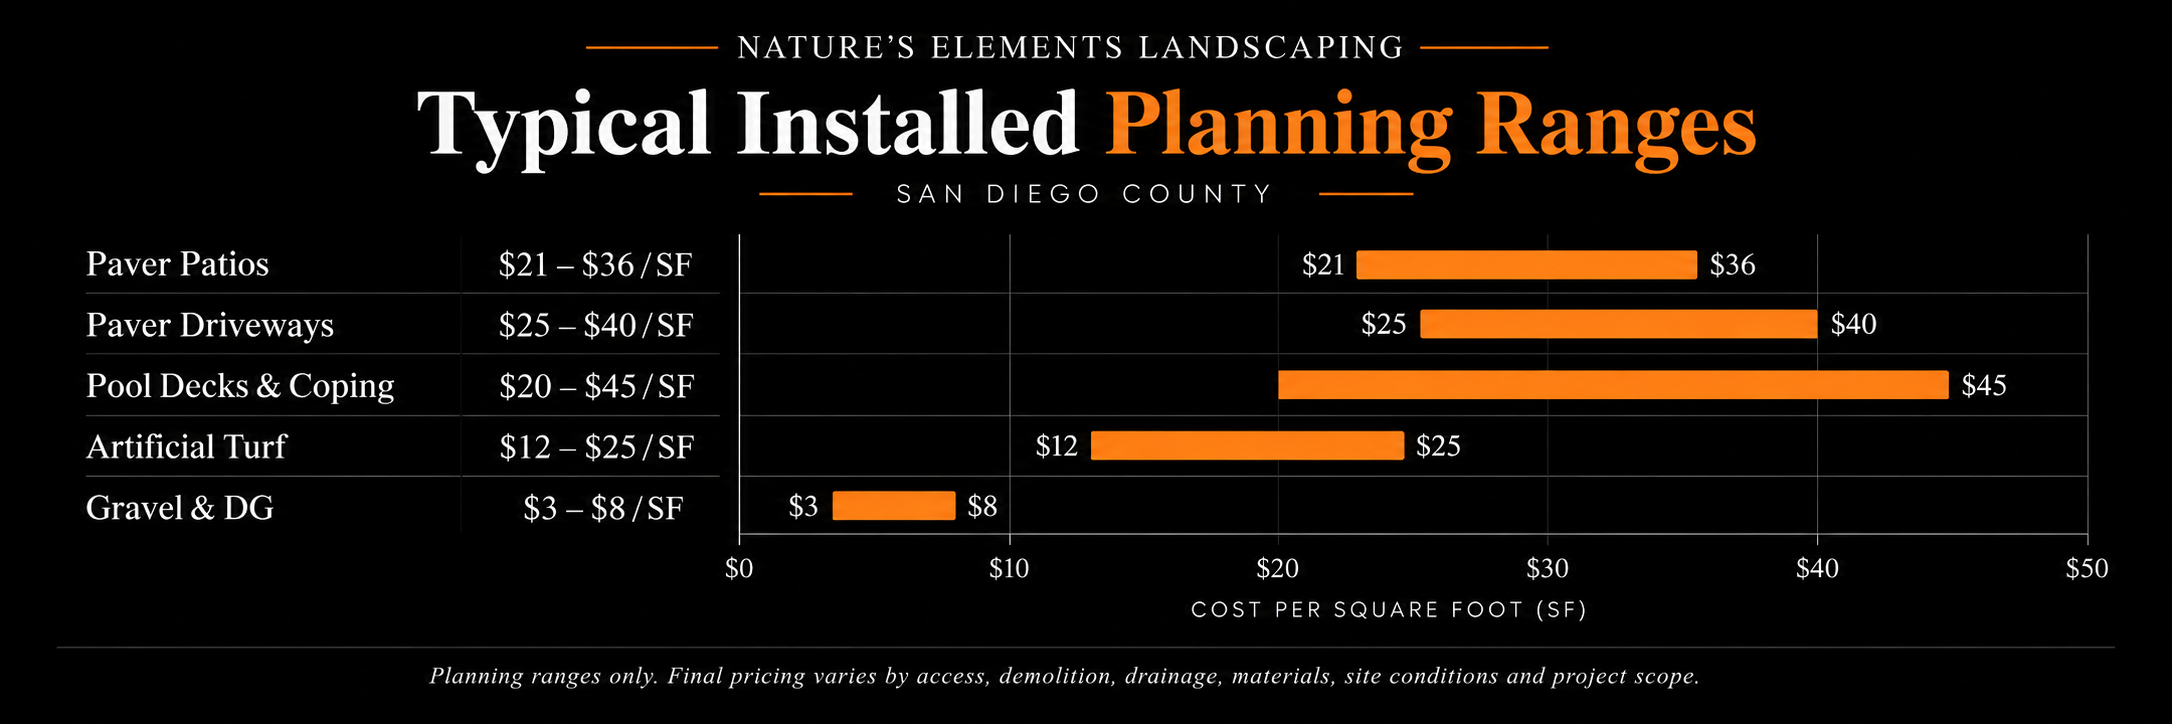
The cost of a paver installation in San Diego can vary significantly from one property to another. Square footage is important, but it is only one part of the total project cost.
WHAT AFFECTS PAVER INSTALLATION COST?
Several factors can influence the final price of a paver project, including:
The type and cost of the selected paver.
Total square footage.
Demolition and removal of existing concrete, turf, soil, or hardscape.
Excavation requirements.
Base preparation and compaction.
Grading and drainage conditions.
Site access.
Patterns, borders, cuts, and design details.
Steps, walls, transitions, and surrounding improvements.
Whether the pavers will support pedestrian or vehicle traffic.
Irrigation, planting, lighting, or other landscape work being completed at the same time.
A straightforward patio with easy access and favorable existing conditions can require a very different scope than a driveway, hillside property, pool deck, or complete landscape renovation.
WHY PRICE PER SQUARE FOOT DOESN’T TELL THE WHOLE STORY
Homeowners often begin by asking for a price per square foot, but two paver projects with the same square footage can have substantially different construction requirements.
One property may already have suitable elevations and easy access, while another may require concrete demolition, significant excavation, drainage improvements, retaining work, complicated cuts, or extensive preparation before the first paver is installed.
That is why Nature’s Elements Landscaping evaluates the complete project rather than selecting a price based solely on surface area.
For a more detailed breakdown of the factors that influence paver pricing, read How Much Do Pavers Cost in San Diego? 2026 Paver Installation Cost Guide.
Homeowners planning a larger landscape renovation can also review our Complete Guide to Landscaping Costs in San Diego to understand how hardscape, grading, drainage, irrigation, planting, demolition, access, and other improvements can affect the overall project budget.
INVEST IN THE INSTALLATION, NOT JUST THE PAVER
The visible paver is only one component of the finished system.
Proper excavation, base preparation, compaction, drainage, grading, edge restraint, layout, and installation all contribute to how the completed surface performs over time.
When comparing proposals, homeowners should evaluate what is actually included in the installation rather than comparing only the paver product or square-foot price.
PAVERS VS. CONCRETE: WHICH IS RIGHT FOR YOUR PROPERTY?
Pavers and poured concrete are both popular choices for patios, driveways, walkways, pool decks, courtyards, and outdoor living spaces throughout San Diego. Neither material is automatically the right choice for every property.
The better option depends on the homeowner’s budget, desired appearance, maintenance expectations, existing site conditions, drainage, surrounding architecture, and long-term plans for the property.
WHEN PAVERS MAY BE THE BETTER CHOICE
Pavers may be a strong option when homeowners want:
More choices in colors, textures, patterns, and shapes.
A customized appearance that complements the architecture of the home.
The ability to replace individual units if a section becomes damaged.
Decorative borders, patterns, and transitions between different outdoor areas.
A hardscape surface that can become part of a larger custom landscape design.
WHEN CONCRETE MAY BE THE BETTER CHOICE
Concrete may make more sense when homeowners want:
A continuous hardscape surface.
A straightforward application for larger areas.
Decorative finish options such as sand finish, exposed aggregate, broom finish, or other concrete treatments.
A material that coordinates with existing concrete already installed on the property.
A project where the overall design and budget favor poured concrete rather than individual pavers.
CONSIDER THE COMPLETE PROJECT
The decision should not be made based on appearance alone.
Existing grades, drainage, demolition, access, base preparation, surrounding hardscape, retaining walls, irrigation, planting, and connections to the home can all influence which material makes the most sense.
Homeowners comparing the two materials in greater detail can read our Pavers vs. Concrete in San Diego guide.
For a broader look at patios, walkways, driveways, retaining walls, concrete, pavers, and other outdoor construction options, visit our Complete Guide to Hardscape & Concrete in San Diego.
The best material is the one that works with the property as a complete landscape—not simply the option that looks best in a sample or photograph.
COMMON PAVER PROBLEMS & WHY THEY HAPPEN
A properly installed paver surface can provide years of dependable use, but problems can develop when the soil, base, drainage, compaction, edge restraints, or installation system beneath the finished surface are not properly addressed.
SINKING OR UNEVEN PAVERS
When individual pavers begin to sink or create low areas, the visible paver is often not the actual problem.
Settlement may be related to disturbed soil, inadequate base preparation, poor compaction, water movement, utility trenches, or other conditions beneath the surface.
PAVERS SHIFTING OR SEPARATING
Pavers that begin moving apart can indicate problems with perimeter support, joint stability, base preparation, or the way the installation was constructed for the intended application.
Proper edge restraints are especially important because movement along the outside of a paver area can gradually affect the pattern farther into the patio, walkway, or driveway.
STANDING WATER & LOW AREAS
Water collecting on or around a paver surface should not automatically be treated as a paver problem.
Existing grades, roof runoff, irrigation, adjacent slopes, drains, and surrounding hardscape can all influence how water moves through a property.
Our Complete Guide to Drainage & Yard Drain Systems in San Diego explains why drainage should be planned together with patios, walkways, driveways, retaining walls, and other landscape improvements.
SETTLEMENT OVER UTILITY TRENCHES
Drainage pipe, irrigation lines, electrical conduit, plumbing, and other underground improvements can require trenching through areas that may later receive pavers.
If disturbed areas are not properly backfilled and compacted, settlement can eventually become visible at the finished surface.
This is one reason underground infrastructure should be coordinated before major hardscape construction whenever possible.
USING THE WRONG PAVER SYSTEM FOR THE APPLICATION
A residential driveway experiences different loads than a pedestrian patio or garden walkway.
Paver type, base preparation, installation method, and supporting materials should be selected for the actual application rather than assuming the same installation approach works everywhere.
CAN SINKING OR SHIFTING PAVERS BE REPAIRED?
One advantage of many paver systems is that localized areas can sometimes be removed so the conditions underneath can be evaluated.
However, simply lifting and resetting pavers may not provide a lasting repair if the original problem—such as drainage, unstable soil, inadequate base preparation, settlement, or edge movement—is not corrected first.
For a deeper explanation, read Why Do Pavers Sink, Shift & Separate? 7 Common Causes San Diego Homeowners Should Know.
The most important lesson is that the finished paver is only the visible portion of the installation. Long-term performance begins with the preparation, drainage, grading, and construction underneath it.
PAVER MAINTENANCE & LONG-TERM CARE
Pavers are generally low maintenance, but they still benefit from routine care. Keeping the surface clean, monitoring joints, addressing drainage problems, and correcting localized movement early can help preserve the appearance and function of the installation over time.
ROUTINE CLEANING
Regular sweeping helps remove leaves, soil, sand, and other debris before it accumulates in joints or low areas.
Occasional washing may also help maintain the appearance of the surface, depending on the selected paver material and surrounding landscape conditions.
JOINT MAINTENANCE
The material between individual pavers plays an important role in the finished system.
Over time, joint material may need attention because of weather, cleaning, traffic, settlement, irrigation, drainage, insects, or other site conditions.
The appropriate maintenance method depends on the type of paver system and joint material originally installed.
WEEDS BETWEEN PAVERS
Weeds growing between pavers do not necessarily mean plants are pushing all the way up from the soil beneath the installation.
Wind, birds, irrigation, rain, landscape maintenance, and everyday foot traffic can carry seeds, dust, soil, and organic material onto the paver surface. When that material accumulates in the joints and receives moisture, weeds can begin growing from the surface.
WHY WEEDS DEVELOP IN PAVER JOINTS
Weed growth may become more common when:
Soil and organic debris collect between the pavers.
Joint material becomes low, damaged, or washed away.
Irrigation repeatedly sprays across the hardscape.
Water remains in low or poorly drained areas.
Soil washes from nearby planting beds.
Leaves, flowers, or tree debris accumulate on the surface.
Pavers begin shifting or separating.
Even a properly installed paver patio should not be considered permanently weed-proof. Seeds and organic material can arrive long after the original installation is completed.
JOINT MATERIAL IS IMPORTANT
The material between individual pavers is part of the complete installation system.
Depending on the paver and application, the joints may contain conventional joint sand, polymeric material, or another manufacturer-approved product.
When joint material becomes shallow or disappears, the open spaces can collect more soil, moisture, and organic debris.
Pressure washing, irrigation, drainage, foot or vehicle traffic, ants, settlement, and normal maintenance can all affect joint material over time.
POLYMERIC SAND DOES NOT GUARANTEE A WEED-FREE PATIO
Polymeric joint material may help stabilize joints and reduce the amount of loose material that can accumulate between pavers when it is selected and installed correctly.
However, it does not permanently prevent weed growth.
Seeds can still germinate in organic material that collects on top of the joints, particularly when the area remains damp or receives regular irrigation overspray.
REGULAR CLEANING CAN HELP REDUCE WEEDS
Routine sweeping can help remove leaves, soil, flowers, grass clippings, seeds, and other debris before they settle into the joints.
Pay particular attention to shaded areas, locations beneath trees, edges beside planting beds, low spots, and areas where wind regularly collects debris.
When using a leaf blower, avoid repeatedly forcing soil or mulch from planting areas across the pavers or directing concentrated airflow into loose joints.
IRRIGATION AND DRAINAGE CAN CONTRIBUTE TO THE PROBLEM
Repeated irrigation overspray can keep paver joints moist while also carrying soil and organic material onto the hardscape.
Standing water, runoff from planting beds, clogged drains, downspouts, low areas, or improper grading can create similar conditions.
When weeds repeatedly return to the same area, it is worth evaluating the moisture source instead of treating only the visible weeds.
REPEATED WEEDS MAY INDICATE A JOINT OR PAVER PROBLEM
If the same joints repeatedly develop weeds, check whether:
Joint material is missing.
Pavers are separating.
Water is collecting in the area.
Soil is washing onto the hardscape.
Ants or insects are disturbing the joints.
The surface has been aggressively pressure washed.
Nearby irrigation is keeping the area consistently wet.
If the pavers themselves are beginning to move, the underlying condition should be evaluated before simply adding new joint material. Our Why Do Pavers Sink, Shift & Separate? guide explains several conditions that can contribute to movement and joint failure.
For a more complete explanation of weed prevention, joint maintenance, irrigation overspray, pressure washing, polymeric sand, and recurring weed problems, read our Why Do Weeds Grow Between Pavers? Prevention and Maintenance Tips.
STAINS & DISCOLORATION
Oil, irrigation water, leaves, soil, fertilizers, rust, and other materials can stain or discolor certain paver surfaces.
Cleaning methods should be selected for the specific paver material because harsh chemicals or aggressive cleaning can affect some finishes.
DRAINAGE SHOULD STILL BE MONITORED
Standing water, erosion, or consistently wet areas around a paver installation may indicate a drainage or grading issue rather than a maintenance problem.
If water begins collecting where it did not previously, the surrounding property should be evaluated before simply resetting or replacing pavers.
Our Complete Guide to Drainage & Yard Drain Systems in San Diego explains how drainage, grading, downspouts, hardscape, and landscape areas should work together.
REPAIRING INDIVIDUAL AREAS
One benefit of many paver systems is that individual sections can sometimes be removed and reinstalled when access or repairs are needed underneath the surface.
However, repairs should address the cause of the problem rather than only correcting the appearance of the pavers.
MAINTENANCE AROUND THE SURROUNDING LANDSCAPE
Trees, planting, irrigation, drainage, soil movement, and landscape debris can all affect nearby hardscape over time.
Regular Landscape Maintenance can help keep surrounding planting, irrigation, drainage areas, and landscape debris from creating unnecessary problems around patios, walkways, and other paver installations.
A well-installed paver system combined with routine maintenance and early attention to drainage or settlement issues can help protect the finished landscape for years to come.
HOW LONG DO PAVERS LAST IN SAN DIEGO?
A properly designed and installed paver system can provide many years of service, but the life of the finished surface depends on much more than the paver itself.
Base preparation, soil conditions, compaction, drainage, edge restraints, traffic, irrigation, tree roots, maintenance, and surrounding landscape conditions can all influence how a paver patio, driveway, walkway, or courtyard performs over time.
THE PAVERS MAY LAST LONGER THAN THE CONDITIONS UNDERNEATH THEM
Individual concrete, porcelain, or natural stone pavers can be extremely durable. When problems develop, the cause is often related to movement or changes beneath or around the finished surface rather than failure of the individual paver.
Settlement, erosion, poorly compacted soil, drainage problems, utility trenches, damaged edge restraints, and changing site conditions can eventually cause sections of an installation to move.
Homeowners noticing movement can learn more in our Why Do Pavers Sink, Shift & Separate? 7 Common Causes San Diego Homeowners Should Know guide.
ONE ADVANTAGE OF PAVERS IS REPAIRABILITY
Unlike a continuous poured surface, many paver installations allow individual sections to be removed so the underlying conditions can be evaluated and repaired.
This can be especially helpful when access is needed for irrigation, drainage, electrical conduit, plumbing, or other underground improvements.
However, resetting the visible pavers without correcting the underlying cause may only provide a temporary repair.
INSTALLATION QUALITY HAS A MAJOR IMPACT ON LONG-TERM PERFORMANCE
Proper excavation, base preparation, compaction, grading, drainage, edge restraint, joint material, and final installation all contribute to the long-term stability of the finished surface.
This is why two projects using the exact same paver can perform very differently over time.
Homeowners should evaluate the complete installation system—not simply the appearance or manufacturer of the paver being selected.
SHOULD PAVERS BE SEALED IN SAN DIEGO?
Paver sealing is optional for many installations, and whether it makes sense depends on the paver material, manufacturer recommendations, desired appearance, surrounding conditions, and the homeowner’s maintenance expectations.
A sealer should not be viewed as something every paver project automatically needs.
WHAT CAN PAVER SEALER DO?
Depending on the product and paver material, sealing may help:
Reduce the absorption of certain stains.
Make some surfaces easier to clean.
Enhance or deepen the appearance of certain colors.
Provide additional protection from oils, food spills, leaves, irrigation water, and other materials.
Help stabilize certain joint materials when a compatible system is used.
The actual benefits vary by product, which is why the selected sealer should be compatible with the specific paver being installed.
SEALING CAN CHANGE THE APPEARANCE
Some sealers are designed to maintain a more natural appearance, while others can darken the paver or create an enhanced or wet-look finish.
That change may be desirable on one project and unwanted on another.
Before sealing a large area, homeowners should understand how the selected product may affect the color, sheen, texture, and overall appearance of the finished hardscape.
SEALER DOES NOT FIX INSTALLATION PROBLEMS
Sealing should not be used as a solution for:
Sinking or uneven pavers.
Poor drainage.
Standing water.
Unstable edges.
Failed joint material.
Settlement underneath the installation.
Improper grading.
Those conditions should be evaluated and corrected before considering a surface treatment.
MAINTENANCE DOES NOT END AFTER SEALING
A sealed paver surface still requires routine cleaning and periodic inspection.
Depending on the product, exposure, traffic, cleaning methods, and surrounding conditions, a sealer may eventually need to be reapplied.
Homeowners should also avoid assuming that sealing makes pavers stain-proof or maintenance-free.
SHOULD YOU SEAL YOUR PAVERS?
There is no single answer that applies to every property.
The best decision should be based on the specific paver material, how the area will be used, manufacturer recommendations, the desired appearance, and how much maintenance the homeowner is comfortable performing over time.
For a closer look at the advantages, possible drawbacks, maintenance considerations, and questions to ask before applying a sealer, read our Should You Seal Pavers in San Diego? Benefits, Risks and Questions to Ask guide.
CHOOSING PAVER COLORS & DESIGN DETAILS
The paver itself should feel connected to the architecture of the home and the surrounding landscape rather than appearing like a separate material added afterward.
Color, texture, finish, scale, and surrounding materials all influence how the completed hardscape will look.
MATCH THE CHARACTER OF THE HOME
A contemporary home may work well with cleaner lines, larger formats, and a more restrained color palette, while Spanish, Mediterranean, traditional, or transitional homes may benefit from warmer tones, added texture, or more variation.
The goal is not to match the house exactly.
The paver should complement the architecture and help connect the home with the outdoor environment.
CONSIDER ALL THE EXISTING MATERIALS
Paver colors should be evaluated alongside:
Exterior paint and stucco.
Roofing.
Existing concrete.
Masonry and stone.
Retaining walls.
Fencing.
Pool finishes.
Wood or composite decking.
Outdoor kitchens.
Landscape gravel and rock.
Planting.
Looking at the entire material palette can help prevent one surface from feeling disconnected from everything around it.
COLOR CAN LOOK DIFFERENT OUTDOORS
Paver samples can appear different depending on sunlight, shade, surrounding colors, moisture, and the size of the finished installation.
A small sample viewed indoors may not represent how several hundred square feet of the same material will look outside.
Whenever possible, evaluate materials in natural light and consider how they will appear during different times of day.
TEXTURE & FINISH MATTER TOO
Two pavers with similar colors can create very different results because of surface texture, edge detail, finish, and variation between individual pieces.
These characteristics can influence whether the finished hardscape feels contemporary, rustic, traditional, refined, or informal.
Surface selection should also remain appropriate for the intended application and maintenance expectations.
DESIGN THE PAVERS WITH THE COMPLETE LANDSCAPE
Pavers should be selected together with planting, walls, outdoor furniture, fencing, lighting, drainage, and other hardscape materials whenever possible.
Our 3D Landscape Design Gallery shows how hardscape and landscape elements can be coordinated before construction begins.
You can also explore our Landscape Design & Construction Project Gallery for examples of completed landscape environments throughout San Diego.
A successful paver selection should look intentional when viewed from the house, street, and primary outdoor living areas—not simply attractive on an individual sample board.
PAVER SIZE, PATTERN, BORDERS & TRANSITIONS SHOULD BE PLANNED TOGETHER
Choosing the paver itself is only part of the design.
Paver size, shape, installation pattern, border, layout direction, finished elevations, and transitions to surrounding surfaces all influence how the completed project will look and function.
A material that looks attractive on a small sample board can feel very different after it covers several hundred square feet, which is why the entire layout should be considered before installation begins.
START WITH THE SIZE & SHAPE OF THE AREA
The dimensions of the patio, walkway, courtyard, driveway, or pool deck should help guide the paver selection.
A large rectangular patio may work well with a different paver size than a narrow side yard, curved walkway, compact courtyard, or area containing multiple steps, columns, drains, walls, and other fixed features.
Before selecting the paver size or pattern, consider:
The overall dimensions of the area.
The direction people will move through the space.
Doors and gates.
Steps and landings.
Outdoor furniture.
Pools and spas.
Outdoor kitchens and fire features.
Existing concrete.
Drain locations.
Walls and columns.
Visible cut locations.
Architectural lines of the home.
The goal is to create a layout that looks intentional across the entire installation rather than focusing only on the individual paver.
LARGE-FORMAT PAVERS CAN CREATE A CLEANER LOOK
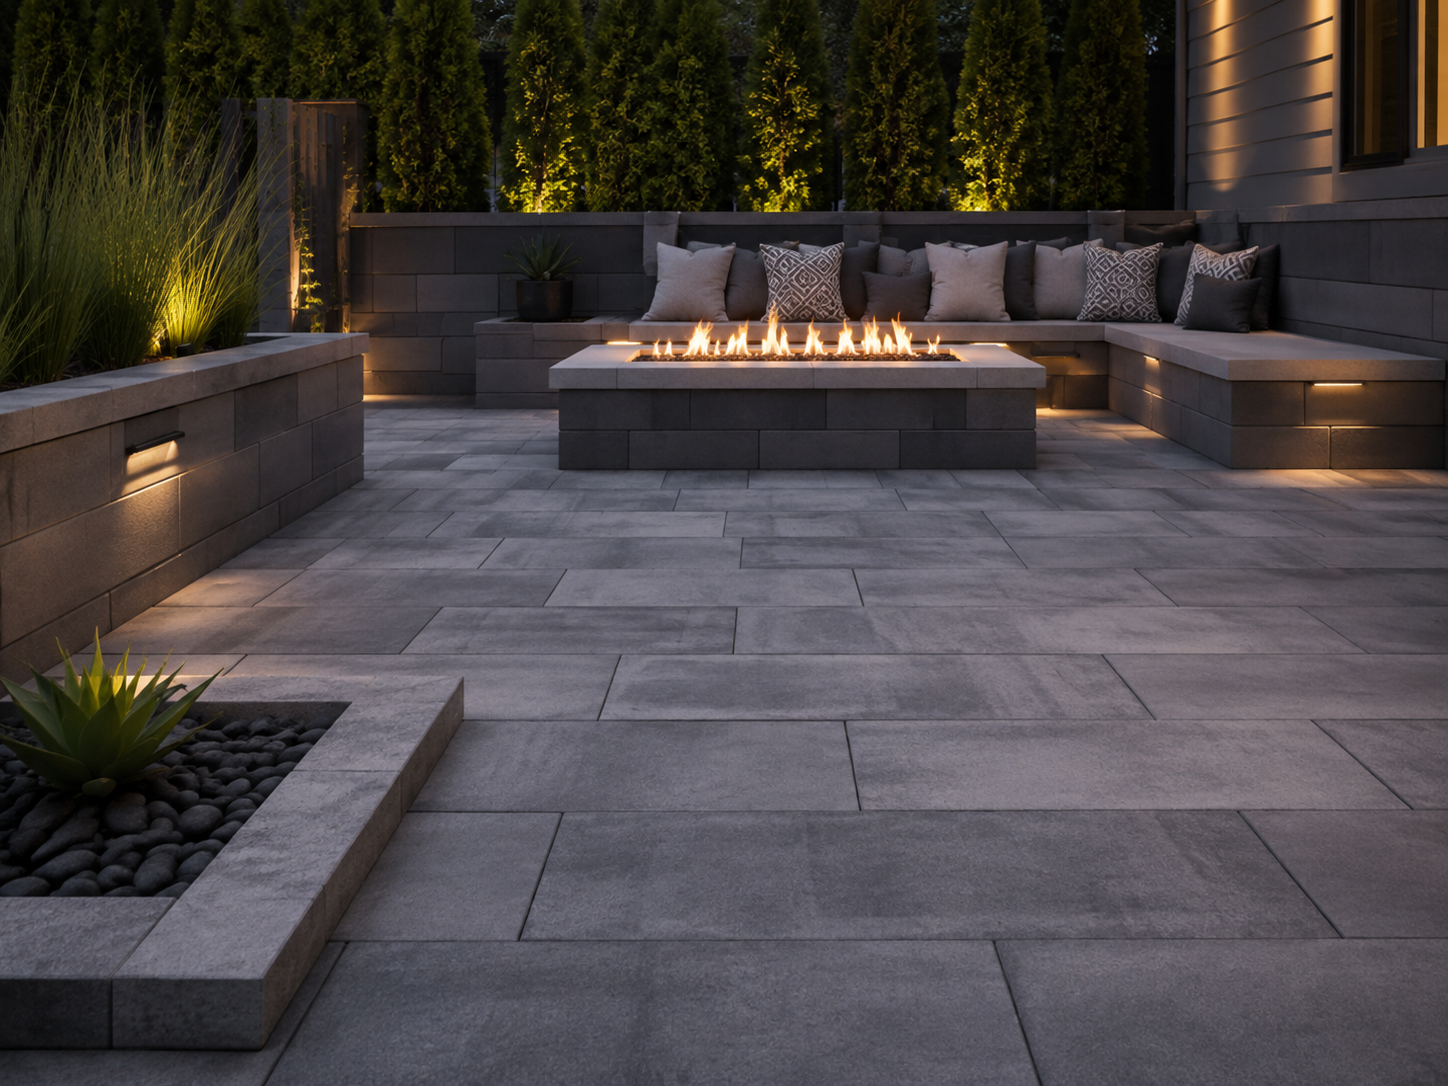
Large-format pavers are often used in contemporary, modern, and transitional landscapes because fewer joint lines can create a cleaner and more open appearance.
They may work especially well when:
The patio is relatively large and open.
The home has strong architectural lines.
The landscape uses simple geometry.
A less visually busy surface is desired.
Large doors, windows, walls, or structures influence the design.
However, larger does not automatically mean better.
Large pavers can create awkward cuts around curves, drains, steps, narrow areas, utility covers, columns, and irregular property lines if the layout is not planned carefully.
The specific product should also be appropriate for the intended application and installation system.
SMALLER PAVERS CAN PROVIDE MORE FLEXIBILITY
Smaller pavers may work well in traditional, Spanish, Mediterranean, cottage, and more detailed landscape designs.
They can also provide greater flexibility in narrow or irregular areas.
Smaller units may be useful for:
Curved walkways.
Compact courtyards.
Narrow side yards.
Detailed borders.
Irregular patio shapes.
Areas with multiple transitions.
Traditional or highly textured designs.
Because smaller pavers create more joint lines, the color palette and pattern should be considered carefully so the finished surface does not become unnecessarily busy.
MODULAR PATTERNS CAN ADD VARIATION
Some paver systems combine several compatible sizes within one layout.
These modular patterns can create visual movement and variety without relying on one repeating paver size.
They may work particularly well in larger patios and outdoor living areas where a single-size layout could feel overly repetitive.
Manufacturer layouts and installation requirements vary, so the selected system should be evaluated as a complete product rather than assuming that different paver sizes can simply be mixed together.
THE DIRECTION OF THE PATTERN MATTERS
The orientation of the pavers can influence how the space feels.
A pattern may help visually lengthen a walkway, widen a narrow patio, reinforce the direction toward a focal point, or connect the hardscape with architectural lines on the home.
The best direction depends on:
The shape of the area.
Primary viewing locations.
Doors and entry points.
Major walking routes.
Architectural lines.
Borders and transitions.
The location of required cuts.
Pattern direction should be decided intentionally rather than simply beginning installation from whichever corner is most convenient.
DIFFERENT PATTERNS CREATE DIFFERENT VISUAL EFFECTS
Depending on the selected product, pavers may be installed in layouts such as:
Running bond.
Herringbone.
Basketweave.
Linear patterns.
Modular patterns.
Manufacturer-specific combinations.
A simple pattern can allow the material and architecture to remain the focus, while a more active pattern can become a noticeable design element itself.
The pattern should complement the size, color, and texture of the paver rather than competing with them.
For a more detailed comparison, read How to Choose the Right Paver Size and Pattern for Your San Diego Patio.
BORDERS SHOULD HAVE A PURPOSE
A paver border can help frame a patio, define a walkway, separate outdoor areas, reinforce an edge, or create a transition between materials.
Borders may also help visually connect the paver installation with colors or materials used elsewhere on the property.
However, not every installation needs a contrasting border.
In some contemporary landscapes, continuing one material to the edge can create a cleaner result.
Multiple border colors, complicated pattern changes, or excessive accent details can make a patio feel fragmented rather than coordinated.
For a closer look at when borders help and when they may not be necessary, read Does a Paver Patio Need a Border? What San Diego Homeowners Should Know.
PLAN WHERE THE PAVERS WILL BE CUT
Cut pieces are a normal part of most paver installations, but their location and size can affect the finished appearance.
Before construction begins, consider how the pattern will meet:
Exterior walls.
Doors.
Gates.
Steps.
Columns.
Drains.
Pool coping.
Existing concrete.
Retaining walls.
Curved edges.
Utility covers.
A poorly planned layout can leave very narrow or awkward pieces in prominent areas.
Whenever possible, major cuts should be considered during layout rather than discovered as the installation reaches each edge.
COORDINATE THE PAVERS WITH THE HOUSE
One of the most visible relationships is where the hardscape meets the architecture.
Paver lines and pattern changes should be evaluated against:
Exterior walls.
Sliding and folding doors.
Windows.
Columns.
Patio covers.
Steps and landings.
Outdoor kitchens.
Fireplaces.
Existing masonry.
The pavers do not need to match every architectural line exactly, but the finished layout should feel connected to the home rather than unrelated to it.
THINK ABOUT THE FURNISHED PATIO — NOT THE EMPTY PATIO
A paver area will eventually contain furniture, planters, umbrellas, outdoor kitchens, grills, fire features, lighting, and other outdoor elements.
Decorative patterns and borders should therefore be planned around how the space will actually be furnished.
A detailed inlay that disappears beneath a dining table or a border that runs through the middle of a seating arrangement may add complexity without improving the finished design.
Planning furniture and outdoor features before finalizing the paver layout helps the entire space work together.
TRANSITIONS SHOULD BE DESIGNED AT THE SAME TIME
The paver layout should also account for where the new surface meets doors, gates, steps, existing concrete, driveways, pools, walkways, walls, and other fixed improvements.
Finished elevations, drainage, edge support, pattern direction, and paver cuts all come together at these locations.
For more detailed information about these connections, read How Should Pavers Meet Doors, Gates, Steps and Existing Concrete?.
DESIGN THE COMPLETE SURFACE BEFORE INSTALLATION BEGINS
The best time to make decisions about paver size, pattern, borders, orientation, transitions, and major cuts is before the installation is underway.
A successful layout should complement the architecture, work with the dimensions of the space, support drainage, accommodate furniture and circulation, and connect naturally with the surrounding landscape.
The goal is not simply to choose an attractive paver. It is to design how that paver will work across the entire finished project.
PAVERS & ZONE 0 LANDSCAPING IN SAN DIEGO
For San Diego homeowners considering wildfire preparedness as part of a landscape renovation, pavers can be incorporated into the area immediately surrounding the home as part of a broader ember-resistant landscape strategy.
Current California wildfire guidance identifies hardscape materials such as pavers, gravel, rock, and concrete as options that can help reduce combustible material close to structures.
Homeowners can review current recommendations through CAL FIRE Home Hardening.
USING PAVERS NEAR THE HOME
Depending on the property, pavers may be incorporated into:
Walkways around the home.
Side-yard access areas.
Entryways and courtyards.
Patios and outdoor living areas.
Transitions between structures and planting areas.
Areas where combustible mulch or other landscape materials are being reduced.
Pavers should still be planned around drainage, grading, access, surrounding vegetation, fencing, irrigation, and the architecture of the home.
PAVERS ARE ONLY ONE PART OF WILDFIRE PREPAREDNESS
Installing pavers alone does not make a property fireproof or guarantee compliance with wildfire regulations.
The complete area around the home may also need to consider vegetation, fencing, gates, decks, stored materials, mulch, debris, irrigation, and other combustible conditions.
Because wildfire regulations and local requirements can change, homeowners should verify the current requirements that apply to their specific property.
For a broader explanation of hardscape, planting, irrigation, fencing, and other landscape considerations, visit our Complete Guide to Zone 0 Landscaping in San Diego.
If you are unsure whether your property is located within a mapped Fire Hazard Severity Zone, use our Zone 0 Property Check & Fire Preparedness tool as a starting point.
The goal is to coordinate pavers with the complete landscape so the area remains functional, attractive, and responsive to the wildfire conditions surrounding the property.
HOW TO CHOOSE A PAVER CONTRACTOR IN SAN DIEGO
Choosing the right paver is important, but choosing the right contractor can have an even greater impact on how the finished project performs.
A professional paver contractor should understand more than paver layout and installation. The project may also require consideration of grading, drainage, demolition, soil conditions, irrigation, utilities, retaining walls, access, existing hardscape, and how the new surface connects with the rest of the property.
VERIFY CONTRACTOR LICENSING
Homeowners should verify that the contractor is properly licensed for the work being performed.
Nature’s Elements Landscaping is a California C-27 Landscape Contractor serving San Diego County.
California homeowners can verify contractor licensing through the California Contractors State License Board.
For more information about why contractor licensing matters, read Hiring a Licensed Landscape Contractor in San Diego Could Save You Thousands.
COMPARE THE COMPLETE SCOPE — NOT JUST THE PRICE
Two paver estimates can look very different because they may include different amounts of excavation, demolition, base preparation, grading, drainage, edge restraint, disposal, materials, and site preparation.
Before comparing prices, understand exactly what is included in each proposal.
A lower price does not necessarily represent the same installation if important preparation or supporting work has been left out.
ASK HOW DRAINAGE WILL BE HANDLED
A paver contractor should be able to explain how the proposed elevations will work with existing drains, downspouts, slopes, patios, driveways, structures, and surrounding landscape areas.
Drainage should be considered before the pavers are installed rather than addressed after standing water or runoff becomes a problem.
For properties with existing drainage concerns, review our Complete Guide to Drainage & Yard Drain Systems in San Diego.
REVIEW THE INSTALLATION PROCESS
A good proposal should explain the major construction steps rather than simply identify a paver product and total price.
Depending on the project, the scope may include demolition, excavation, soil preparation, base material, compaction, grading, drainage, edge restraint, paver installation, joint material, transitions, and cleanup.
Homeowners can review Getting It Done | How We Do It to learn more about how Nature’s Elements Landscaping approaches landscape construction projects.
REVIEW DESIGN & MATERIAL OPTIONS
The contractor should help evaluate paver size, pattern, color, texture, borders, transitions, surrounding materials, and how the completed installation will complement the architecture of the home.
For larger renovations, these decisions should also coordinate with planting, irrigation, landscape lighting, retaining walls, outdoor living areas, and other improvements.
LOOK AT COMPLETED WORK
Completed projects can help homeowners evaluate workmanship, material combinations, design style, and the types of outdoor environments a contractor regularly builds.
Explore our Landscape Design & Construction Project Gallery to see examples of completed landscape and hardscape projects.
CHOOSE THE CONTRACTOR — NOT JUST THE PAVER
The same paver can perform very differently depending on how the project is prepared and installed.
A qualified paver contractor should help you understand both the finished appearance and the construction supporting it.
For information about working with Nature’s Elements Landscaping on a paver project, visit our Paver Contractor San Diego page.
CONTINUE YOUR PAVER RESEARCH
A successful paver project involves much more than selecting a color from a sample board. Construction preparation, drainage, grading, base installation, design, material selection, access, maintenance, and surrounding landscape improvements can all affect the finished project.
Homeowners who are still researching their options can explore these additional resources:
How Much Do Pavers Cost in San Diego? 2026 Paver Installation Cost Guide
7 Paver Installation Mistakes San Diego Homeowners Should Avoid
Paver Patio Ideas for San Diego Backyards: Materials, Patterns & Design Tips
How to Choose the Right Paver Size and Pattern for Your San Diego Patio
Does a Paver Patio Need a Border? What San Diego Homeowners Should Know
How Should Pavers Meet Doors, Gates, Steps and Existing Concrete?
Can You Install Pavers Over Existing Concrete? What San Diego Homeowners Should Know
Should You Seal Pavers in San Diego? Benefits, Risks and Questions to Ask
How Wide Should a Paver Walkway Be? A Guide for San Diego Homeowners
When you are ready to discuss an actual project, visit our Paver Contractor San Diego page to learn more about professional paver installation for patios, driveways, walkways, courtyards, pool surrounds, and complete outdoor living spaces.
Frequently Asked Questions ABOUT PAVERS IN SAN DIEGO
-
Yes. Pavers can be used for residential driveways when the paver and complete installation system are designed for vehicle traffic.
Excavation, base preparation, compaction, drainage, edge restraint, transitions, and the selected paver product should all be appropriate for the intended use.
-
In many paver systems, individual sections can be removed and reinstalled.
If pavers are sinking, shifting, or separating, however, the underlying cause should be evaluated before simply resetting the surface. Drainage, settlement, soil conditions, inadequate base preparation, or edge movement may be contributing to the problem.
For more information, read Why Do Pavers Sink, Shift & Separate? 7 Common Causes San Diego Homeowners Should Know.
-
Not every paver installation needs to be sealed.The decision depends on the selected paver, manufacturer recommendations, desired appearance, surrounding conditions, and maintenance goals.
Read Should You Seal Pavers in San Diego? Benefits, Risks and Questions to Ask for a more detailed explanation.
-
Sometimes, but the existing slab should be evaluated first.
Condition, cracking, settlement, finished elevations, drainage, door and gate clearances, surrounding transitions, and the requirements of the proposed paver system can all affect whether an overlay makes sense.
For more information, read Can You Install Pavers Over Existing Concrete? What San Diego Homeowners Should Know.
-
Traditional pavers do not automatically solve drainage problems.
The finished surface still needs appropriate grading and drainage. Permeable paver systems are designed differently, but the entire system beneath and around the pavers needs to be designed for water management.
Homeowners with runoff, standing water, or grading concerns can review our Complete Guide to Drainage & Yard Drain Systems in San Diego.
-
Neither material is automatically better for every property.
Pavers provide more flexibility in individual units, patterns, colors, textures, borders, and localized repairs. Concrete provides a continuous surface with its own range of finishes, applications, and advantages.
For a detailed comparison, read Pavers vs. Concrete in San Diego.
-
Start with how the area will be used.
Consider whether the project is a patio, driveway, walkway, pool deck, courtyard, or larger outdoor living area. Then evaluate traffic, architecture, drainage, surrounding materials, maintenance expectations, paver size, pattern, color, and budget.
Homeowners planning a larger renovation can learn more about our Landscape Design Process.
-
There is no single width that works for every property.
A basic secondary path may require less space than a front entry, side-yard access route, pool walkway, or path used for equipment and maintenance.
Read How Wide Should a Paver Walkway Be? A Guide for San Diego Homeowners for more detailed planning guidance.
READY TO PLAN YOUR PAVER PROJECT?
A successful paver project should do more than create an attractive surface. It should fit the architecture of the home, function with the surrounding landscape, manage drainage correctly, connect naturally with existing improvements, and be constructed on a properly prepared foundation.
Nature’s Elements Landscaping provides paver installation as part of complete landscape and hardscape projects throughout San Diego County.
Depending on the property, your project may include:
Paver patios and outdoor living areas.
Paver driveways.
Pool decks and spa surrounds.
Walkways and entry areas.
Courtyards and side yards.
Concrete and paver combinations.
Retaining walls and steps.
Drainage and grading improvements.
Landscape lighting.
Planting and irrigation.
Complete landscape renovations.
Homeowners planning a larger project can begin with our Landscape Design Process or explore additional construction options through our Hardscape & Concrete Contractor services.
Whether you already know which paver you want or need help comparing materials, layouts, and construction options, Nature’s Elements Landscaping can evaluate the property and develop an installed solution based on your goals, site conditions, and overall landscape.